We've got you covered if you need help on how to finish that rough opening on the wall for your garage door. We researched how to install the trim around your garage door opening and we're glad to share these answers with you in this article.
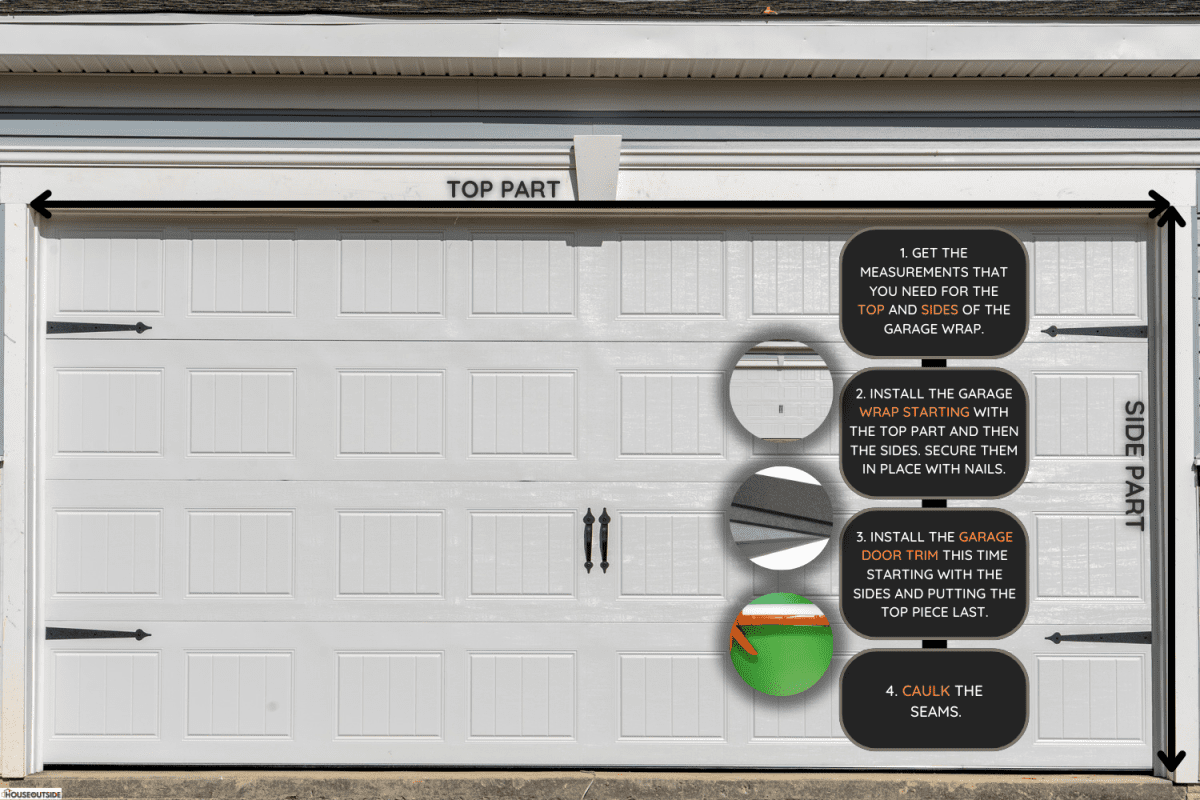
To finish your garage door trim, you need to:
- Get the measurements that you need for the top and sides for sizing garage wrap.
- Install the garage wrap starting with the top part and then the sides. Secure it in place with nails.
- Install the garage door trim this time starting with the sides and putting the top piece last.
- Caulk the seams.
Continue reading for a more detailed procedure and get more tips on installing a garage door trim. We'll also tell you more about this part of your garage door and how you can choose the best material for your garage door trim. Let's get started!
Garage Door Trims
Garage doors add value to your home and enhance its curb appeal. However, they won't accomplish these tasks if not for the help of the garage door trim.
Garage door trims are often overlooked but they play an important part in defining and completing the look of your garage door. They set it apart from the rest of your home's exterior.
But more importantly, garage door trims help extend the lifespan of your garage door so you can use it for a longer time.
They keep moisture out of your garage door and the adjacent walls. We all know what moisture damage can do so it's best to protect not just the door but also its wall from this threat.
Otherwise, water will seep through their materials, causing them to deteriorate faster than expected, severely affecting the structural integrity of your garage.
Garage door trims have both form and functionality. They have different components. The garage door wrap which is also called garage door liner or simply a garage wrap goes on the interior side of the garage door frame.
It is the portion that lines or covers the rough opening for the garage door. The garage door trim goes on the exterior side surrounding the frame of the garage door opening. Sometimes, an aluminum capping or wrapping is also installed over the exterior trim especially if it is made of wood.
This brings us to the next portion of our discussion before we teach you how to install the garage door trim.
Materials Used For Garage Door Trims
These trims can be made out of different materials. We'll briefly go over them one by one so that you can choose which one you'll use for your garage door.
Vinyl
Vinyl is one of the most affordable options out there. It is durable, dent-proof, and easy to maintain. It comes in different, albeit limited, colors and finishes so you can still choose one that'll complement the exterior of your house and your garage doors.
However, due to its material, you can't paint over it when you'd like to change the appearance of your garage door.
Wood

It can be made of general construction lumber, cedar, redwood, or preservative-treated and primed white wood. These all come at various price points so you can choose which one suits your budget.
Wood looks pleasing to the eye but it requires regular maintenance to preserve its form and function. It is susceptible to swelling and wood rot when there's too much moisture.
Fiber Cement
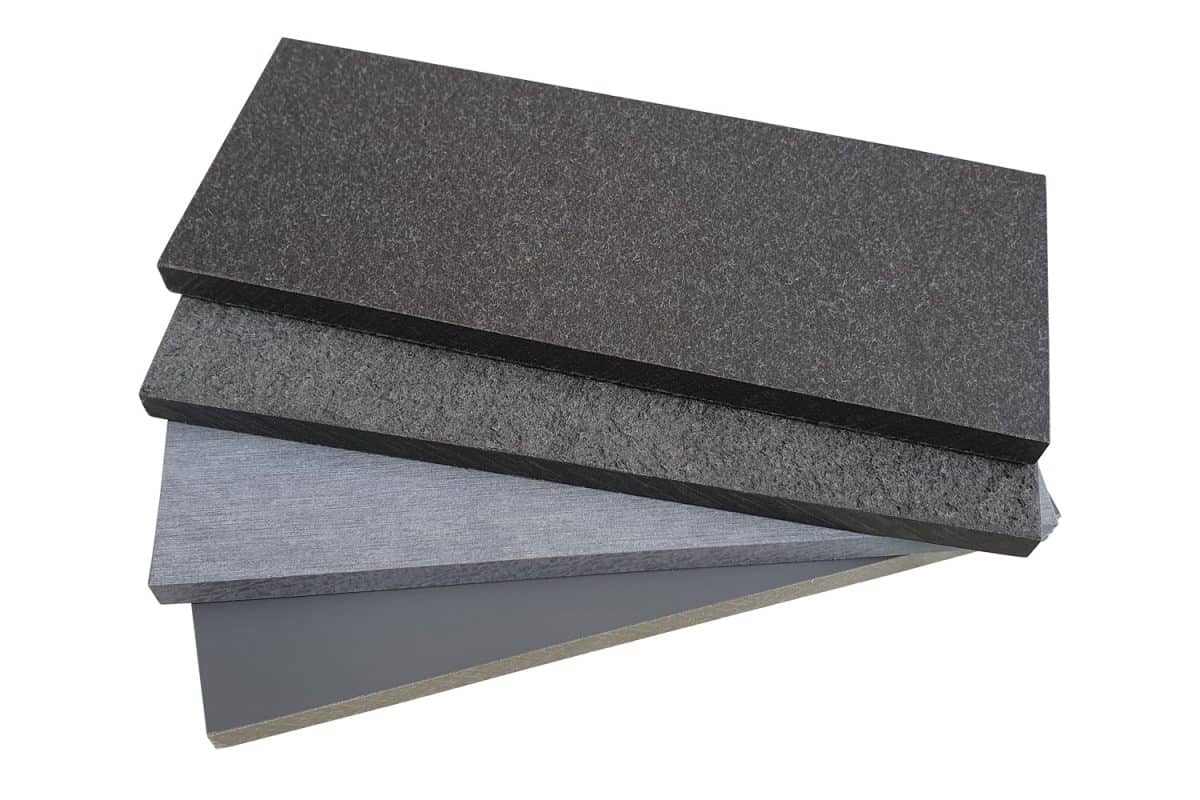
This is another affordable material. It can be designed to match the overall look of your home's exterior. Fiber cement is vulnerable to impact damage during installation but very durable once installed.
It can resist weather effects, rotting, and fire. It just needs regular cleaning and some repainting to maintain its appearance.
Aluminum
This is a lightweight metal that adds more durability to your garage door. Aluminum also provides a cleaner and more attractive finish to your garage door trim. As such, it can increase your home's curb appeal.
One drawback of using this material is that it can dent easily so you need to be careful about bumping the frame of your garage door when you bring your vehicles, sports gear, and other stuff in and out of the garage.
It also comes in only one color so this isn't for those who prefer colored trims for their garage door.
PVC
This is one of the more popular options available. It is a lightweight material but it can last a long time. PVC is waterproof so you won't have to deal with moisture damage. It can also stand up well against weather, pests, and fire.
However, PVC is quite expensive compared to other materials and can be difficult to repair when its exterior skin is damaged.
These are the most common materials used for garage door trims. Here are some more reminders before arriving at a wise decision.
- Check which one will suit your climate, budget, and the exterior look not only of your house but the rest of the neighborhood as well.
- Inquire about their sizes and length structure to minimize the waste factor when you install the material over your garage door opening.
- Take note of the maintenance requirements and how they relate to your particular lifestyle so that you can commit to its maintenance schedule.
After giving these factors due consideration, you can choose the right garage door trim material for your home.
How do you Trim the Inside of a Garage Door?

Once you've chosen the right material for your garage door, you can proceed with your purchase and get ready to install it on your garage door opening.
Here are the tools and other materials that you need to prepare.
- garage door trim and mold (We'll use PVC in the procedure.)
- miter saw
- 2" galvanized nails and hammer or nail gun if you have one
- speed square
- measuring tape
- ladder
- pencil
- gloves
- safety goggles
Procedure:
- Measure the thickness of the opening of your garage door then add at least an inch and a half to the measurement. This is the size of the garage door trim that you'll purchase.
- Prepare to install the topside of the garage door wrap. Measure from the left to the right innermost side of the garage opening.
- Cut the PVC board according to size using a miter saw.
- Place the board on the top side of the garage door opening and press it in place. It's best if you have another pair of hands to help you keep it stable.
- Using your nail gun, secure the PVC board in place by aligning three nails vertically then do the same every 12 to 16 inches or so.
- Do the same to the sides of your garage door opening. Measure the distance from the underside of the garage door wrap's top part all the way to the floor of the garage.
- Take note of the angle at the bottom part where the trim meets the floor (as this portion won't be flat) so you can cut your board accordingly.
- Once the side trims are put in place, you can install the PVC brick mold.
- Start with the sides first. Measure from the top to the bottom of the exterior garage door frame then, add the width of your brick mold to make space for the top piece. Take note that the top portion of the brick mold needs to be cut with an angle of 45 degrees to accommodate the top piece later on.
- After installing the brick molds on the sides, measure the distance from the top's leftmost side to the rightmost side to get the length of your top piece. Mark the angles where the ends would meet the sides of the brick mold and cut accordingly.
- Test to see if the top piece would fit perfectly or if you need to make adjustments. It's like completing the missing piece of a puzzle.
- Install the top piece of the trim board.
- Nail the corners together to achieve a clean look.
- Put caulk along the seams if needed.
There you go! Congratulations on installing your garage door trim by yourself. This procedure is also applicable to wood and vinyl. Consult your garage door service provider if you've chosen fiber cement or aluminum.
For those who don't have the skills or proper tools for this job, don't hesitate to ask for professional assistance to ensure the quality of the work.
Final Thoughts
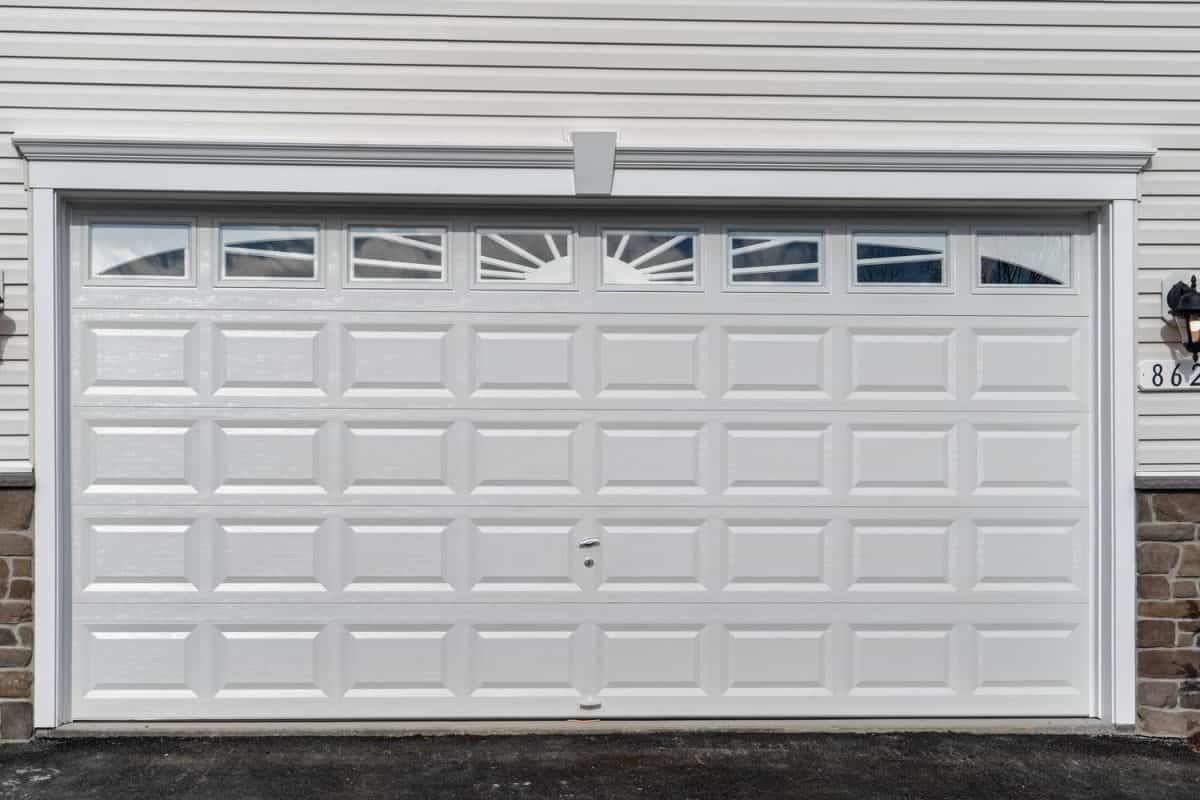
Make sure you install your garage door trim properly as it will impact not only the form and function of your garage door but add value to your house as well.
Feel free to read the following posts for other resources about garage doors:

