Is the look of your garage door trim bothering you and you're thinking if you should have it replaced already? When is it okay to do so? That's what we asked the garage door experts and here's what we found out.
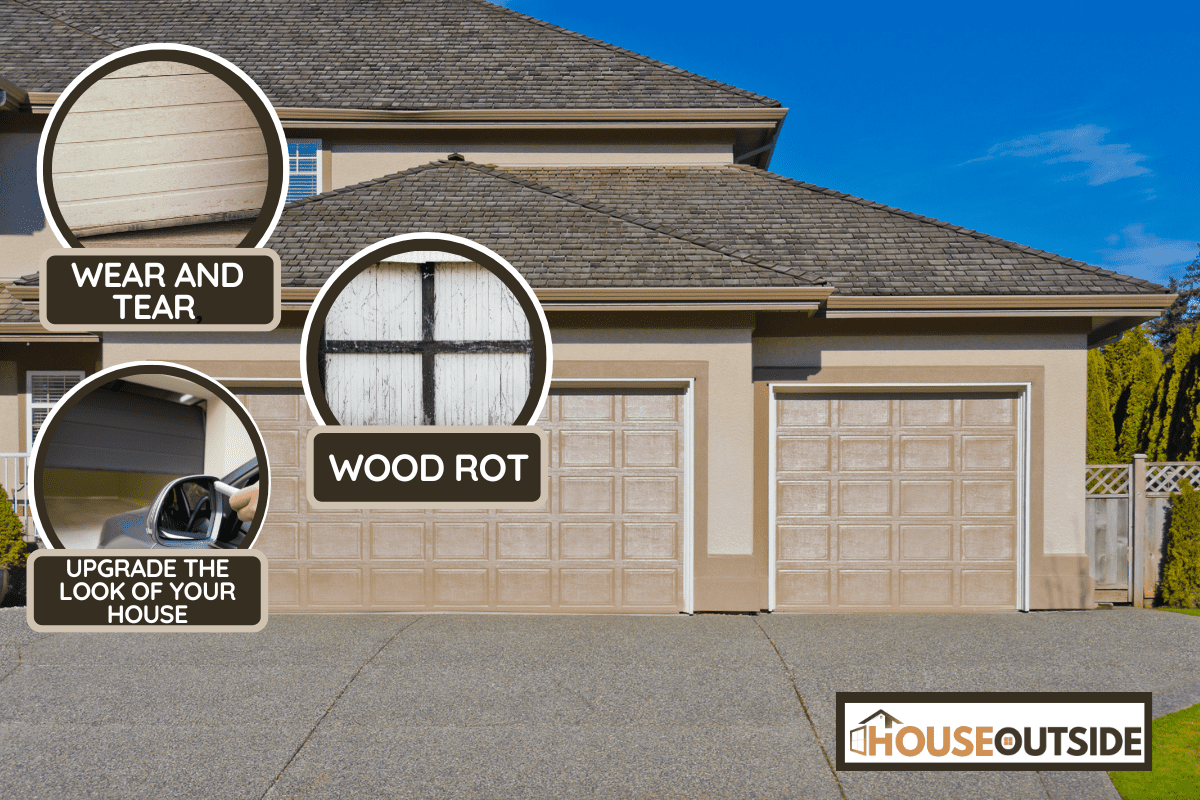
You can replace the trim on your garage door when it's showing signs of wear and tear or wood rot. You can also do so if you want to upgrade the look of your house.
Continue reading so we can tell you more about when to replace your garage door trim and how to do it. We'll also talk about garage door seals since these two components add extra protection to your garage door. Let's get started!
When should I replace my garage door trim?

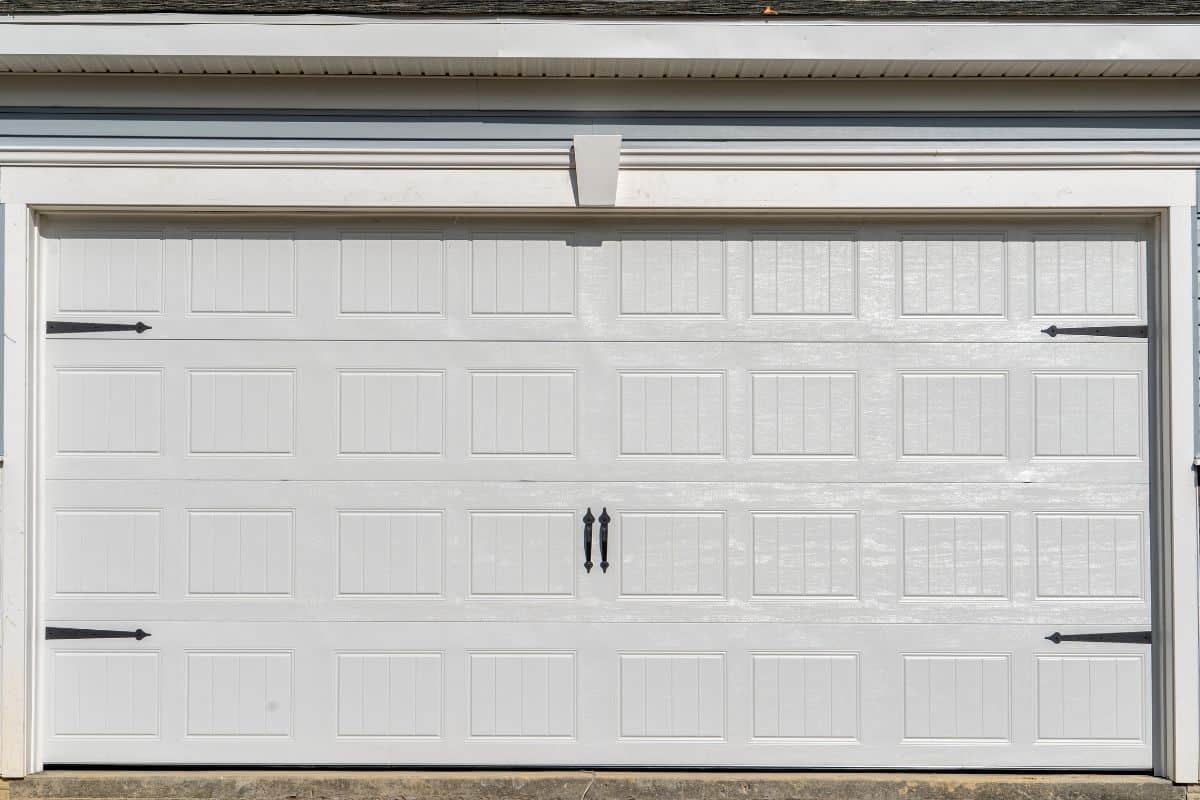
The trim on your garage door is also called the garage door jamb or garage door wrap. Just like any door, your garage door needs a trim that covers the rough edges of the door opening.
These are long pieces of materials that can be made from wood, aluminum, vinyl, and composite. There's one on each side of the garage door opening and another one on the top.
But aside from making your garage look presentable, it also has the important purpose of protecting the garage door from damage caused by water and the weather.
The garage door trim comes in different styles like arched, thin and modern, decorative fillet, or half trim.
Many home design experts say that your garage door trim can instantly change the look of the exterior of your house and enhance its curb appeal. However, it is directly exposed to varying weather conditions that could take its toll on its appearance and performance.
You know it's time to replace your garage door trim when it already shows signs of wear and tear. There might be cracks, splits, or peeling paint on the surface. If it is made of wood, there might be wood rot already and it can spread to other portions of your garage door.
Also, you can change your garage door trim if its current style and color no longer bring you joy and you want to upgrade its look.
So, check your garage door trim's condition and stop taking it for granted. Replace it when needed so you can reap its benefits. There are garage door trim kits sold at local hardware stores or you can have yours customized by your garage door dealer.
How To Upgrade Your Garage Door Trim
When you're ready to replace your existing garage door trim, you can do it as a weekend DIY project if you've got the skills for it. You can make your garage door trim from scratch or to make it even easier, just purchase a garage door trim kit from the hardware store.
Here are the tools and materials that you'll need.
- razor knife
- flat crowbar
- hammer
- diagonal pliers
- tape measure
- pencil for marking
- miter saw
- treated lumber or cedar wood for the trim or the garage door trim kit
- 2-3" nails
- caulk
- paint
- painter's tape
Procedure:
- Use a razor knife to cut the caulk around the perimeter of your existing garage door trim. This will make it easier to remove the trim and it won't damage the wood if it's still in good condition.
- Insert the crowbar in between the frame of the garage door and the trim. You can use your hammer to get it inside.
- Twist the crowbar to pry the trim loose until you can detach it from the frame. Start at the bottom part of either side of the trim. Remove the top part last.
- Take the measurements of the old garage door trim and transfer them to your new materials.
- Cut the wood (or other material that you've chosen for your trim) as needed to fit the garage door frame.
- When the boards are ready, measure your garage door frame and transfer them to your new boards. Don't go past this mark when nailing the trim to the garage door frame so that you won't damage the concrete surface of your wall.
- Position the new trim and nail it on the frame. Make sure the nails are not more than 8" inches from each other to secure the trim in its place. Start with the side portions of the garage door trim.
- Nail the top part of the garage door trim on the frame ensuring its perfect fit with the side portions.
- Apply caulk around the perimeter of your new garage door trim as well as any small holes or cracks that you see on its surface.
- Once the caulk has dried, you can paint your new trim as you desire. Just cover adjacent areas with painter's tape so that you don't put paint on them.
That's it! You've got yourself a new garage door trim. But if you're not up for some DIY project, you can always ask your trusted garage door service provider to install it for you.
When do you replace your garage door seal?
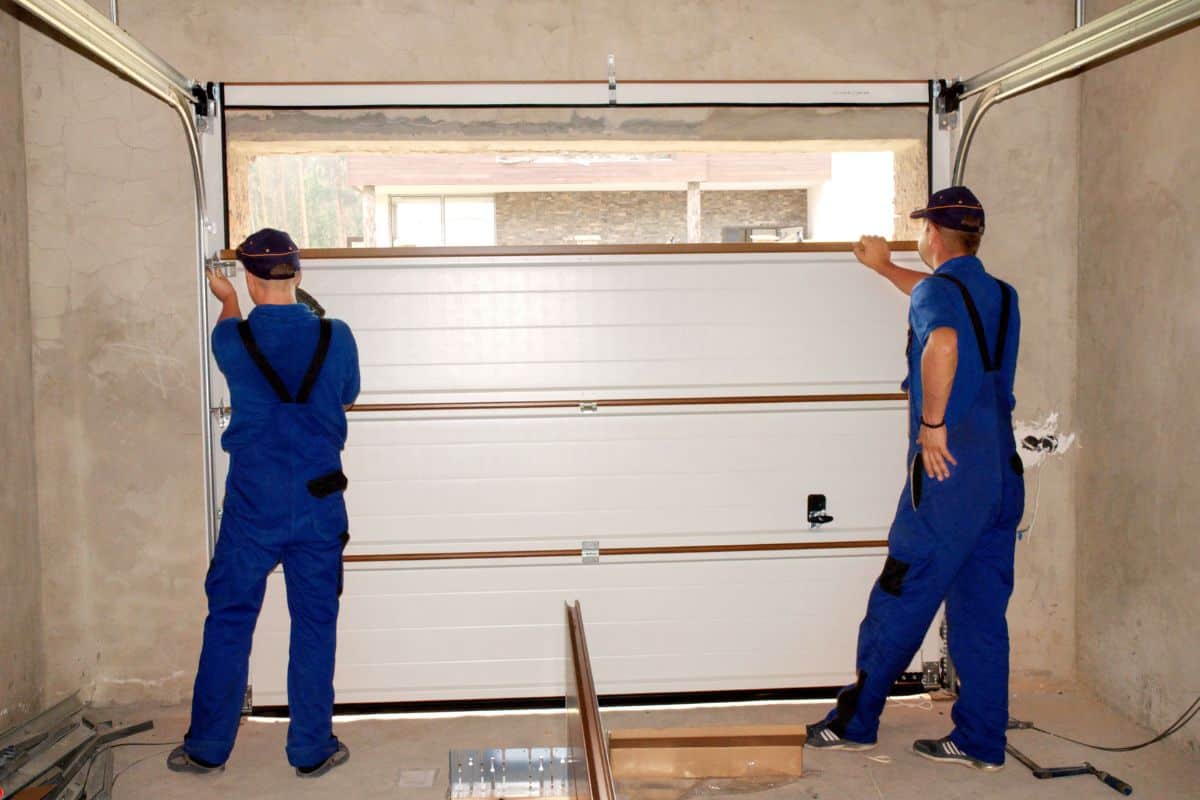
Your garage door seals are mounted on the edges of the garage door. They play an important part in ensuring that the temperature inside the garage is maintained at a comfortable level. No heat escapes in the winter nor enters during summer.
The garage door seals or weather strips will also prevent unwanted particles and creatures from getting inside the garage so that your vehicles and other stuff that you've stored in there are kept safe. They also protect the edges of your garage door from moisture and damage.
There are different types of garage door seals - the vinyl door stop, bottom seal, brush seal, threshold seal for the bottom of the garage door and weather strips and reverse angle mount seal for the sides. They can also be made of different materials such as plastic or rubber.
The lifespan of the garage door seal would largely depend on the quality of your chosen material. Some can last for one season while some can last for years. They should also be installed and maintained properly to last long.
Same as the garage door trim, when it's no longer serving its purpose of protecting your garage, then it's time to have it replaced.
When you see the light coming from outside beneath your garage door, when water or debris gets inside, or when you feel a draft coming from the sides of the garage door, these are signs that you need to replace your garage door seals already.
How do you replace the garage door bottom weather seal?
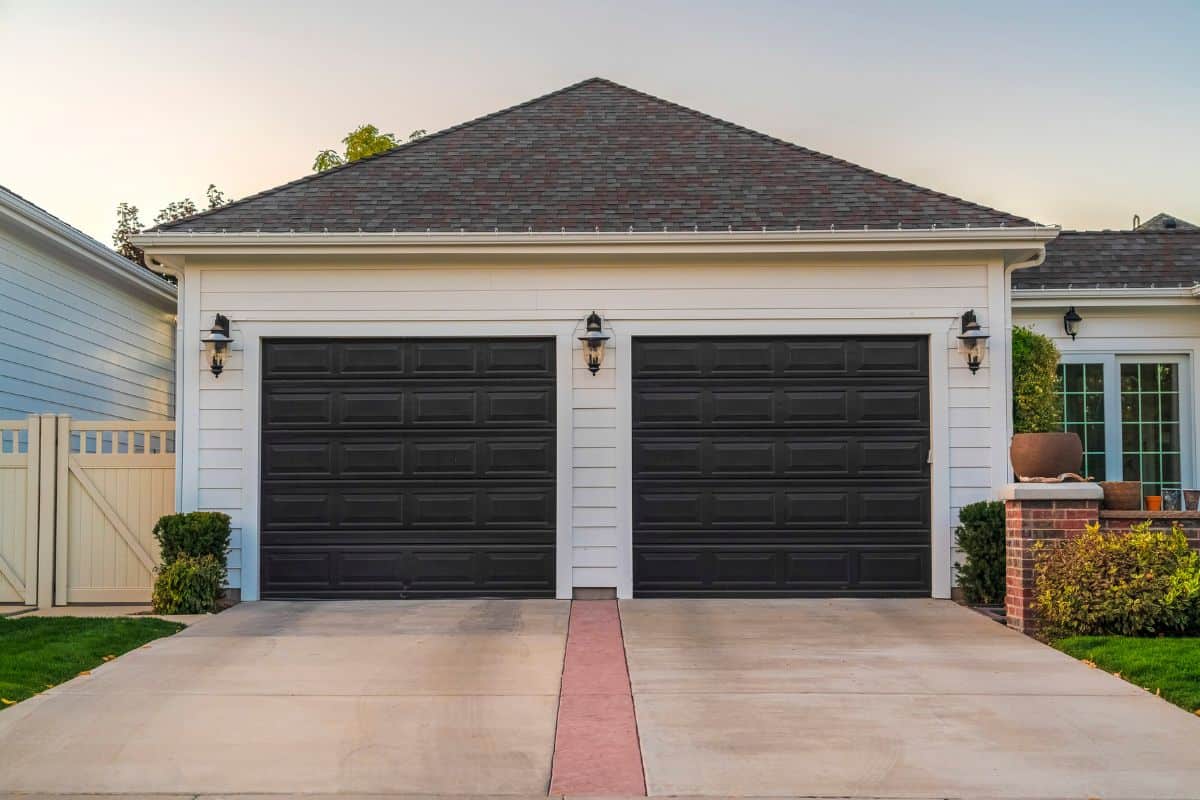
It is important to ensure that there are no gaps around your garage door. Even the tiniest gap can serve as an entry point for rodents or water and can cause much damage to your stuff inside the garage.
When there are gaps at the bottom of your garage door, you can easily remedy the situation with the use of weather strips. These will seal the gaps and make sure that nothing can get inside your garage through this space.
You can buy a universal garage door bottom weather seal kit from hardware stores. This is easy to install as it already comes with pre-drilled holes for the screws so that you can attach the weather seal to the bottom of your garage door. Just follow the manufacturer's instructions and you should be good to go.
Check out this universal garage door bottom seal on Amazon.
In general, here are the steps that you need to do.
- Remove the old seal at the bottom of the garage door including the plate.
- Clean your garage door especially the edges to make sure that nothing will get in the way during the installation.
- Measure the bottom of your garage door and cut the track according to size.
- Position the track of the new bottom weather seal. Use duct tape to keep it in place.
- Mark the pre-drilled holes.
- Pre-drill the screw before threading it all the way. Do this for all the holes across the plate.
- Slide the rubber seal along the new track. You can spray soapy water on the track so that the rubber can slide easier.
- Make sure that the seal stays on the track.
- Cut the excess rubber seal.
There you have it! You've just installed your new garage door bottom seal to keep unwanted elements at bay.
Final Thoughts
You can replace your garage door trim when it isn't serving its purpose anymore either aesthetically or functionally. Now you know more about when, and how, to do so.
We have more door resources on our website. Feel free to access these links if you're interested:


