Aluminum sidings are among the most popular items in the construction sector used to develop more effective cladding systems for projects. But how exactly does it connect? We did extensive research on this topic, and this is what we discovered.
Here are the steps to take in order to properly connect the aluminum sidings:
- Wear safety gear.
- Set up the work area.
- Place the underlayment.
- Install the corner posts.
- Set up the footer.
- Place the strip.
- Apply caulk.
- Cut the trims.
- Install the trims.
- Install the sidings.
In this article, we'll go into greater detail on the aforementioned steps. Additionally, we'll discuss various maintenance suggestions, their cost if completed by professionals, and more. So keep on reading.
How Does Aluminum Siding Connect?
When you want to modify the exterior of your home, installing aluminum siding may be just what you need to do to give your home a sharp, modern look. It is challenging if you've never installed aluminum exterior siding before.
To help you out with the challenging portions of the job and make the whole process much smoother, below are some detailed steps you may follow in connecting the aluminum siding.
1. Wear Safety Gear

The first and most essential step in installing aluminum siding is to start the task carefully by wearing gloves and safety eyewear. Any type of aluminum siding installation must be done with the utmost safety in mind.
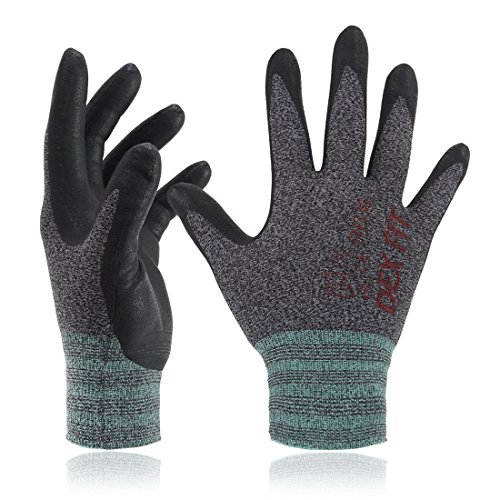

Click here to see this pair of gloves on Amazon.


Click here to see this eyewear on Amazon.
The installation involves several potentially challenging tasks, the biggest of which is probably mounting all of the siding pieces that will run along the top and sides of the doors and window covers.
2. Set Up The Work Area
Remove any old siding, paint, caulking, or putty from the external walls. Hammer flat or cut off any protruding nails or screws. Also, wedge any remaining dents or depressions in the wall (small pieces of scrap material).
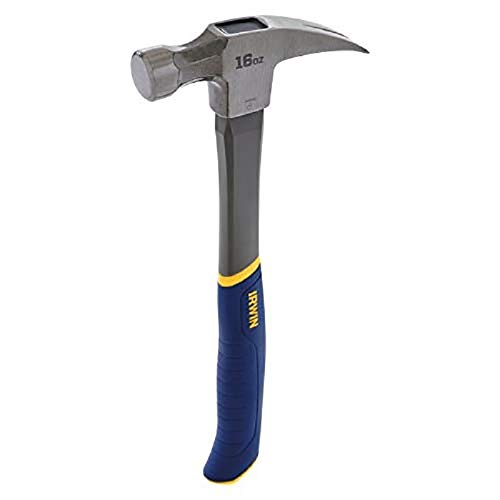

Click here to see this hammer on Amazon.
3. Place The Underlayment
The most frequently suggested underlayment for aluminum siding is foam board. Install each sheet with nails, ensuring that they are all straight and that there are no spaces between them.


Click here to see this foam board on Amazon.
4. Install The Corner Posts
Suspend the posts at each corner using two nails in each of the higher nail slots. Make sure there is a 1” overlap if you must use many posts (also known as stacking) in a single corner.
5. Set Up The Footer
Specifically, this refers to the trim piece that is affixed to the base of each outside wall. Here will be the location of the starting strip installation.
6. Place The Strip
Under the eaves, install a strip of F-channel trim. The upper siding sheets will be installed so that they can slip beneath this piece.


Click here to see this F-channel on Amazon.
7. Apply Caulk
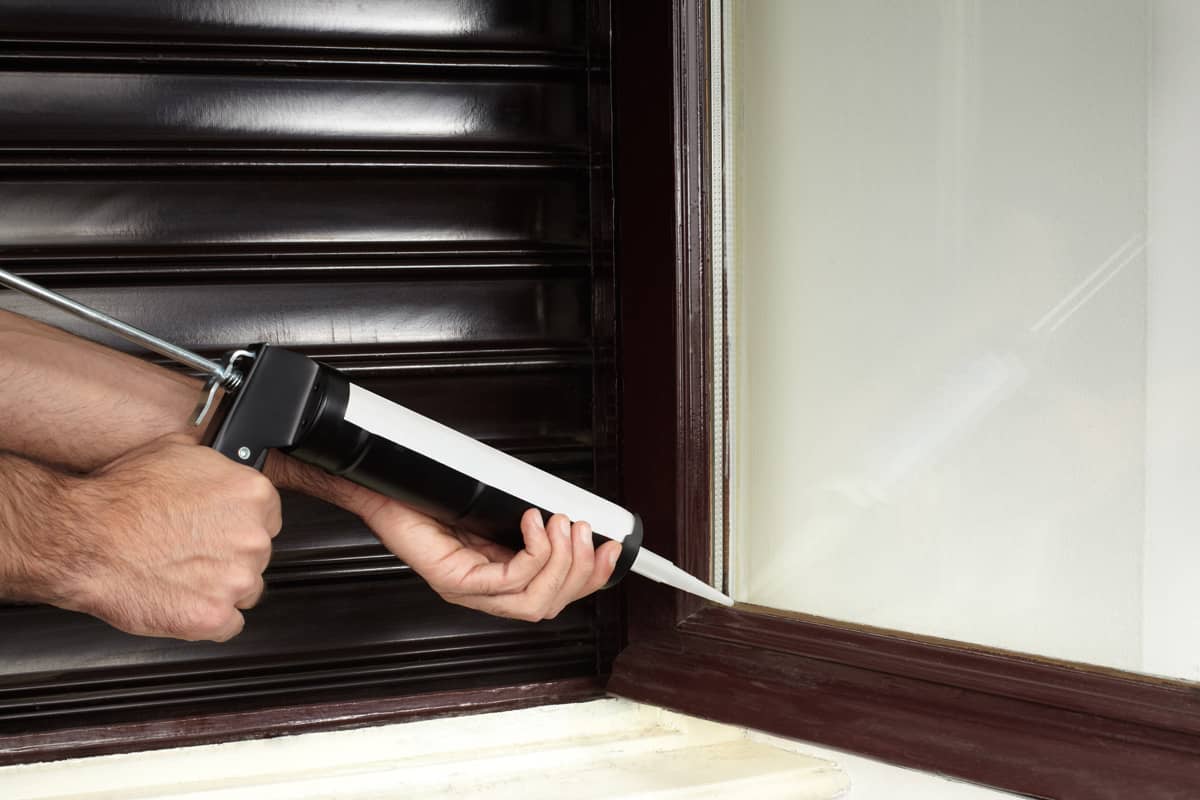
To make an airtight seal, apply caulk over any openings, such as windows and doors. Avoid caulking the area where the sidings and j-trim receiver or j-channel meet, outside and inside corner posts.
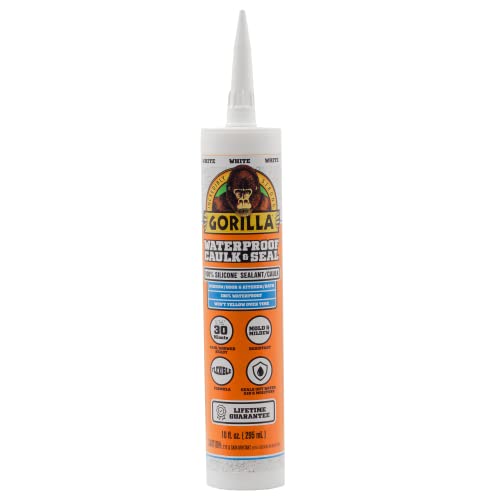

Click here to see this caulk on Amazon.
8. Cut The Trims
This trim is what they called J-channel. Trim the windows and doors as necessary. Size each piece of trim longer than the actual opening which is around two channel widths. Each J-channel section's ends should have notches cut out of them so they can fit together.


Click here to see this J-channel on Amazon.
To see how sizing and cutting of J-channel are done, a video on YouTube is shown below.
9. Install The Trims
Install the trim such that it surrounds each window frame and buts up against the tops and sides of the doors. Nail at 12” intervals.
Start at the bottom of the trim at the windows and work your way up, then install the sides, and finally the top. This will aid in regulating water flow and avert leaks.
A nailing strip is located at the top of each siding sheet. In each segment of the nail strip, fasten the siding to the wall with a nail. Instead of being nailed flat, siding is meant to dangle from the nails.
10. Install The Sidings
When adding your sidings, ensure that there is enough space to allow for expansion as you slide the siding's bottom into the footer. Slide the end that meets the corner in the same manner.
As you go up the wall, connect the bottom of each sheet to the tops of the ones before it. Always finish one wall before going on to the next.
Be sure to overlap succeeding siding sheets by 1” when more than one sheet of siding is required to finish a row. For optimal results, aim to place seams as far from the wall's main point as you can.
For windows, doors, and corners, use a circular saw to cut siding panels. Finish the installation at window sills and certain soffit areas using gutter-seal adhesive.


Click here to see this circular saw on Amazon.


Click here to see this adhesive sealant on Amazon.
Trim any excess width from the top of the sheet before installing the top siding panels. Slide the bottom beneath the trim you've fitted under the eave, locking it into place at the top of the panel before it.
How Do You Maintain Aluminum Siding?
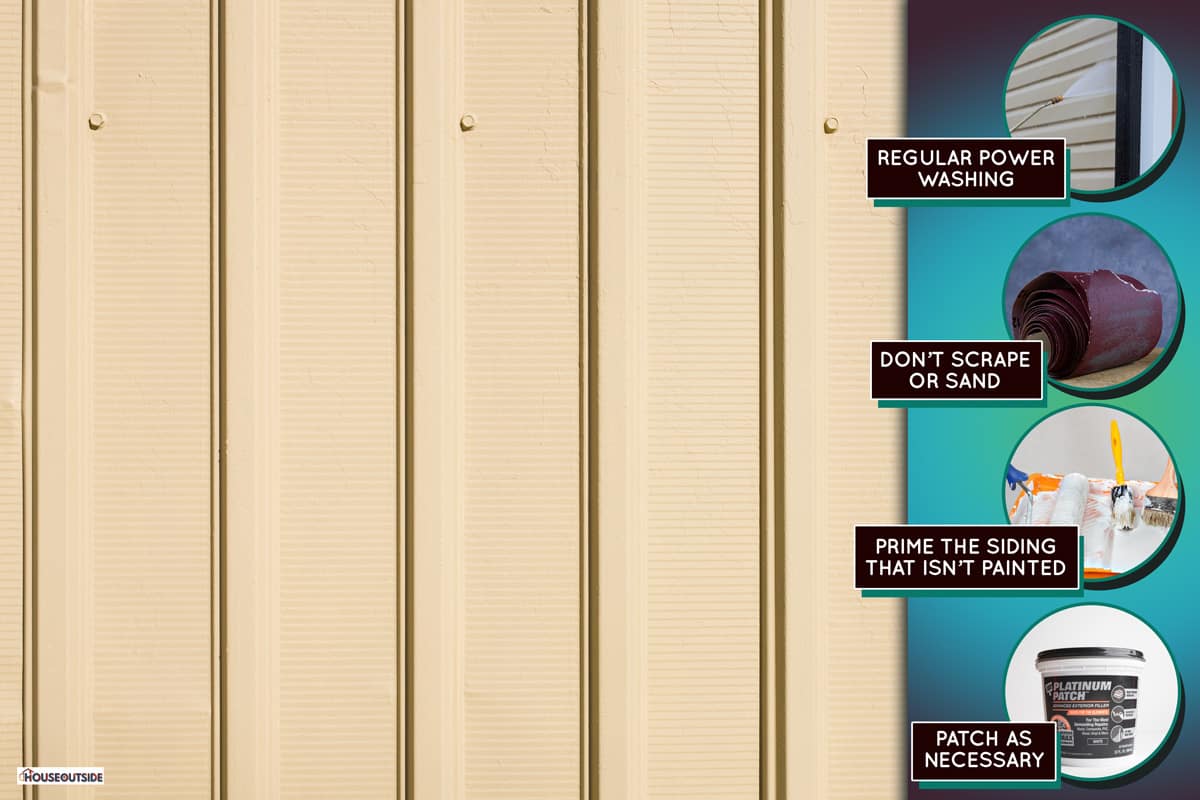
Even though aluminum siding last longer, it generally won't look as good without routine siding upkeep. Below are some strategies to retain the wonderful appearance of aluminum siding:
Regular Power Washing
Every six to twelve months, pressure wash it. By doing this, you can avoid the oxidized paint's faded or chalky appearance as well as the buildup of dirt, dust, or mold.
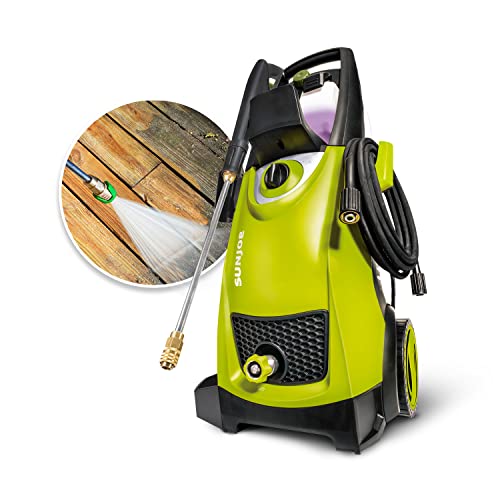

Click here to see this pressure washer on Amazon.
Your siding will stay fresh and bright for years if you add laundry detergent to the pressure washer's plastic dip tube. If there are any areas where mildew has gathered, use bleach and a soft-bristle cleaning brush to remove it.


Click here to see this detergent on Amazon.


Click here to see this soft-bristle brush on Amazon.
Try vinegar or borax as an environmentally friendly substitute for bleach. Before and after applying any cleaning solution, make sure to completely rinse your siding to avoid leaving markings where the solution has dried.
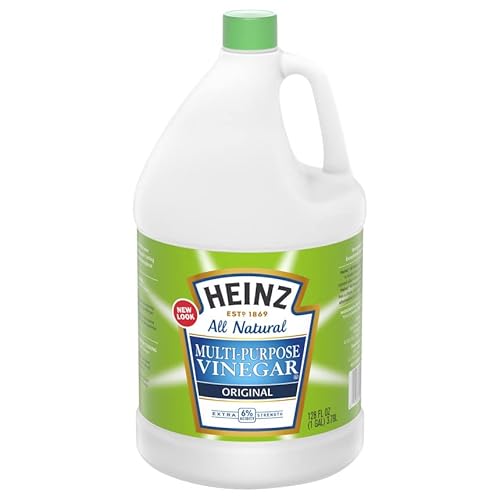

Click here to see this vinegar on Amazon.


Click here to see this borax on Amazon.
Don’t Scrape Or Sand
Never scrape this kind of siding because it is prone to scratches. Use 400-600 grit sandpaper if you must sand it.


Click here to see this grit sandpaper on Amazon.
Do Regular Painting
Paint over every five years or more. Use spray paint for a rapid color touch-up and repair. The finest option for painting aluminum siding is exterior acrylic latex paint.


Click here to see this acrylic latex paint on Amazon.
Avoid anything glossy when picking a finish because it will draw attention to dents or other irregularities. Select a flat or satin finish paint that closely matches the color of the siding on your property.
Prime The Siding That Isn’t Painted
Use a zinc oxide primer if your siding is bare (no colored enamel baked on) to keep it looking its best. Moreover, if bare aluminum is visible or the surface is severely worn and peeling from a prior paint job, priming is required.
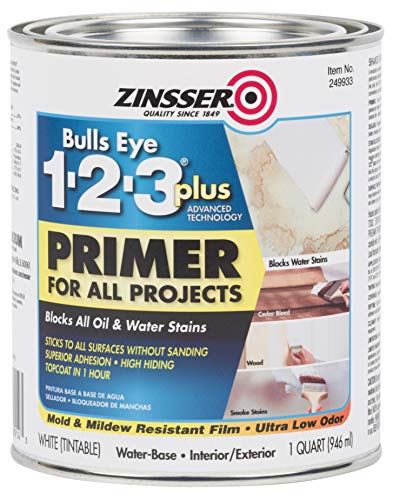

Click here to see this primer on Amazon.
However, if the siding finish is only sun-faded, priming is not necessary, simply apply two coats of premium acrylic paint.
Patch As Necessary
Aluminum siding may dent or puncture when something hard or sharp objects struck on it. Patching these holes or cracks can prevent water infiltration into the house's walls.
When patching, use fillers designed for metals. If you need to patch up an aluminum surface, use a metal-specific filler, such as Bondo for autos.


Click here to see this Bondo metal-reinforced filler on Amazon.
How Much Does Aluminum Siding Cost?
Installing aluminum siding on a property might cost between $3 and $7.25 per square foot, with the majority of people spending around $9,192 total on the costs of professional installation.
The cost of the project will vary based on the size and style of your home, any additional materials required, local labor prices, and the price to remove any existing siding that needs to be removed. The cost of aluminum siding is typically just marginally more than that of replacement vinyl siding.
Although adding aluminum siding by yourself may seem like a fantastic method to save money, you may end up spending more money to fix any errors or damage. A warranty is another benefit of hiring a professional for your siding project.
Final Thoughts
Aluminum siding is a solid material choice for a durable exterior of your home as long as it is installed correctly and maintained. Despite the fact that installing this might not be easy, if you follow the aforementioned instructions and are persistent and diligent, you will complete your work.
Before you go, check out some other siding articles we have below.
![Roof Gutter Cleaning Tips. Clean Your Gutters. Gutter Cleaning., Do Gutters Smell? [And What To Do About It]](https://houseoutside.com/wp-content/uploads/2022/10/Roof-Gutter-Cleaning-Tips.-Clean-Your-Gutters.-Gutter-Cleaning.-600x400.jpg)