Flat roofs require extra protection since water cannot properly drain from this roofing material, leaving them prone to damage and leaks. A torch down roof is one way to prevent this issue. We have researched everything you need to know about torch down roofing so that you can get started with your project!
There are two ways to patch a torch down roof, either the traditional or the direct method. The traditional process includes the work of a professional which has a very intricate procedure while the latter can be done as a do-it-yourself.
Traditional:
- Install insulation and moisture barrier
- Attach the overlay board
- Incorporate the base sheet and then the cap sheet
- Use flashing if necessary
Direct:
The main material used is specifically designed with an insulator and moisture barrier. (Note: DIY is not advisable.)
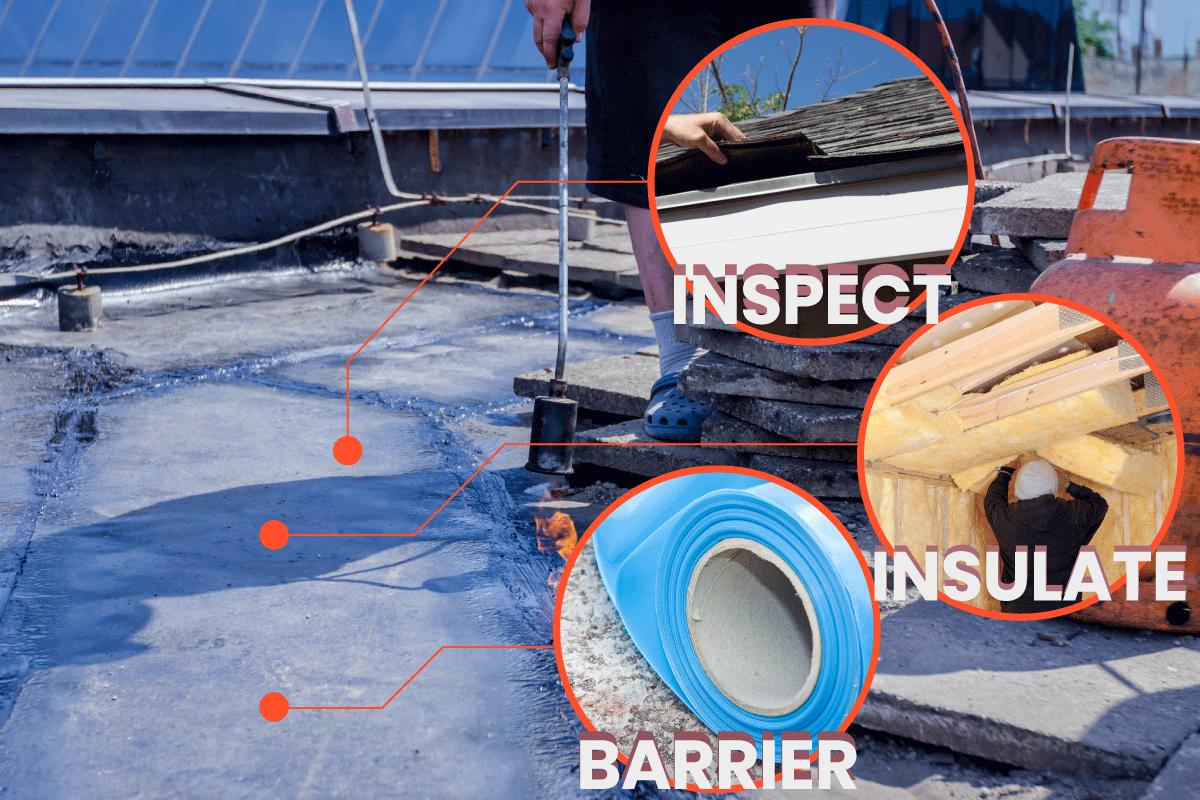
- Inspect and clean the surface
- Lay down the overlay board if needed
- Apply the base sheet
- Attach the cap sheet
- Use flashing if necessary
"Repairing" a torch down roof is relatively simple as long as you follow the steps and use the correct materials so that the work can be done properly. While this is the case, "installing" is required to be done by a professional because of its intricate procedure. In this article, we aim to guide you through the process of repairing and installing a torch down roof.
What Is A Torch Down Roof?
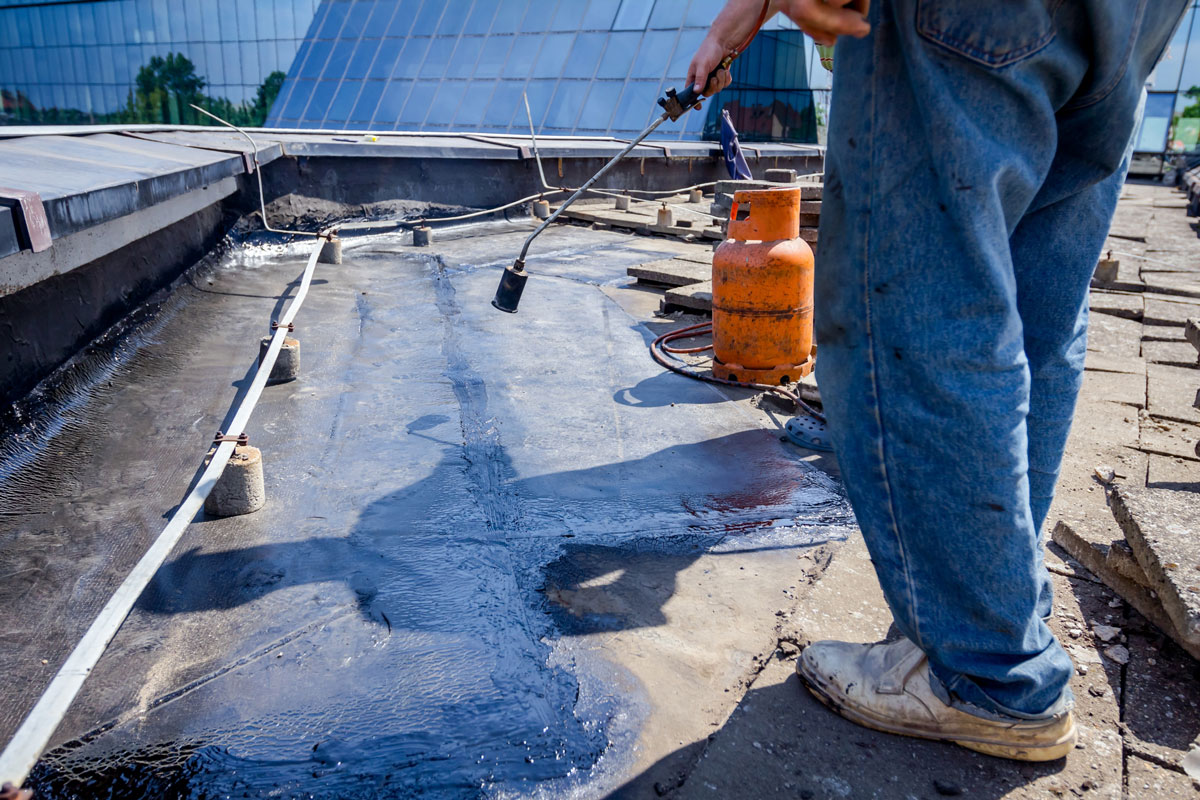
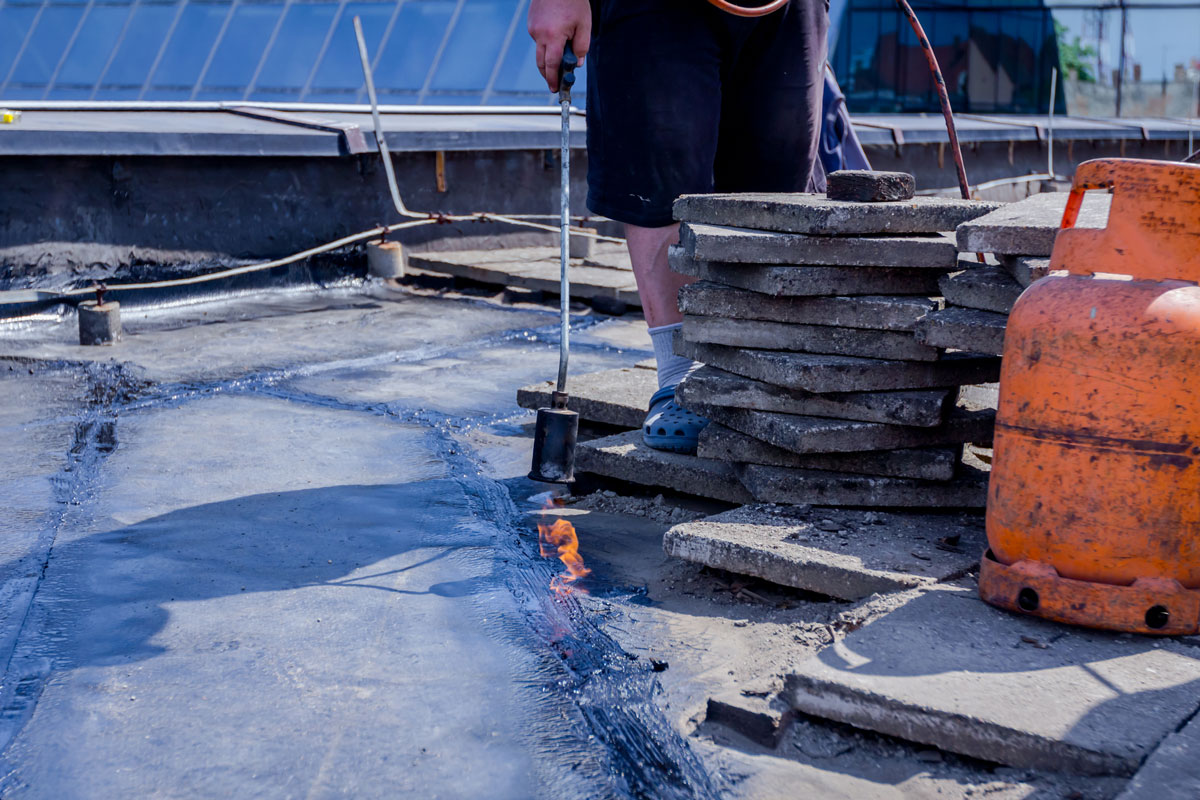
A torch down roof is any roof that has undergone the "torch on" process using a sheet of modified bitumen.
Torch down roofing (torch on) is a procedure by which a material is applied on flat or low-sloped roofs to prevent leaks and damage caused by harsh weather conditions. As the name implies, sealing or installing the product requires the use of an open-flame propane torch.
Two-layer and three-layer systems are the two main types of roofing material. Both of which have a base and a cap sheet, however, the latter uses a granule-cap sheet as the third or finishing component. These membranes have a consistent thickness of 3 to 4mm, making them durable.
Main Components:
Insulation
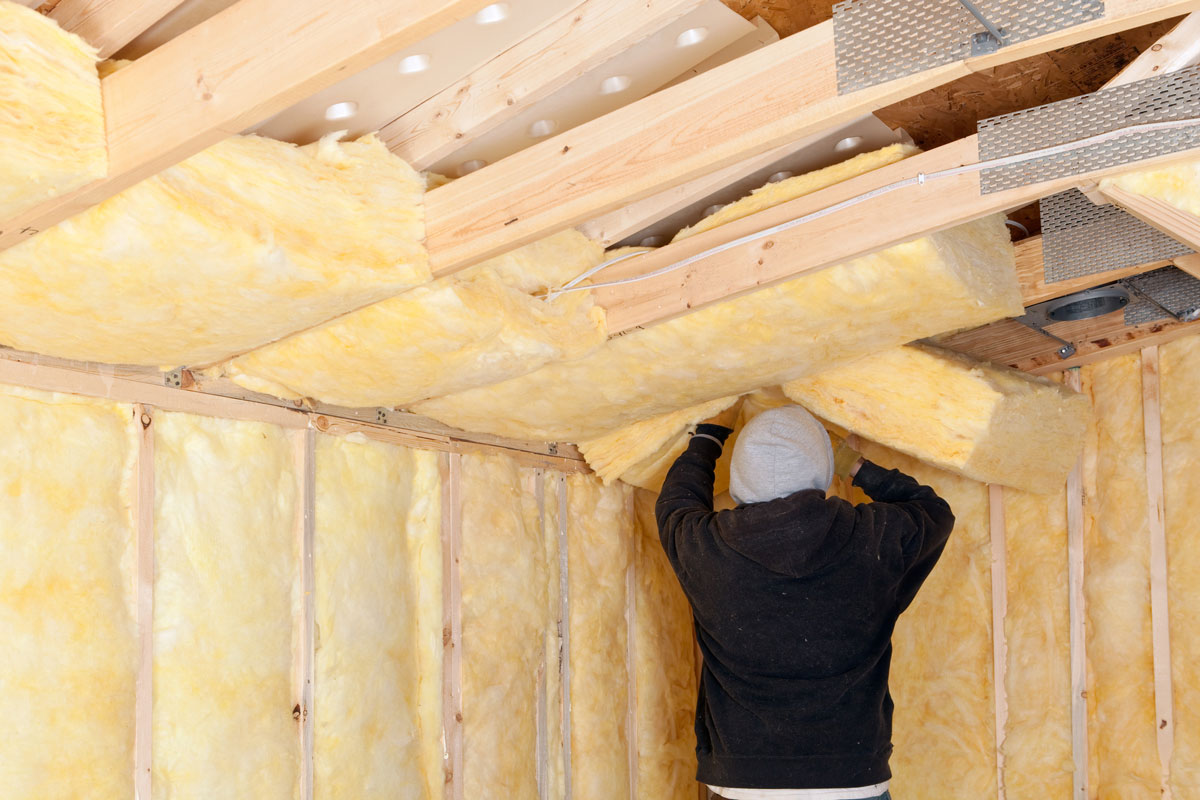
Insulation is the first material you lay on your roof by using an adhesive or by attaching the component with screws and plates. It is best applied in areas with cold climates because it can retain heat in a building or housing structure.
Moisture Barrier
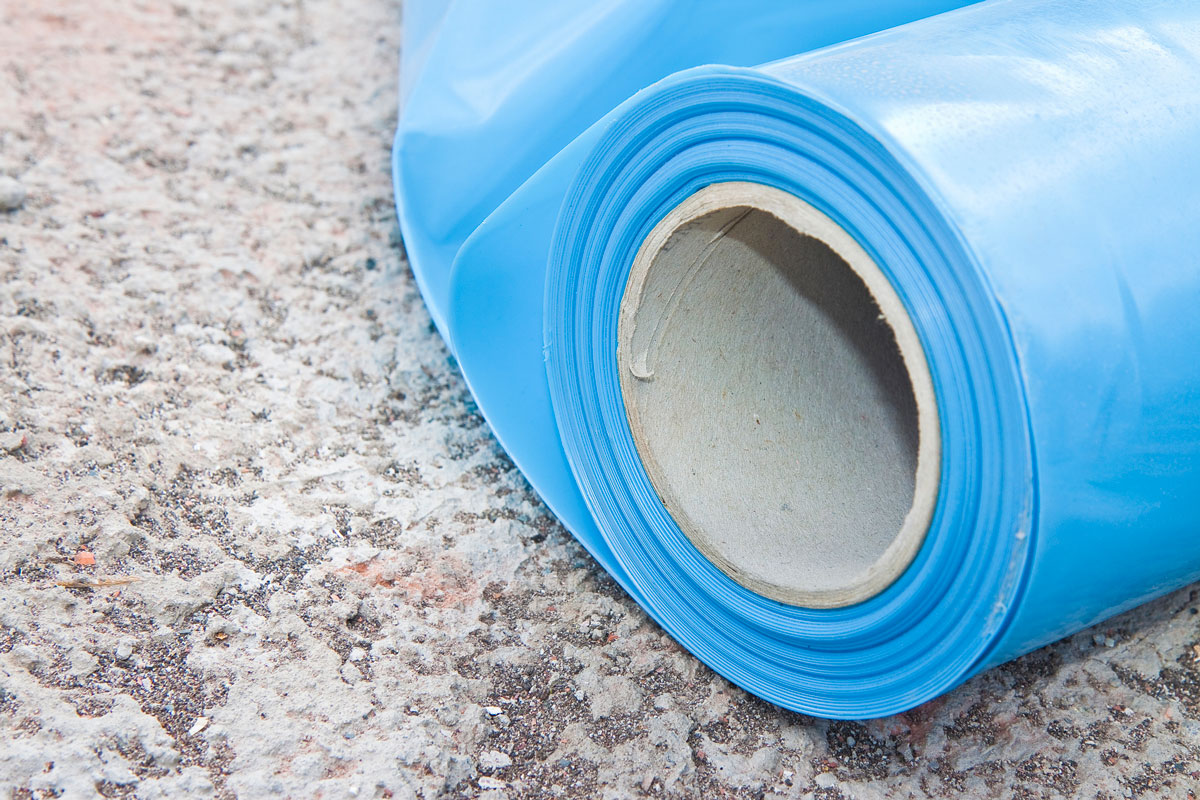
Moisture barrier is on top of the insulation. The main purpose of the material is to prevent the roof from having condensation and moisture issues which is relatively important in keeping the longevity and durability of your roof.
Overlay Board
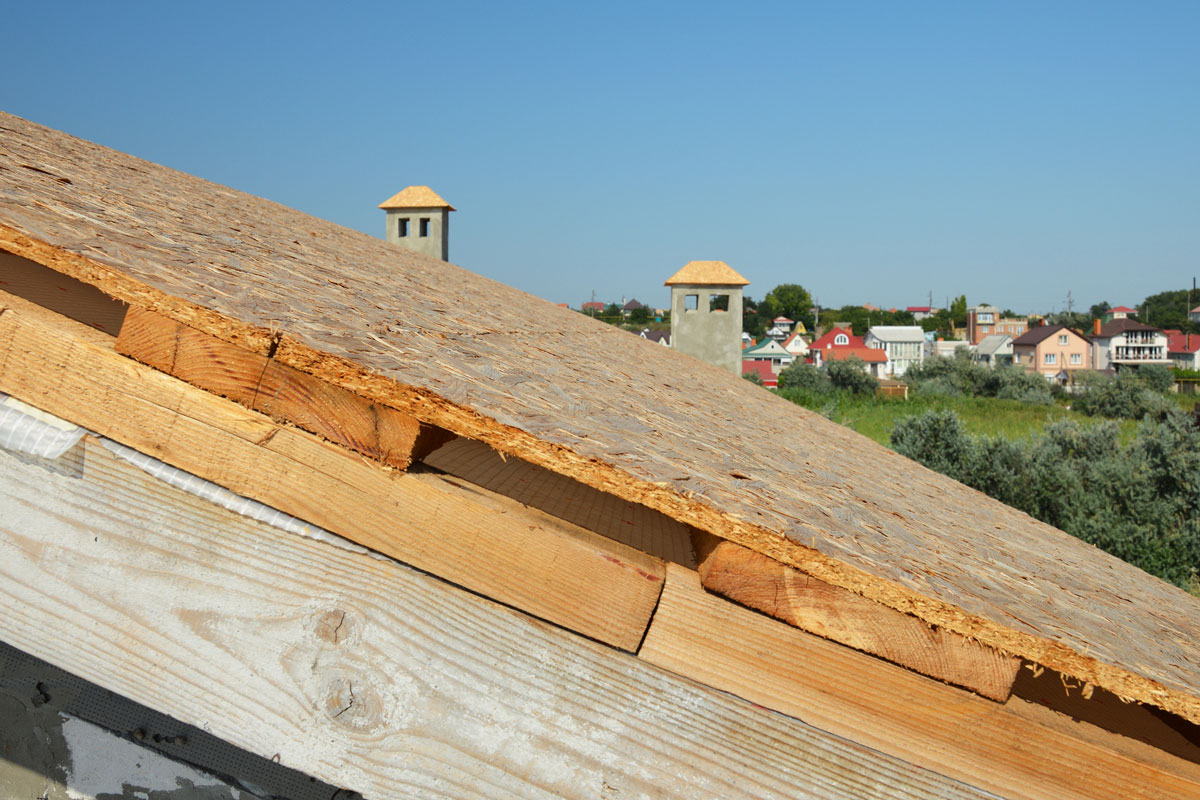
Overlay board is attached on top of the moisture barrier which functions as the main support of the bitumen or the torch down roofing material. The board serves as a flat surface that levels uneven rooftops. It needs to be properly placed to prevent ponding or water from piling up on the roof.
Base Sheet
Base sheet is the first layer or sheet of modified bitumen - an asphalt compound that is mixed with plastic or rubber. Atactic Polypropylene (APP) and Styrene Butadiene Styrene (SBS) are the two main materials that bitumen is made of.
Cap Sheet And Granules
The cap sheet is the second layer and it is attached on top of the base sheet. Granules are added to extend the lifespan of your roof and to enhance energy efficiency, fire resistance, and other features.
If you do not intend to use a third layer or a granule sheet, the cap membrane is the topmost material on your torch down roof.
Flashing
Flashing is installed on the corners of walls, vents, and any other structures you do not want to be affected by the propane torch. It is used to protect walls, HVAC, and vents.
Important Considerations And Precautions
In any cases, it is best to hire a professional to do the work because the use of a gas torch operating at extremely high temperatures is a fire and safety hazard. If not done properly, the house is at the risk of burning as well as the personnel who is doing the task.
If you plan to invest in torch down roofing, hire a contractor that is highly qualified and who has undergone a Certified Roofing Torch Applicator (CERTA) program safety training provided by the National Roofing Contractors Association (NCRA).
However, if you still intend to go through with the project, then ensure you wear safety goggles, gloves, and long clothing as a precaution.
Materials:
- Overlay Board (if necessary)
- Base Sheet
- Cap Sheet
- Flashing and Granule Cap Sheet (if needed)
- Open-flame Propane Torch
How To Attach A Torch Down Roof
Inspect The Area And Clean The Surface
Inspect the area for any debris, bumps, and metals. Ensure that the surface is level and clean so that the material can properly adhere to the roof or concrete.
If water is present, the drainage may be clogged or the surface is uneven. Remove the water, clean the roof, and let it dry before attaching the membrane.
Lay Down The Overlay Board If Needed
When attaching modified bitumen, the surface must be flat. If not, use an overlay board. Simply attach the material onto the roof using mechanical fixings and adhesive.
Attach the base sheet and then the cap sheet
The plastic underneath the membrane or sheet requires flame for it to adhere to the surface.
The materials typically come in rolls. ">Lay the base sheet on the area or on top of the overlay board. While they are still rolled, torch the underside for it to stick onto the surface while gently unrolling the membrane using your foot or any handle.
Once the whole area has been applied with a base sheet, attach the cap sheet on top. These sheets also come in rolls, but they are designed with seams. Seams are located on the front side of the cap sheet, and function as an allowance wherein you can bond or attach the next cap sheet, leaving no visible surface of the roof.
Gently unroll the membrane while torching the base sheet, the underside of the cap sheet, and the seams. Repeat the process until the area is covered. Do not overheat the materials because they will burn. There have been instances of misuse that caused an entire property to burn.
Use Flashing If Necessary
On the corners of any wall, install flashing on top of the base sheet by screwing the material onto the structure and the membrane. Afterward, start attaching the cap sheet, and then apply a modified adhesive bitumen on the edges or corners.
How To Repair A Torch Down Roof?
Materials:
- Cap Sheet
- Round Nose Trowel
- Modified Bitumen Adhesive - KARNAK
- Plumbing Torch
Before you begin, use gloves and safety goggles as a precaution. Here are simple ways on how to repair a torch down roof:
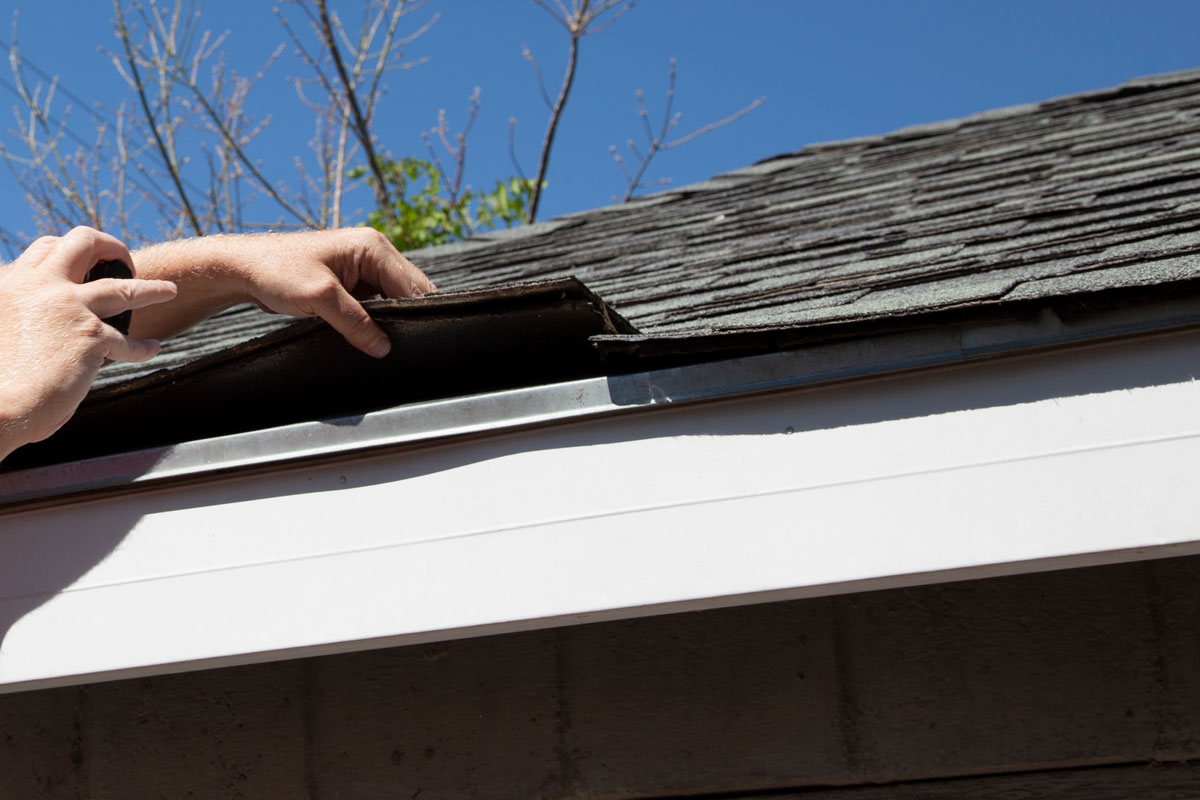
Inspection
Inspect the area for any damage such as cuts, unfastened seams etc.
Cut A Piece Of Cap Sheet
Cut a piece of cap sheet. The dimensions should be enough to cover the damaged area. Take the membrane and place it onto the affected surface then trace the outline of the material using a pencil.
Attach The Cap Sheet
Attach or adhere the membrane. In this step, you can either use a torch or an adhesive. However, in the absence of the former, you are required to use a modified bitumen adhesive, especially KARNAK - a semi-liquid formula. Other brands will not seal the cap sheet well.
While this is the case, remember to light the material using a plumbing blowtorch or anything that can ignite flame. Spread modified bitumen adhesive on the damaged area using a round nose trowel, and then torch the back of the membrane using a simple plumbing torch. Patch it onto the ground.
You can see the process for yourself in the video below:
What Are The Advantages And Disadvantages of Torch Down Roofing
If you are planning to layer your home with torch down roofing, here are some pros and cons to consider:
Pros
Waterproof
Flat roofs cannot keep water out of the building or housing structure. This situation eventually causes ponding or water piling up. One purpose of a torch down roof is to promote drainage as well as protect your roof from being damaged by water or frigid conditions.
People living in regions that experience intense winters would benefit more from this feature, especially since it prevents leakage and roof damage.
Flexible And Temperature Resistant
Modified bitumen or the sheets are very flexible since they can expand and contract as temperature changes, without breaking or cracking. As temperature rises, the bitumen shrinks while it decreases, and the membrane dilates, unlike other roofing materials which are prone to splitting or breaking once weather conditions fluctuate.
Durable
Modified bitumen is designed to withstand harsh weather and frigid conditions. It can last for 15 to 20 years, particularly when installed properly.
Insulator
The roof absorbs more heat or cold than most parts of the house. Since modified bitumen has insulating features, it can regulate temperatures during the winter and summer seasons, reducing the usage of furnaces, air conditioners, and any HVAC appliances.
Fire Resistant
Even though the membranes are composed of plastic and rubber, the material itself is fire resistant.
Low Maintenance
Because of the way torch down, roofs are manufactured, they are easier to maintain. Its durability, flexibility, and waterproofing qualities prevent you from experiencing intensive and costly repair issues.
Cons
Fire Risk
Even though the material itself is fire resistant, it can pose a fire hazard during installation. If the membranes or sheets are scorched or overheated, they tend to burn.
Problems Encountered During Installation
For the membranes to adhere, the plastic or rubber underneath must be torched. The seams also require heat to properly seal the two together.
If the seams are not sealed properly, it will result in roof leaks. Adding a third layer usually reduces this risk. The weather condition also affects installation. Water or snow can be trapped underneath the materials so it is best to do the project during dry conditions.
In Closing
Torch down roofing requires in-depth skills and enough knowledge to prevent any installation issues such as the material getting burned. If you still intend to do the project, always be careful and use safety goggles, gloves, and clothing. We hope this article proved to be helpful.