House numbers are an essential part of locating places. Want to know if it's required for them to have lighting? Then continue reading because we've combed through the internet and have the answers for you.
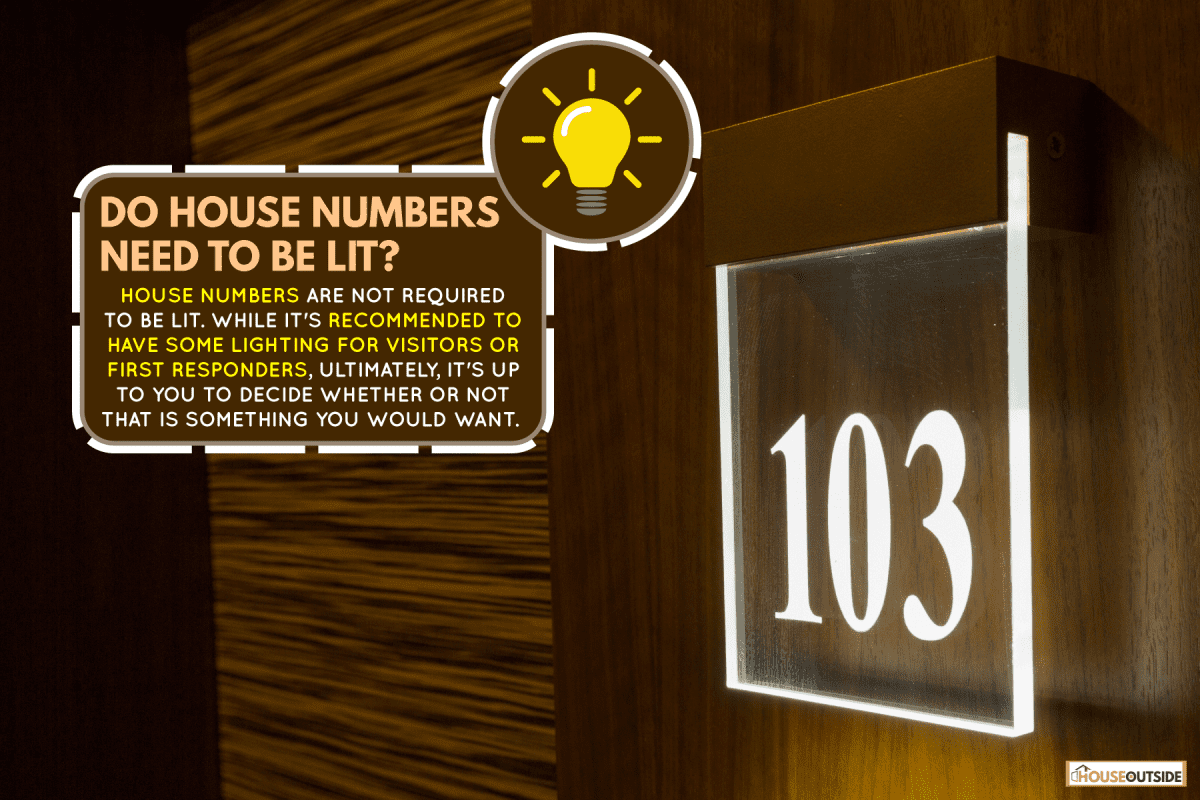
House numbers are not required to be lit. While it's recommended to have some lighting for visitors or first responders, ultimately, it's up to you to decide whether or not that is something you would want.
It's always important to understand something before making a decision. In this article, we will discuss the information that will help you make your choice. Let's get right to it!
Why Are House Numbers Important?
According to a study, home numbers serve more purposes than simply making the job of the post office easier. Several functions, including census-taking, military enlistment, and law enforcement, were made much easier by house numbers.
Over time, house numbers shifted from being political to be more practical. Using home numbers as a unique identification is a simple approach to make life easier for emergency service personnel, guests, and business interests.
Do House Numbers Need To Be Lit?
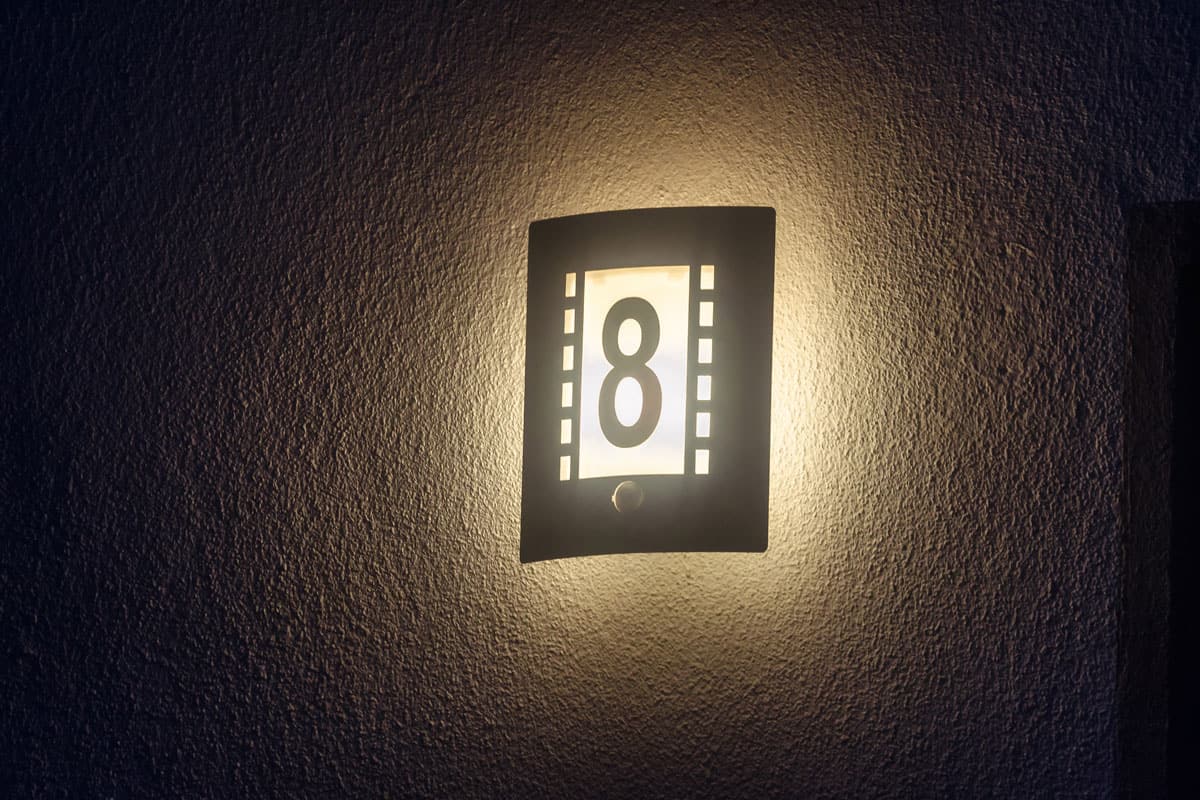
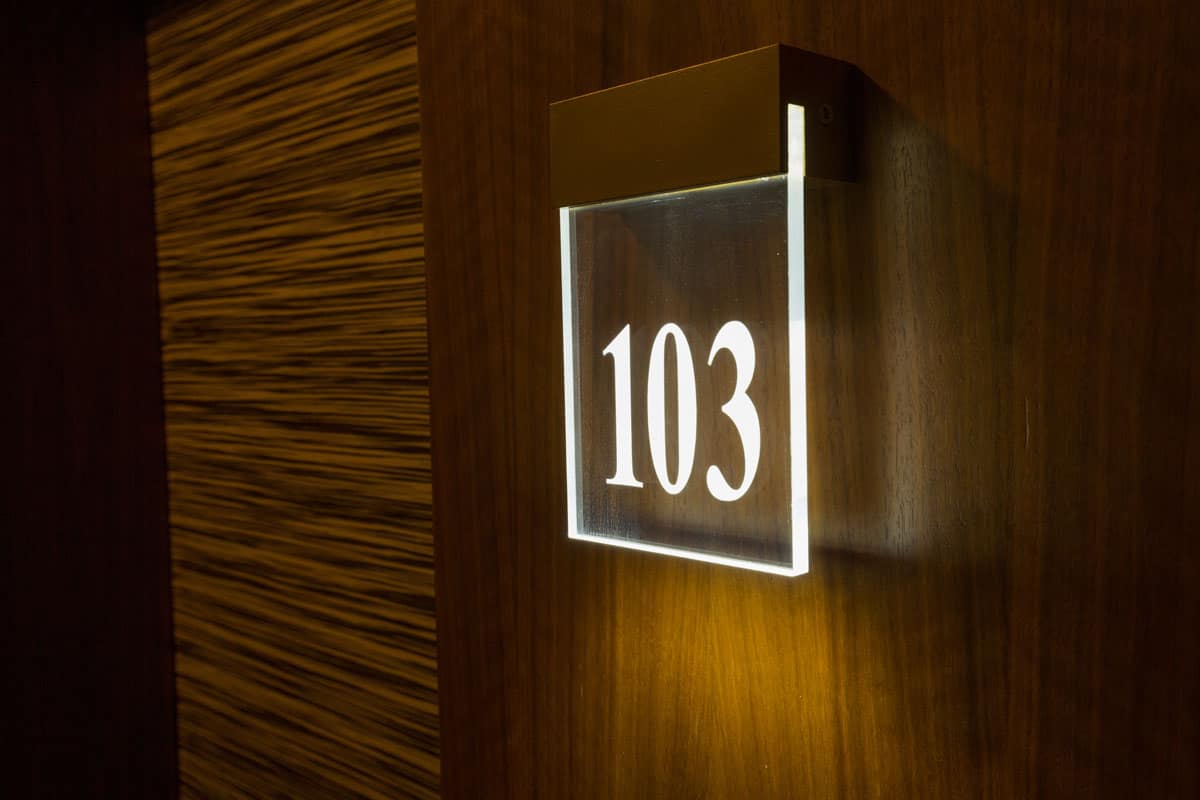
Adding illuminated address numbers is a terrific method to increase the visibility of your house. It is simple to locate your property day or night due to a set of huge, backlit numbers that are visible from the street. Additionally, they are useful for a lot more than only assisting emergency services.
For example, making your address noticeable to pizza delivery drivers, delivery trucks, and late-night guests. They wouldn't have been driving around finding your home if you had clearly visible address numbers. People will locate it on their own if it is well-lit.
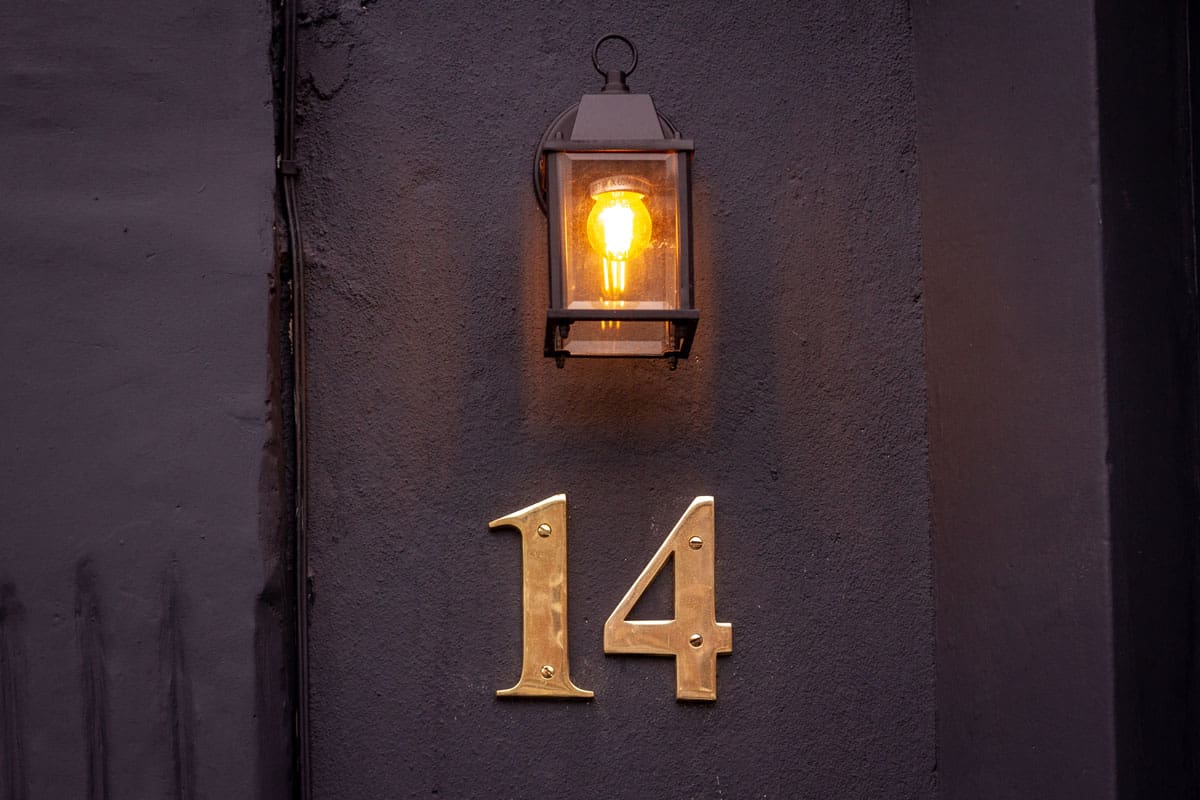
There are several ways to illuminate your numbers at night, from adding a simple light fixture above them to creating LED-lit numbers. Moreover, there are places where lit address signs are required in accordance with their building codes, such as in California.
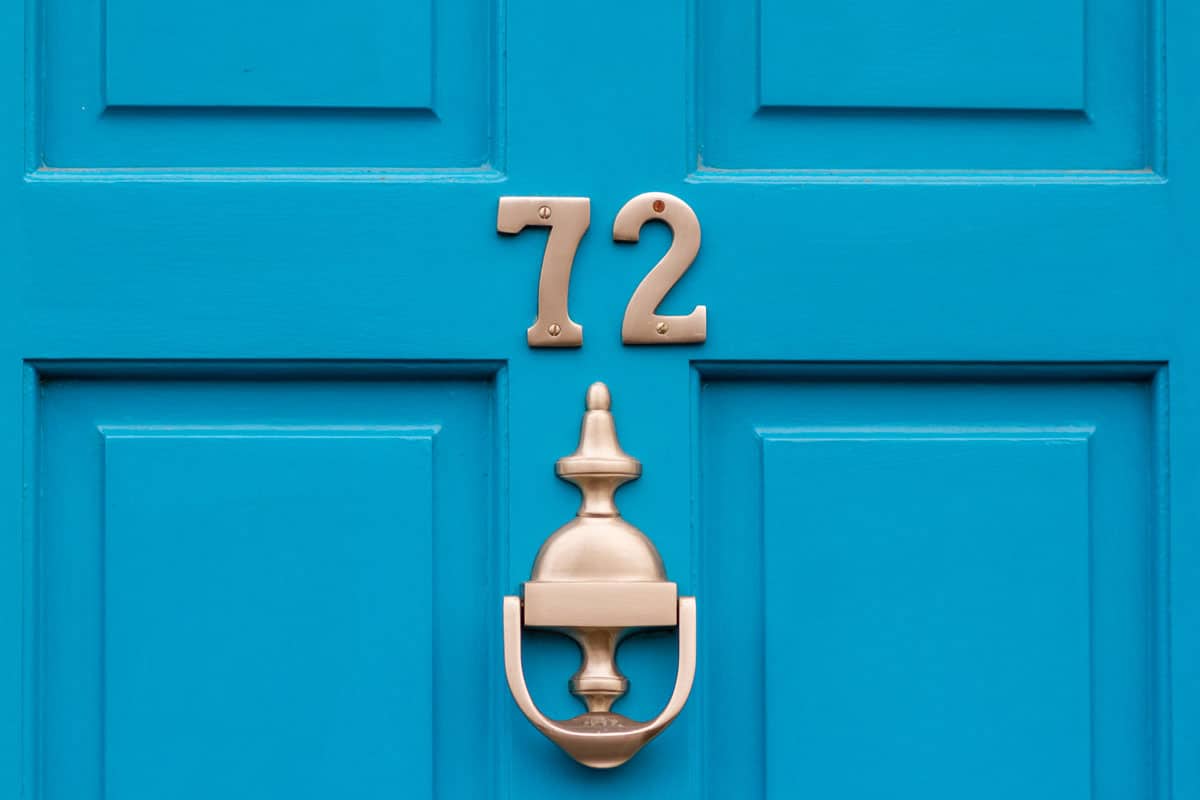
However, illuminating the house number is not the only way to make it visible. Such as choosing a color for the numerals of the house number that contrasts with the background in both light and dark areas.
Most often, the color of the house is used as the background. This will make the number noticeable. Black background with white numbers is common. Also, large and bold house numbers are appropriate.
What Are The Types Of Illumination For House Numbers?
Illuminated house numbers are an easy and affordable option to update the front of your house. They are useful and, of course, visually beautiful, being highly visible both day and night.
- Front-Lit: The numbers are solid with illumination coming from their faces. They present a clean, contemporary style and offer excellent visibility from all angles.
- Backlit: Possess a solid front and lighting on the backs of the numerals. This casts light onto and around the wall behind it, giving it a halo glow.
How Do You Install A Lit House Number?

This project will demonstrate how to make house numbers with a solar-powered LED light box. With just a few tools, you can complete these easy, affordable DIY illuminating house numbers. If you want to install it by yourself instead of buying directly the ready-made one then follow the steps below.
1. Build The Box
Cut Dimensions On The Plywood
- Side: 2 pieces (pcs) of 25 ½” by 3 ¾”. Then, make a deep groove (⅛” by ¼”) on each side, ½” from their edge
- Back: 1 pc of 3 ⅞” by 25 ½”
- Bottom blocks: 2 pcs of 2 ¾” by 3 ⅞”
- Glass stop blocks: 2 pcs of 2 ⅝” by 3 ⅞”
- Fronts: 2 pcs of 1 ½” by 3 ⅞”
Assemble The Blocks
Bottom Blocks
Utilizing wood glue and ¾” nails, join the two bottom blocks while maintaining their flush alignment on all four sides.
![]()
Click here to see this wood glue on Amazon.
The next step is to join one of the two glass stop blocks to the bottom blocks, maintaining flushness on three sides. Then, attach a front to the bottom blocks, allowing a ⅛” space between the front and the glass stop.
Sides
Mark a line 1” from the top on the inside of both sides. Next, apply wood glue to the bottom block assembly's left side and place it so that the front is facing down.
Using wood glue and 1 ¼” nails, join the left side to the bottom block assembly. Make sure the ⅛” slots on each piece are lined up and that the left side is flush at the bottom and front of the bottom blocks. In the same way, secure the right side.

![]()
Click here to see these 1 ¼” wood screws on Amazon.
Glass Stop
Using wood glue and 1 ¼” nails, attach the second glass stop block to either side, directly below the inch line and behind the ⅛” slot.
After that, attach a front to each side, leaving a ⅛” space between the inside of the front and the glass stop block. The front ought to meet the edges of both sides' fronts flush.
2. Prepare The Numbers
Cut Acrylic Sheet
Cut an acrylic sheet measuring 4 5/16” by 23 ½”, ⅛” thick. In the ⅛” slot at the top of the box, slide the acrylic sheet. In order to reach the bottom bricks, the sheet must slide all the way down.

![]()
Click here to see this acrylic sheet on Amazon.
Choosing Numbers
You can opt to apply peel and stick stickers or flush mount numerals to the acrylic sheet. On the acrylic sheet, you can also draw the numbers by hand or use stencils to spray paint them.

![]()
Click here to see these stencils on Amazon.
Place the numbers for flush mount displays in the center of the acrylic sheet, leaving equal spaces between each one and from each side. Then, drill 3/16” holes for each numeral. Out of the box, slide the acrylic sheet, and place it to one side.
3. Install The LED Light Strips
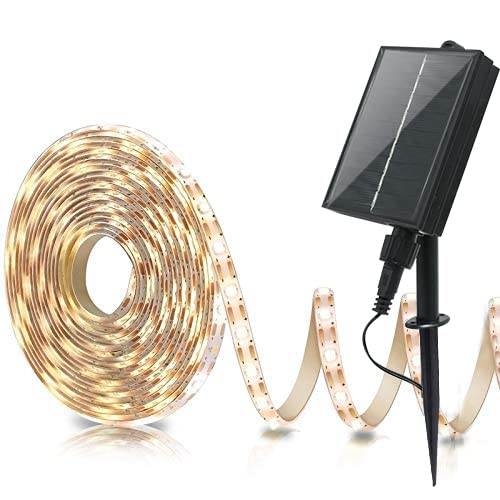
Make a ½” hole in the upper glass stop block with a drill. Once all the lights and the lead wire from the solar panel are within the box, feed the solar LED strip lights into the ½” hole.
![]()
Click here to see these solar LED strip lights on Amazon.
Remove a few inches of the backing of the LED strip's protective tape. Starting at the top of the box and working your way around to one side, then the bottom, and lastly to the other side, adhere the LED light strips there. Remove the shielding tape as you go.
4. Put The Numbers
Slide the acrylic sheet inside the box after removing the protective paper from both sides of the sheet. Continue affixing your numbers to the acrylic sheet.
5. Assemble The Remaining Back Block
Place the box on the table with the front facing down. Keep the back flush with the top and bottom of the sides as you slide it between them. Trim a tiny bit off one side if the back is too snug.
Drill two 3/16” holes into the bottom blocks' backs. Drill two extra 3/16” holes into the glass stop block through the rear, 1 ¼” from the edges of both sides.
To the back, ¼” from the back edge, drill two 3/16” holes through the center of each side. In your six pre-drilled holes, insert 1 ¼” screws to firmly attach the back of the box.
6. Install The Solar Panel
You might need to modify the box to fit your solar panel because they are all a little different from one another. Depending on the size of your solar panel, you might want to notch out the back or add spacers to the inside of the solar panel compartment.
After that, cut two ¼” spacers at 1” by 2 ⅝” intervals if you plan to utilize these solar LED strip lights. Before you glue the two spacers to each of the sides of the solar panel compartment, make sure the solar panel fits tightly.
Wrap any extra wire in a loop and tuck it under the solar panel. Before inserting the solar panel into the box, make sure the "ON" button is depressed.
7. Final Touch-Up
Fill all the holes in the box with plastic wood filler to complete it. With 150-grit sandpaper, smooth up all the surfaces. Use exterior spar urethane or exterior paint that matches the trim on your house to seal the box.

![]()
Click here to see this 150-grit sandpaper on Amazon.
On the bottom blocks, position the pipe flange in the middle and fasten it using four 1 ¼” screws. Tighten after inserting the pipe into the flange.
Lastly, for its placement, choose a spot in your front yard where your new solar-powered house number box may receive at least four hours of direct sunlight daily.
To clearly visualize how it has been done, a video tutorial is shown on YouTube below.
Conclusion
The best option for evening visitors, package carriers, and emergency personnel to locate your home at night is a well-lit house number. However, it is better to consult the building code ordinances of your place for more information on the precise requirements for address numbers.
For more interesting topics, check them below.
![Roof Gutter Cleaning Tips. Clean Your Gutters. Gutter Cleaning., Do Gutters Smell? [And What To Do About It]](https://houseoutside.com/wp-content/uploads/2022/10/Roof-Gutter-Cleaning-Tips.-Clean-Your-Gutters.-Gutter-Cleaning.-600x400.jpg)