As a homeowner, you may be wondering the right size of roofing nails to use for 1/2" plywood. Fortunately, we have done some research for you, and here is what we found.
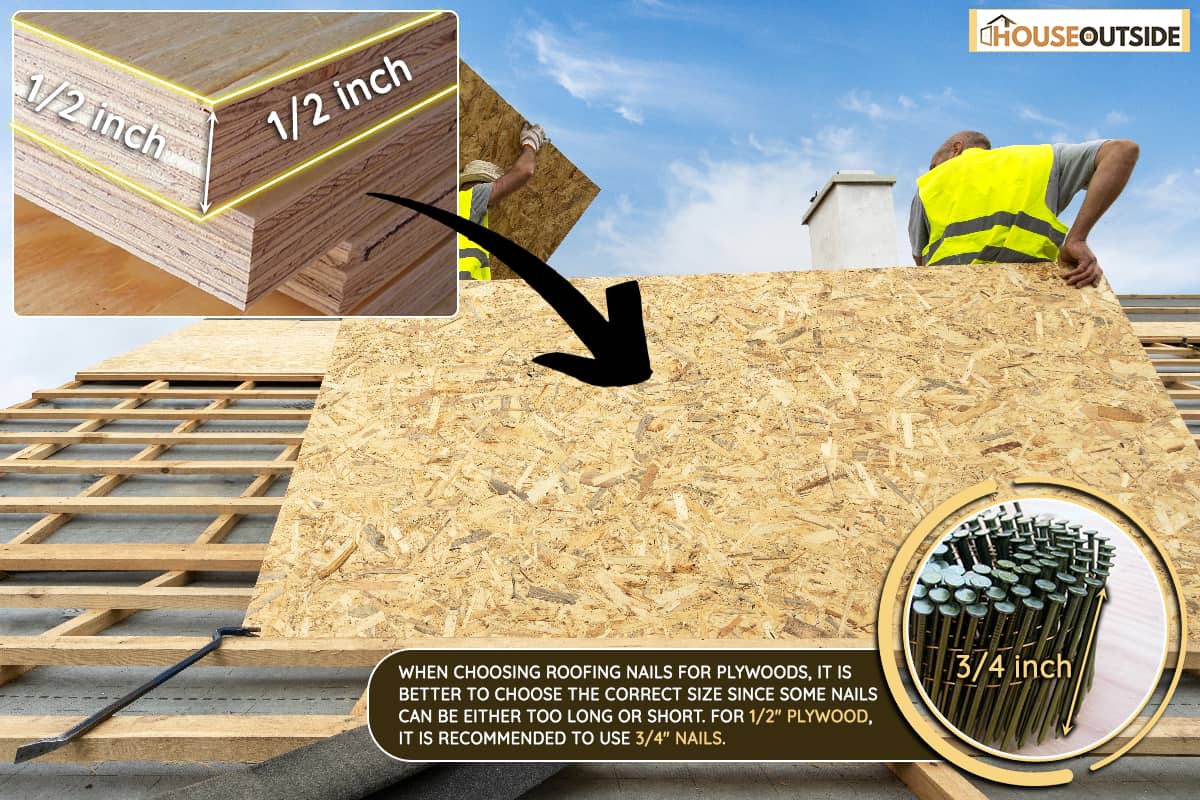
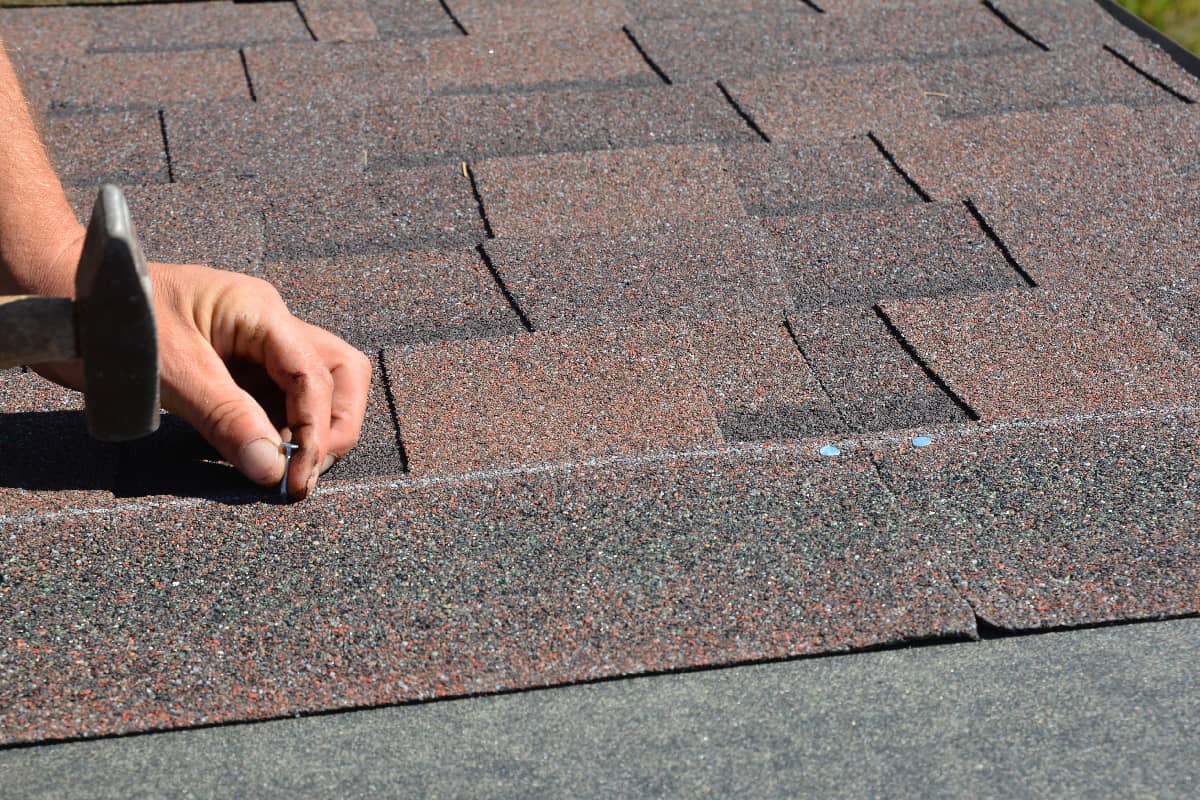
When choosing roofing nails for plywoods, it is better to choose the correct size since some nails can be either too long or short. For 1/2" plywood, it is recommended to use 3/4" nails.
With the right nail size, your work will sure look good. In this article, we'll cover how to choose the right nails for the job and the potential pitfalls of using the wrong size. We'll also see what you can expect to pay for proper roofing nails as well as how to use them correctly. Keep reading to learn more about this topic.
What Size Roofing Nail For 1/2 Plywood?
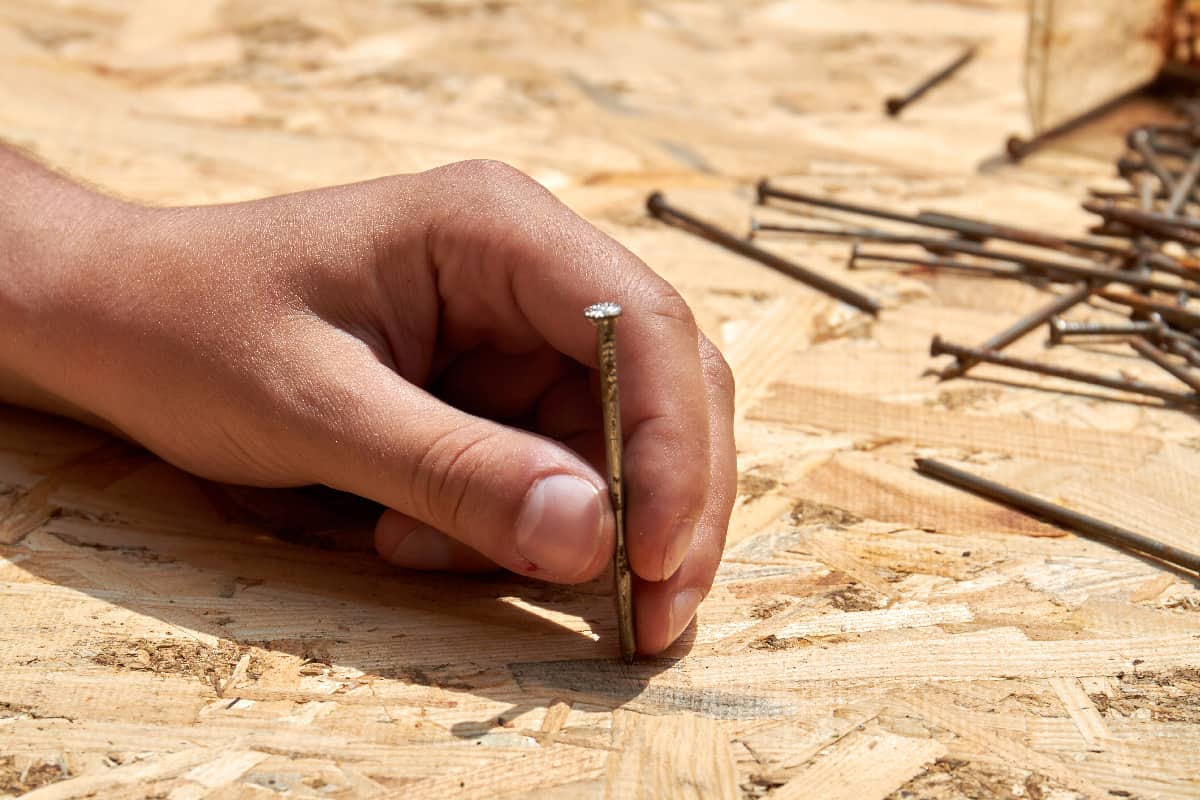
Roofing nails are meant to fasten shingles and to also join sheet metals and roof tiles. This is why it is important to make use of nails that will go deep down the plywood you plan to install. Experts suggest using roofing nails that are at least three times the length of what you plan to nail.
This is because once the wrong roofing has been hammered in, you can't do much other than taking it out. So if there is going to be an error on the length of the roofing nail, let the error be that the nails are too long rather than too short.
If you are working with a 1/2 plywood, you can go for 3/4" nails. 1 1/4" is still a good choice though. It is important to understand that nails are sold based on penny size and the larger the penny number is, the larger the nail.
Also, ensure your roofing nails are up to standard size and used in the right way. You can not use interior nails for exterior projects and expect to get the same result.
However, you can calculate the appropriate nail length by adding the thickness of the shingles to the thickness of the plywood or other sheathing materials.
What Are The Effects Of Using Wrong Nail Sizes?
If roofing nails are incorrectly installed or if the wrong size of nail is used on the roof, it could lead to problems in one of the most important parts of your home. Here are some of the issues that can arise from using the wrong sizes of roofing nails:
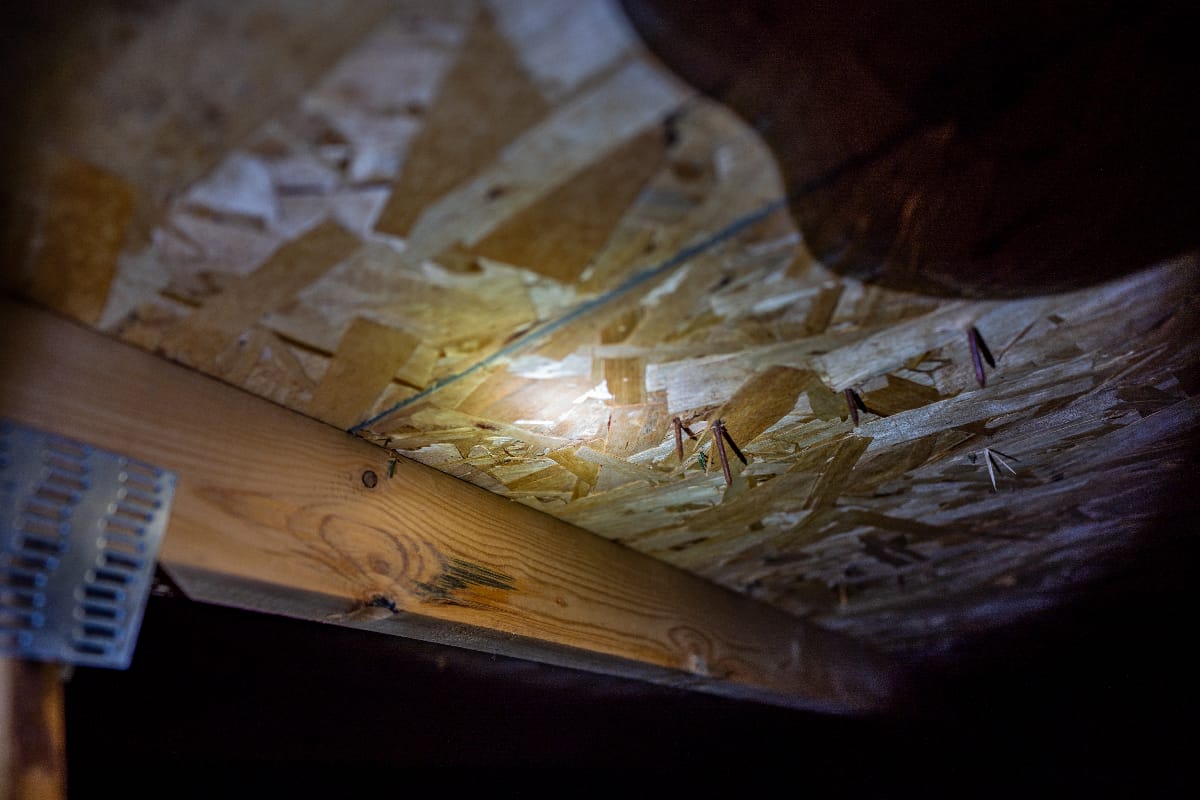
- Roofing nails that are not installed properly can cause the plywood to splinter over time. These spaces created by splinters can become a point of entry for unwanted substances.
- Moisture can form in those spaces, thereby deforming the shape of the plywood or allowing mold to grow.
- Using roofing nails that are too long can cause cracks and the nails may start to come out.
- Shingle damage is also more common when using the wrong nails. They can go too far and render the shingles unusable. And if undersized, the nails can leave air bubbles, thereby making the sheathing vulnerable to wind damage.
It may look like an easy task to hammer shingles into place. However, if not done properly, this can affect many things and may require costly repairs.
Should Roofing Nails Go All The Way Through Plywood?
Yes, your roofing nails should penetrate deep through your plywood. Understanding the sizes of roofing nails and knowing how to work with them is very important because it has effects on the resilience and functionality of the roof.
How Much Is A Bucket Of Roofing Nails?
The price of roofing nails solely depends on their sizes. There are different types of roofing nails and they all serve different purposes. Examples are zinc nails, tornado nails, copper nails, and duplex nails.
A bucket of duplex nails can cost you about $91.90. It is a rare double-headed roofing nail that is driven into the first head's depth, thereby leaving the other head exposed. This makes it quick and easier to remove the nail if it gets stripped during formwork. If you don't need a full bucket, you can find boxes for less, often around $10 for a 7-oz box like for the duplex nails below.

![]()
Click here to see this duplex nail on Amazon
You can also opt for more premium nails, such as copper roofing nails, like those below. These will set you back closer to $15 dollars for a 10 oz. box.

![]()
Click here to see this copper nail on Amazon
How Far Apart Should Roofing Nails Be On Plywood?
Many houses today have a weak link in the sheathing connection and this makes them vulnerable to roof sheathing loss because it can no longer withstand the weather but there are solutions in place to help the homeowners.
The space between the roofing nails should not be over 6 inches from the edges. If you live in a windy area, you will need extra nails to add as support.
This is because roofing problems arise as a result of nail sizes and the spacing used when installing the roof. There are different kinds and sizes of roofing nails, so it is recommended to check the specification of manufacturers before installing roofing nails on plywood.
What Is The Shortest Roofing Roof Nail For Plywood?
The material you plan to work with will determine the length of the roofing nail. But the shortest roofing nail that you can use for plywood is about ¾ inches long. One of the benefits is it helps to doesn't pop out
However, if you want to make use of this nail, it is important to make sure that you overlap all materials one by one and also use extra fasteners on the edges in order to create a seal that can withstand the weather.
You need extra fasteners because roofing nails are meant to be long in order to penetrate thick layers like plywood or tar papers. There is no best roofing nail but what makes them special is the material you are using them for and their thickness.
If you want to nail plywood, an asphalt-coated nail that has a smooth shank and a round head can be useful. But if you are nailing into fiber cement siding or hardboard, use a stainless steel nail with a countersunk head.
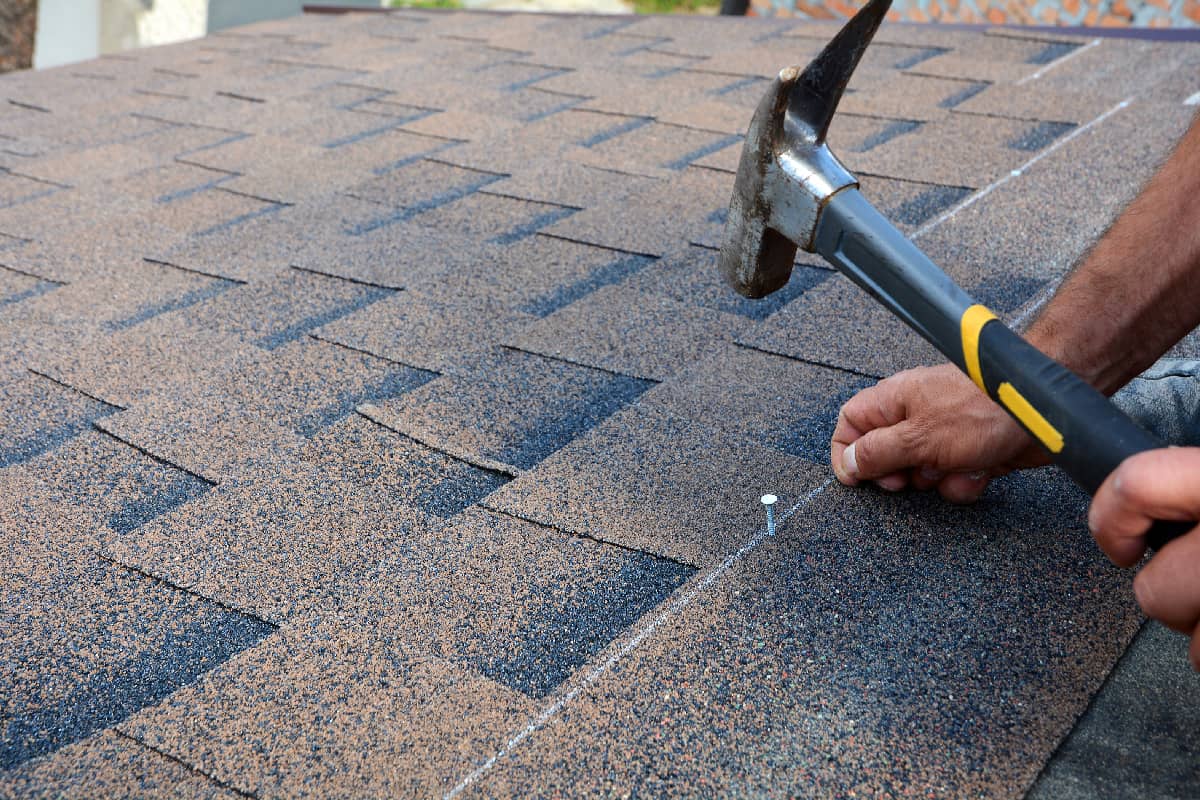
How Do You Attach Plywood With Roofing Nail?
Nailing down plywood can be complicated since it is mostly used for support. However, you can get it done in the right way by following these steps:
Choose The Right Size Of Nails
Ensure nails with correct head and shaft types are used for the job. An underlaid roof or floor that has other materials working on the plywood will need flat heads on the roofing nails.
It is not recommended to make use of a smooth roofing nail shaft where the plywood is not meant to be lifted up as a rough shaft will help you hold it down.
Position The Nail On The Plywood
Place the nails you want to attach to the edge of the plywood (at least ½ inch). This is really important but distance will be determined by nail size. Some roofing nails may require a space of ⅝ inch from the edge while others may require ⅞ inch on the outer part of the house.
Leave Some Space Between Nails
Giving the nails space sets them apart and this will reduce their combined ability to hold down the plywood. Not leaving enough space will make them become a burden on the roof.
When the nail shaft enters the plywood, it will force the wood fibers to stay apart, and too much splintering can later crack the wood.
Can You Hide Roofing Nails?
Yes, roofing nails can be hidden. All you need is a hammer and roofing cement. To do this, hammer the head of the nail back into the roof anytime it comes out. Then apply roofing cement or roofing tar on the nail head evenly and let it dry.
The roofing cement is waterproof and can be used for sealing nails but you need to apply it well. When you are done covering the area with the cement, you can also cover it using a sheet of roofing felt since it is thick, unlike the roofing cement.
Doing this will cover the roofing nail head completely thereby saving your house from damage.
To Wrap Up
There are different types of roofing nails and all of them serve different purposes. It is important to know the sizes of nails and how best to use them, and the required spaces to ensure your roofing survives for a long period of time. For 1/2 plywood, you can use 3/4" nails.
If you enjoyed reading this post, here are similar articles you may like:
How To Cover Exposed Roofing Nails