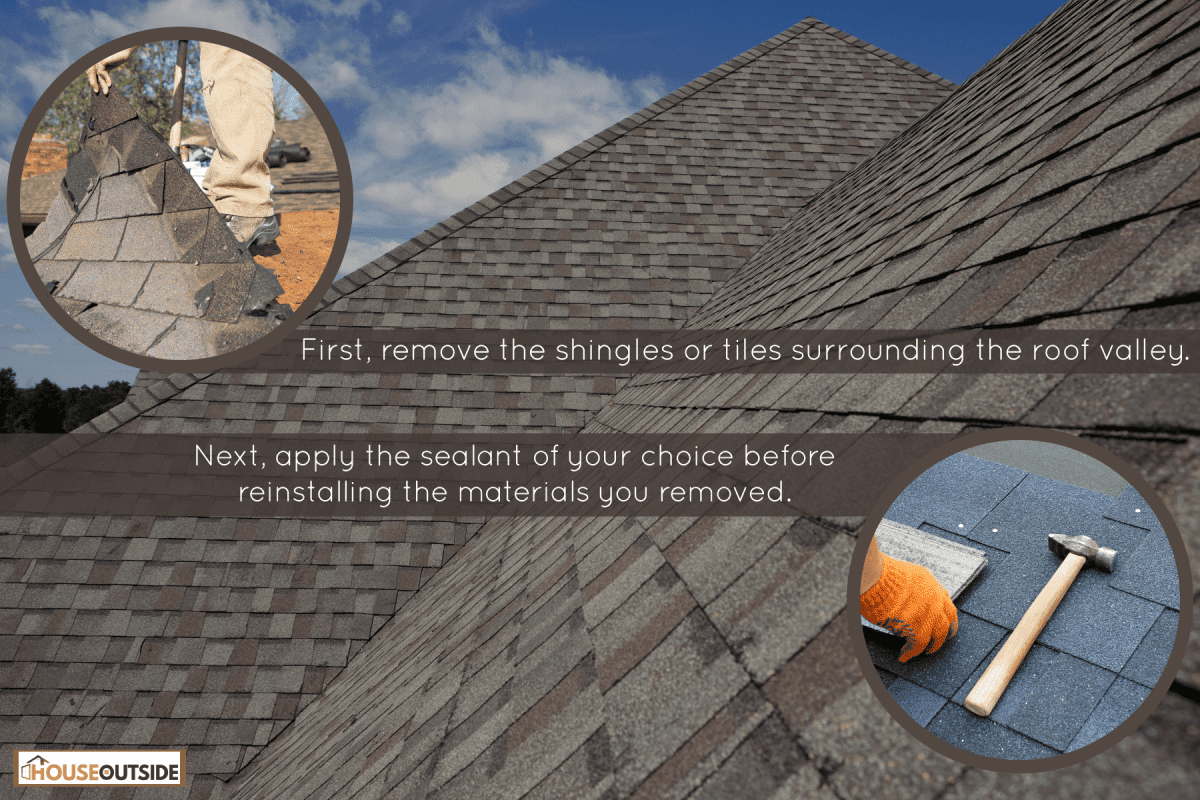
You’ve been struggling with a leaky roof only to find out that it’s the valley that’s the problem. So now you’re wondering how you can waterproof the valley in your roof. We researched this concern for your convenience and here’s what we found.
First, remove the shingles or tiles surrounding the roof valley. Then, assess the severity of the problem because you may need to remove the roof valley to waterproof it. Next, apply the sealant of your choice before reinstalling the materials you removed.
Take note that you need to follow precautionary measures since you’re going to your roof for this waterproofing job. So continue reading as we talk about the process of sealing a roof valley in greater detail. We’ll also discuss those safety practices so you can complete this job with as minimal risks of accidents and injuries as possible.
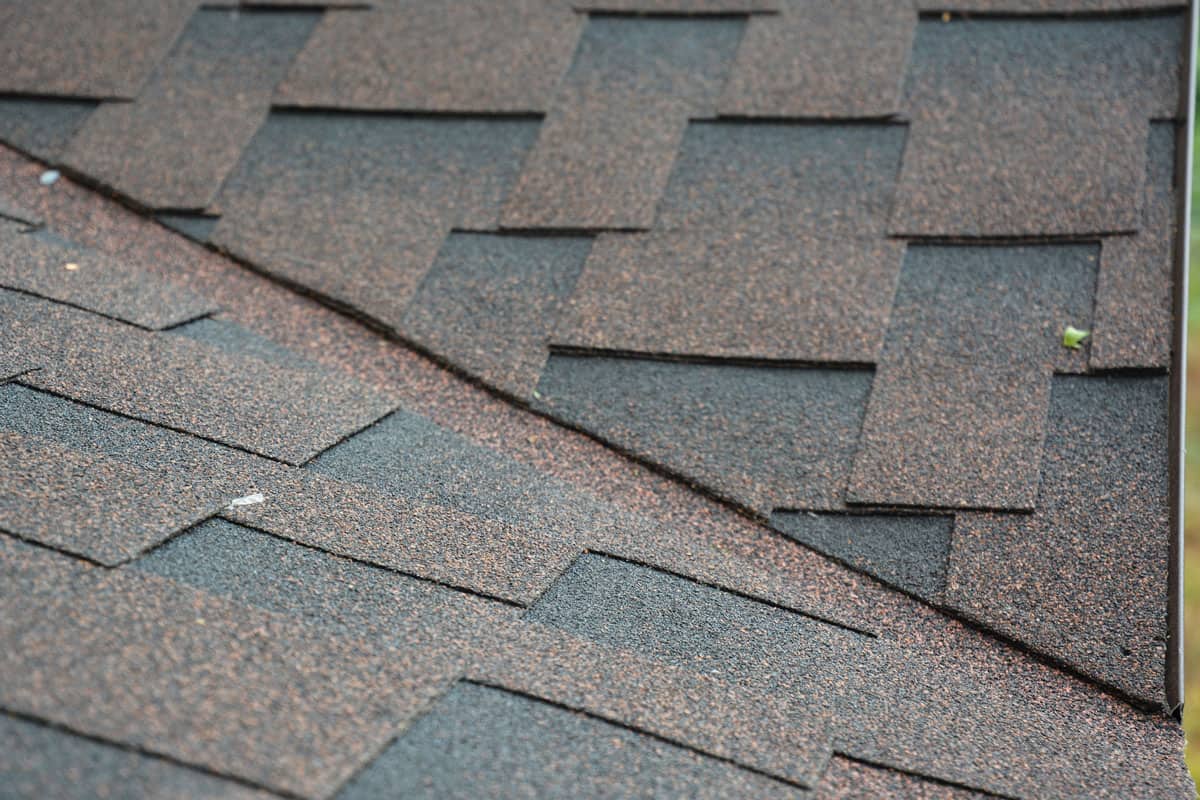
What Is A Valley In A Roof?
Like relatively any DIY repair job, it’s often a good idea to understand the materials used as part of the job. In particular, take note that a roof valley is responsible for allowing rainwater to flow from the roof to a connected drainage system, such as a gutter.
However, materials used for roof valleys may deteriorate, causing leaks and other moisture-related problems. Some of the possible suspects for these issues are:
- Inclement weather: Frequent climate changes may make the roof valley material deform.
- Improper installation: An incorrectly sized roof valley may leave gaps that cause leaks.
- Natural calamities: Earthquakes, hail, and heavy rains can bring harm to roof valleys and other roofing materials.
Read our post on the waterproof properties of roofs if you want to gain additional insight into that subject matter.
How Do You Seal A Valley On A Roof?
Keep in mind that waterproofing a roof valley may or may take more effort, money, and time to complete than what you might expect initially.
This is because you may need to remove your roof’s shingles first before you can seal its valley. Also, you might have to place a fresh sheet of plywood throughout the roof’s surface area before you can proceed with the sealing.
Also, request help from another person to help with this task. Yes, you can bring the materials and tools needed from the ground to the roof without assistance. But you can prevent accidents and injuries if you have a friend or family member help you with this task.
After taking note of those particulars, here’s how you can seal a roof valley using the peel-and-seal variant:
Step-by-Step Guide
- Lay the sealing tape over the roof valley.
- Peel the protective backing from the tape slowly.
- Press the sealing agent onto the roof and ensure it’s secure.

![]()
Check out this peel-and-seal roof valley sheet on Amazon.
After applying the sealing tape, you can proceed further by installing a new roof valley. You can watch the video below for that procedure, along with additional insights into using peel-and-seal tape:
An alternate solution to using peel-and-seal roof valley tape is to cover the area with roofing felt. The video below will tell you the details of this process:
At this point, you might also be wondering if replacing the roof includes changing the plywood. Read our post on that topic to know the answer.
How Do You Clean Roof Valleys?
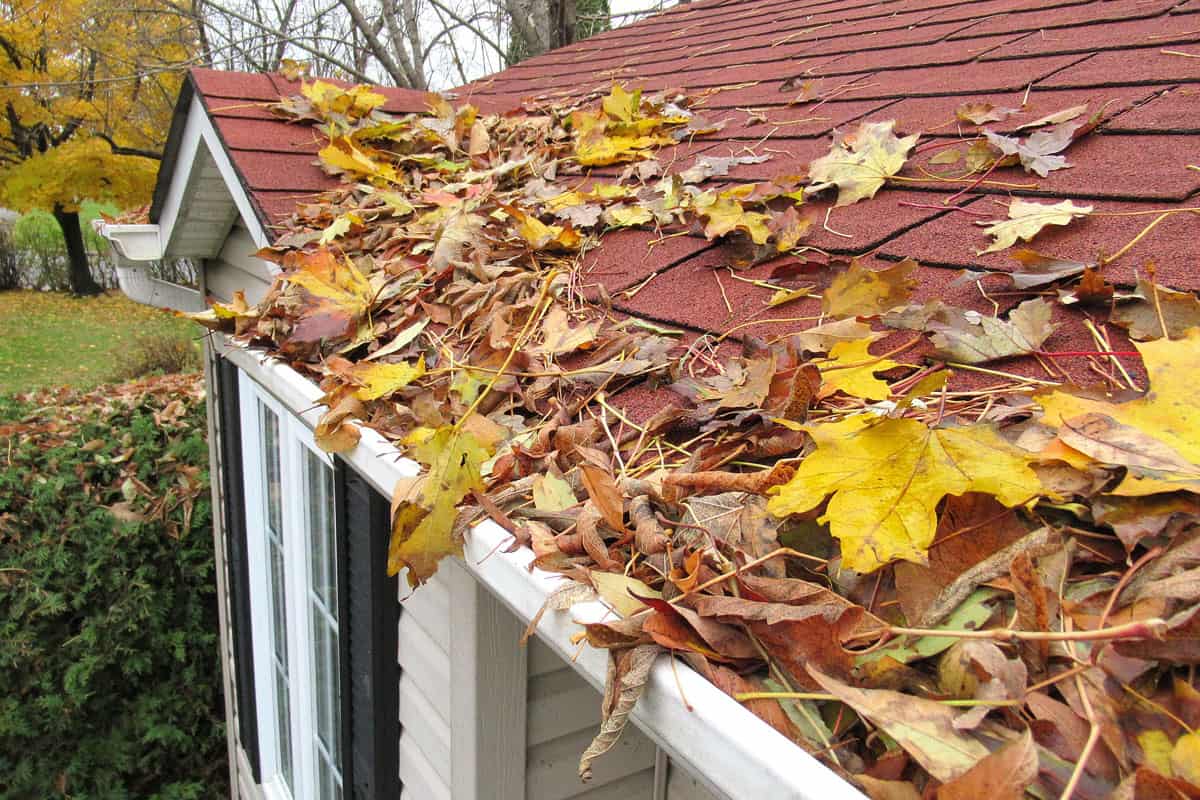
One way to prevent roof valleys from encountering issues is to clean them regularly. Weekly maintenance may include sweeping the debris away from the roof valley. However, if some shingles or tiles are covering the valley, you may have to push those roofing materials aside to complete a deep clean.
Watch this short clip to understand the importance of that extra step for your roof valley to be as clean and tidy as possible:
How Do You Replace A Roof Valley?
Perhaps you might be thinking about replacing the roof valley instead of repairing or sealing it. This option can be ideal if the old assembly is giving you more problems than usual.
Here are the general steps to complete this task:
What You’ll Need
- Roof valley
- Chalk
- Hook knife
- Nail gun
- Nails
Step-by-Step Guide
- Draw a line on the roof to outline the placement for the new roof valley.
- Cut the roof shingles with the hook knife. Use the chalked outline as a cutting guide for this step.
- Lay the roof valley in the cut area.
- Secure the new roof valley material with nails using the nail gun.

![]()
Check out this hook knife on Amazon.
Watch the video below for a visual guide to the steps mentioned above:
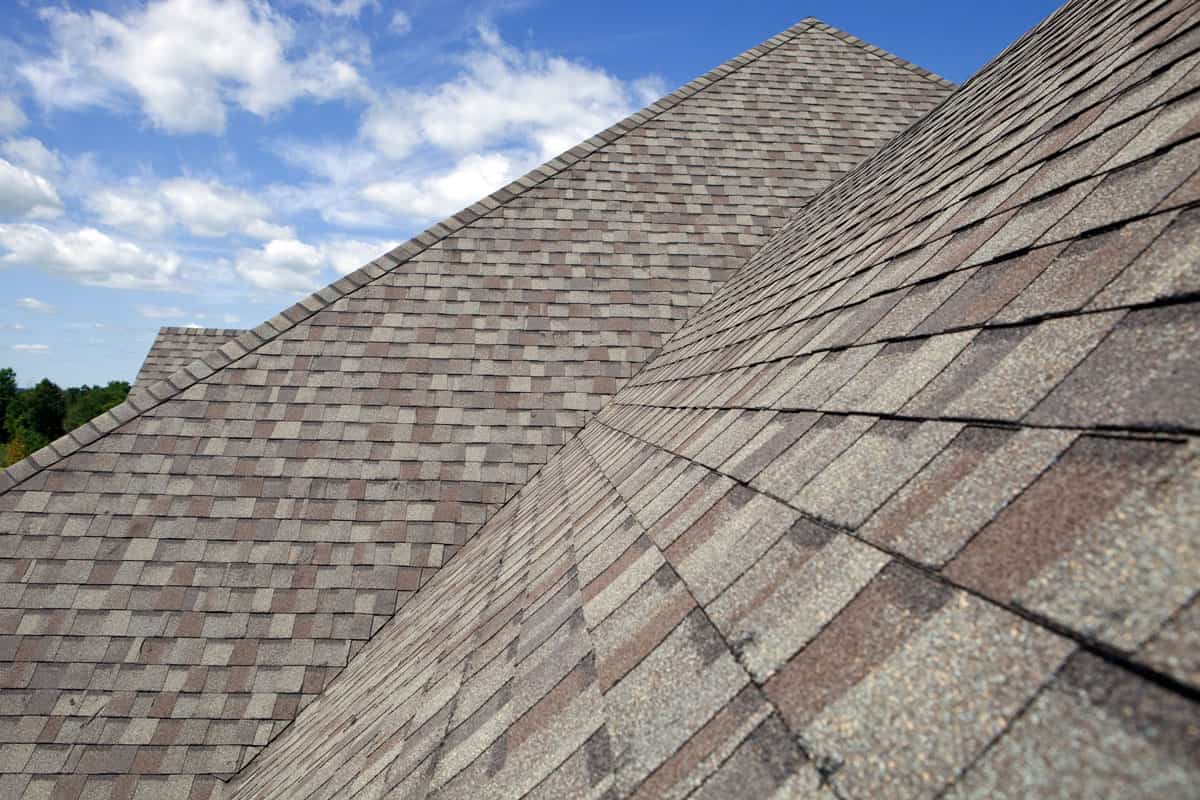
Which Is Better Open Or Closed Valley?
Open and closed roof valleys have their unique pros and cons. In other words, one is generally not the best in all aspects when compared to the other.
For instance, open roof valleys, particularly those with metal linings, can be good choices for reducing debris and snow buildup. But open valleys are often more expensive than their closed counterparts.
On the other hand, closed roof valleys might be better selections for homeowners following strict budgets. However, installers may have more difficulty in setting up a roof with a closed valley as opposed to laying an open valley. The closed design isn't as flexible as the open type.
How Much Does It Cost To Repair A Roof Valley?
Professional roof valley repair services generally require payments of about $300 to $1,000. The overall cost can depend on the severity of the issue. Plus, the technicians may demand additional fees for extra equipment and materials needed to complete the job.
What Is A Roof Dead Valley?
A dead roof valley is a design fault wherein another slope meets the roof valley, causing water to pool. If left unchecked, the collected water can cause different problems issues like leaks and the weakening of roofing material.
Perhaps the best way to deal with a dead roof valley is to renovate a portion or the entire roof. However, that option might not always be ideal, especially with the high costs involved.
Instead, homeowners may apply certain DIY techniques to help mitigate the potential problems caused by their roofs’ dead valleys. Some of these methods are:
Metal Pan
Take advantage of a roofing expert that can custom-make a metal pan for your dead roof valley. This tool helps the roof divert rainwater so it flows to the nearby drainage system.
Take note that the custom-made pan might still be quite expensive. However, the fees associated with buying the pan may not be as expensive as rebuilding the whole roof.
Bitumen
Also called modified bitumen (MB), this asphalt-based system uses multiple layers to help improve water flow and prevent leaks in dead roof valleys. The sheets prevent water from entering the home. Plus, this system helps improve the roof’s structural integrity, enhancing its durability and longevity.
Ice And Water Shield
This solution is usually a good choice for residences in locations with relatively warm climates. The shield has an adhesive that attaches to the plywood sitting underneath the roofing shingles or tiles. This additional layer protects the dead roof valley, along with other areas of the roof from moisture damage.

![]()
Check out this ice and water shield roof underlayment on Amazon.
Watch the video below if you’re curious about the installation of an ice and water shield roofing system:
Final Words
Waterproofing a roof valley may require removing other components before you can start sealing the setup. Make sure that you have an assistant with you during the entire course of this project. That extra pair of hands can help make the job easier and safer as opposed to doing the procedure alone.