Are you having leaks on your roof, or perhaps you’re renovating your roof, and do you want to know how to properly seal the bolts against the rain? You’ve come to the right place, for we have researched this question, and we have the answer for you.
Sealing bolts on the roof because of a leak is best done with a waterproof rubber sealant. Sealing bolts for new roof installation can be done with a rubber washer under a metal cap or with a waterproof rubber sealant over a bolt fastener.
We’ll talk about these different methods in more detail in the sections below. Learn about the different techniques that you can use on your roof to keep it leak-free.
Read on!
How to correctly install screws or bolts on the roof?
The wrong installation of a screw or a bolt in a roof will always lead to a leak. You can repair a leak from a bad bolt installation, and we’ll teach you how in one of the sections below. However, it is better to know that you’re installing a bolt fastener wrong so that you can correct the mistake before it becomes a leak.
Below are some of the signs that you should look out for to tell you that your bolt fastener was installed wrong.
Overdriven Screws
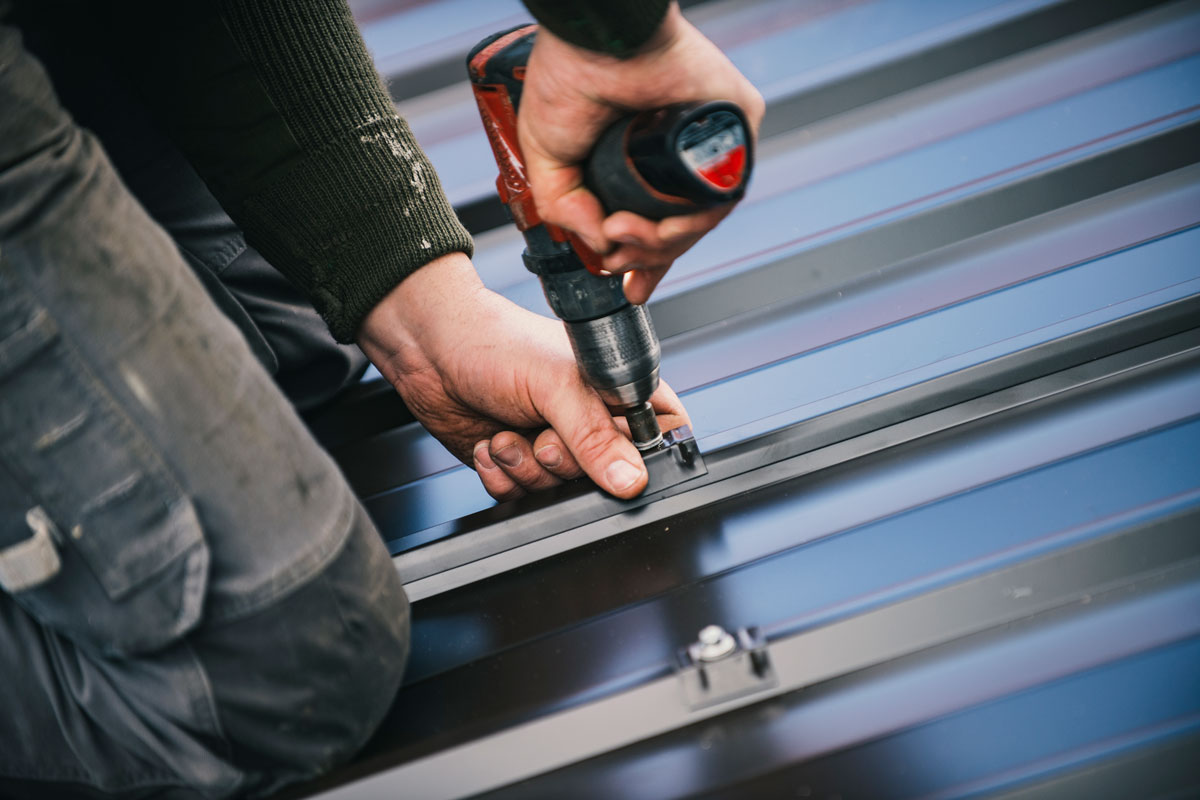
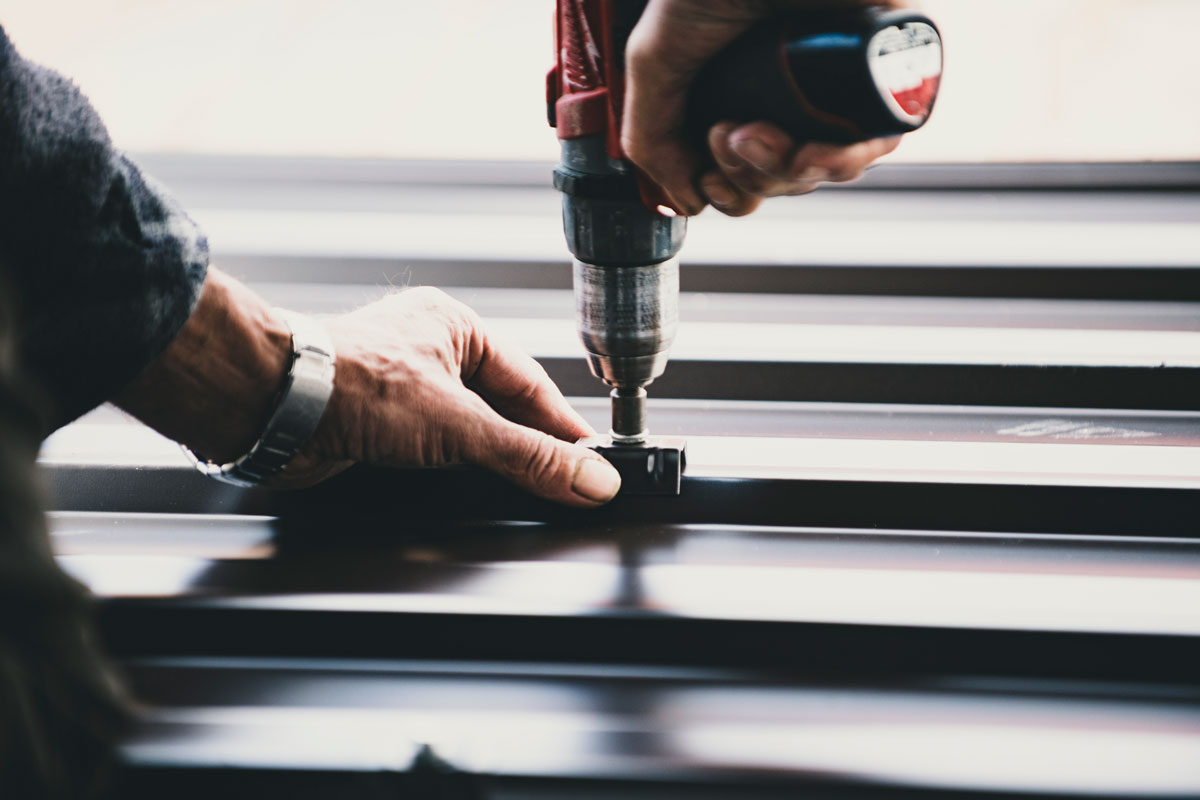
It is easy to overdrive a screw or a bolt fastener. The normal human reaction is to apply as much pressure as possible when driving a screw down into the roof. However, this causes the screw to get overdriven, and this is not good for the seal of the screw.
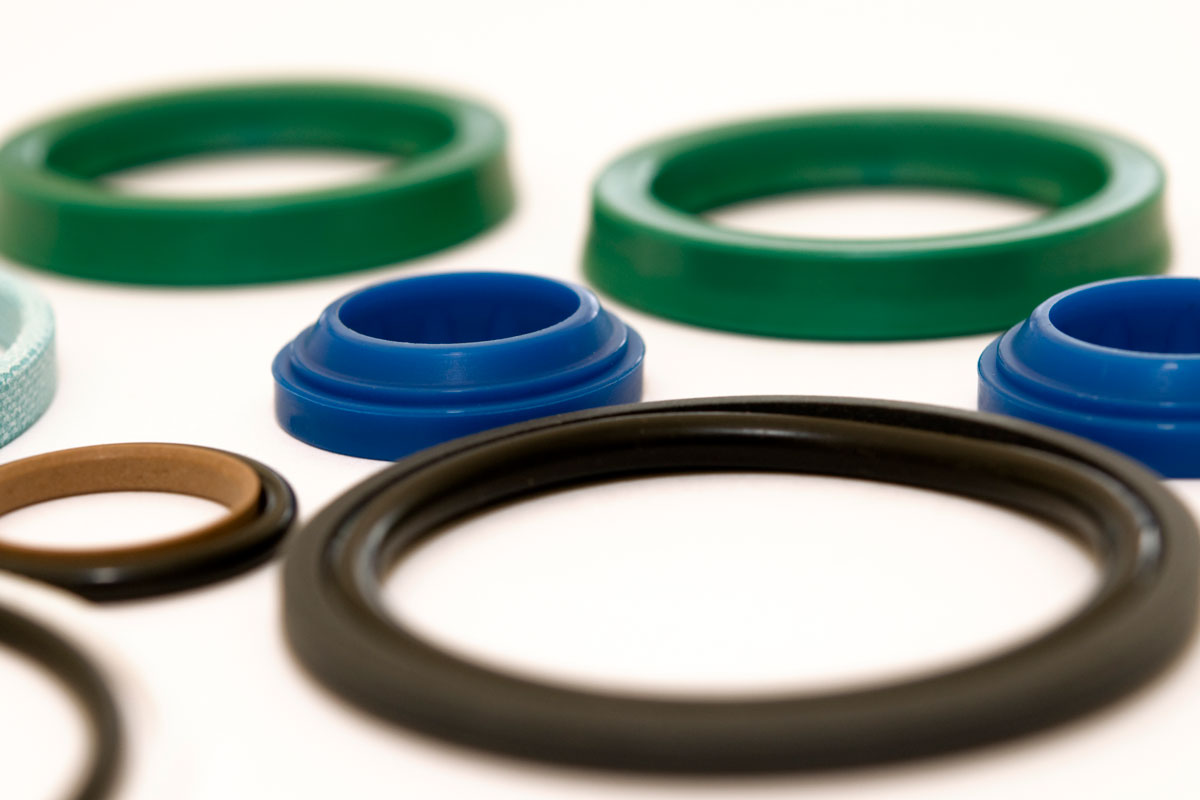
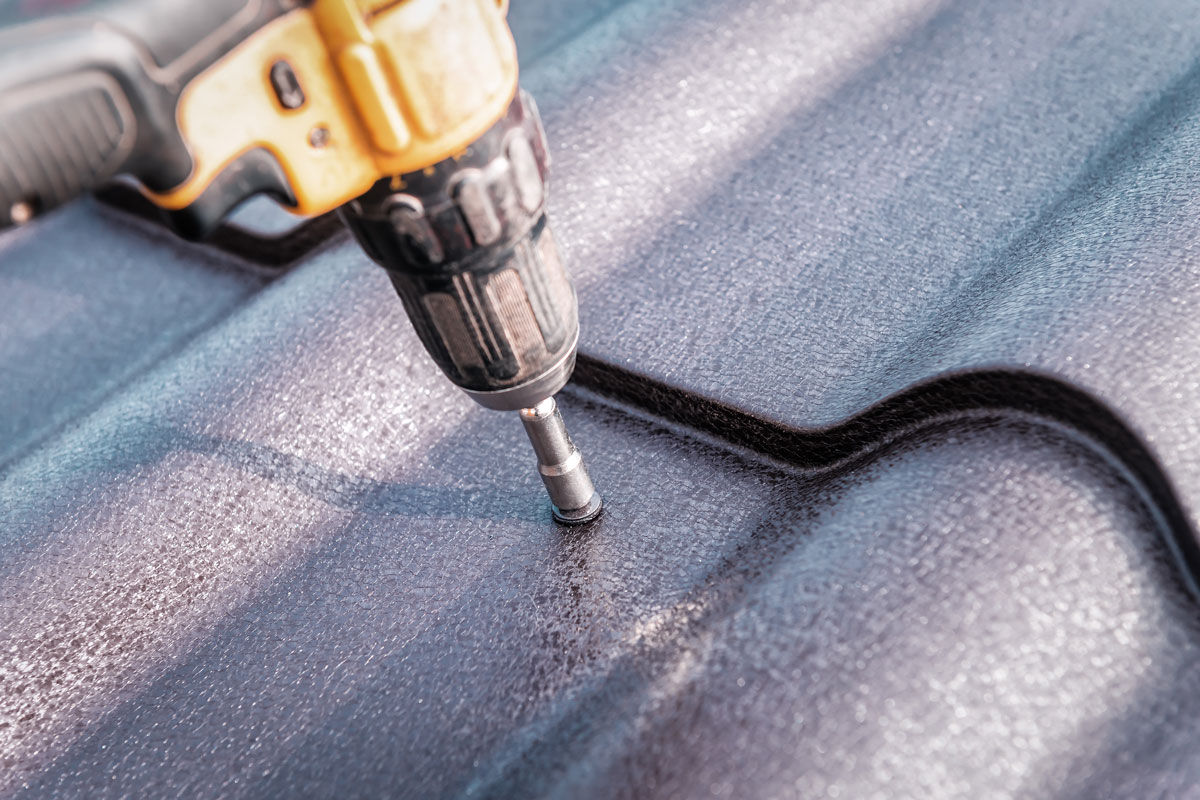
Screws or bolt fasteners for roofs have a soft rubber washer and a metal cap. The metal cap is between the rubber washer and the screw head. The diameter of the rubber washer is slightly smaller than the diameter of the metal cap.
When you fasten a metal roofing with a roof screw, the rubber washer is squeezed between the roof and the metal cap. The pressure expands the rubber washer in all directions and creates a tight seal between the metal cap and the roof.
The ideal pressure on the rubber washer from the screw causes it to expand but keeps it within the diameter of the metal cap. The right compressive force from the screw presses the rubber washer to create a tight seal for your roof.
If you over-tighten the screw, the rubber washer will expand too much, and its diameter will exceed the diameter of the metal cap. Too much compressive force on the rubber washer will cause the metal cap to press the rubber washer too thin and break it. Once the rubber washer breaks, it will no longer be able to create a watertight seal.
The hole of the screw will later leak because of the broken seal.
Correcting An Overdriven Screw
If you notice that the diameter of the rubber washer is approaching the diameter of the metal cap, stop your power screwdriver and reverse it. This will release the excess compressive force on the rubber washer and prevent it from breaking.
Check the rubber washer if it expanded just right and adjust the tightness of the screw to achieve the right seal.
Rubber Washers
At this point, you might be wondering, “Rubber washers?! The summer heat here will melt those!”
The rubber washers used on roof screws or bolts are not natural rubber. The rubber washer is an EPDM (ethylene propylene diene monomer) rubber.
The saturated polymer backbone of this synthetic rubber makes it resistant to heat, light, and even ozone. It is better at handling the heat of a metal roof than neoprene, natural rubber, or SBR (styrene-butadiene rubber).
So, before you worry about the rubber washers melting on your roof, always remember that they are not natural rubber but synthetic rubber that is resistant to the heat of your metal roof.

![]()
Underdriven Screws
Underdriven screws are at the opposite end of the spectrum of metal roof fastener installation.
If you don’t drive the screw down enough, the compressive force on the rubber washer will not be enough to expand it. Without this expansion, the rubber washer will not be able to create a watertight seal on your roof.
There are two ways to check if your screw or bolt is underdriven.
The first way is by checking the diameter of the rubber washer. If the diameter of the rubber washer is too far from the diameter of the metal cap, then the compressive force on the rubber washer might not be enough to expand it.
The second way is by checking if you can turn the metal cap. If you can still move the metal caps by hand, then the screw is not tight enough. If the rubber washer is getting the right amount of compressive force from the screw, then the metal cap will no longer be movable.
The second method is only possible if the metal cap is separate from the screw head. Some cheaper metal roofing screws have the metal cap welded to the crew head for easier manufacture. However, this causes the metal cap to turn while driving the screw, and this rubs against the rubber washer and sometimes damages it.
Correcting An Underdriven Screw
An underdriven screw is easy to correct. Simply tighten the underdriven screw to correct it.
Make sure that you do not overtighten the screw to avoid causing another problem.
Screw At The Wrong Angle
If you drive the screw at the wrong angle, then the rubber washer will not be able to create a watertight seal. The rubber washer will not be level with the surface of the roof. Thus, the compressive force on the rubber washer will also be uneven.
The roofing screw will be close to the roof surface on one end and loose on another. Water will be able to penetrate the screw from the side of insufficient compressive force.
Correcting Screws Driven At The Wrong Angle
The best way to correct this is to completely remove the screw first. Next, drive the screw in once more, making sure that it is perpendicular to the surface of the roof.
Once you drive it at the correct angle, make sure that you do not overdrive or underdrive it.
How to seal a leaky roofing screw or bolt?
If the screws were not installed correctly as instructed above, then water will eventually leak into the hole made by the screw. You need to repair the area before rust eats a bigger hole around the screw.
Follow the steps below to seal and repair a leak from a roofing screw:
- Clean the surrounding area. Get rid of any dirt, dead leaves, etc.
- Remove the old screw from the roof.
- Clean the hole. Use high grit sandpaper to get rid of rust if you see rust around the hole.
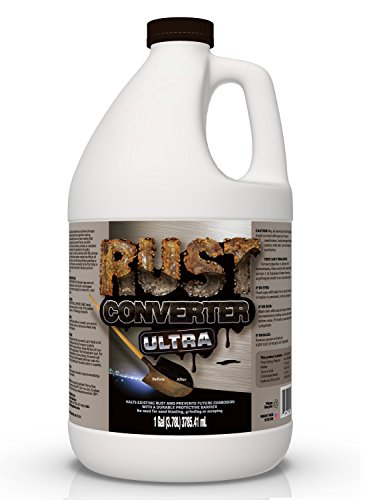
- Apply an even layer of rust primer or rust converter around the hole. Let the area dry completely. Apply another coat and let it dry.
- Install a new screw to fasten the roof in that area. Make sure that you are installing the screw the right way.
- Apply a thick layer of liquid rubber to the screw and the surrounding area. Let it dry completely. Apply two to three more layers, letting the layer dry completely before applying the next.
![]()
FDC Rust Converter Ultra is available on Amazon through this link.
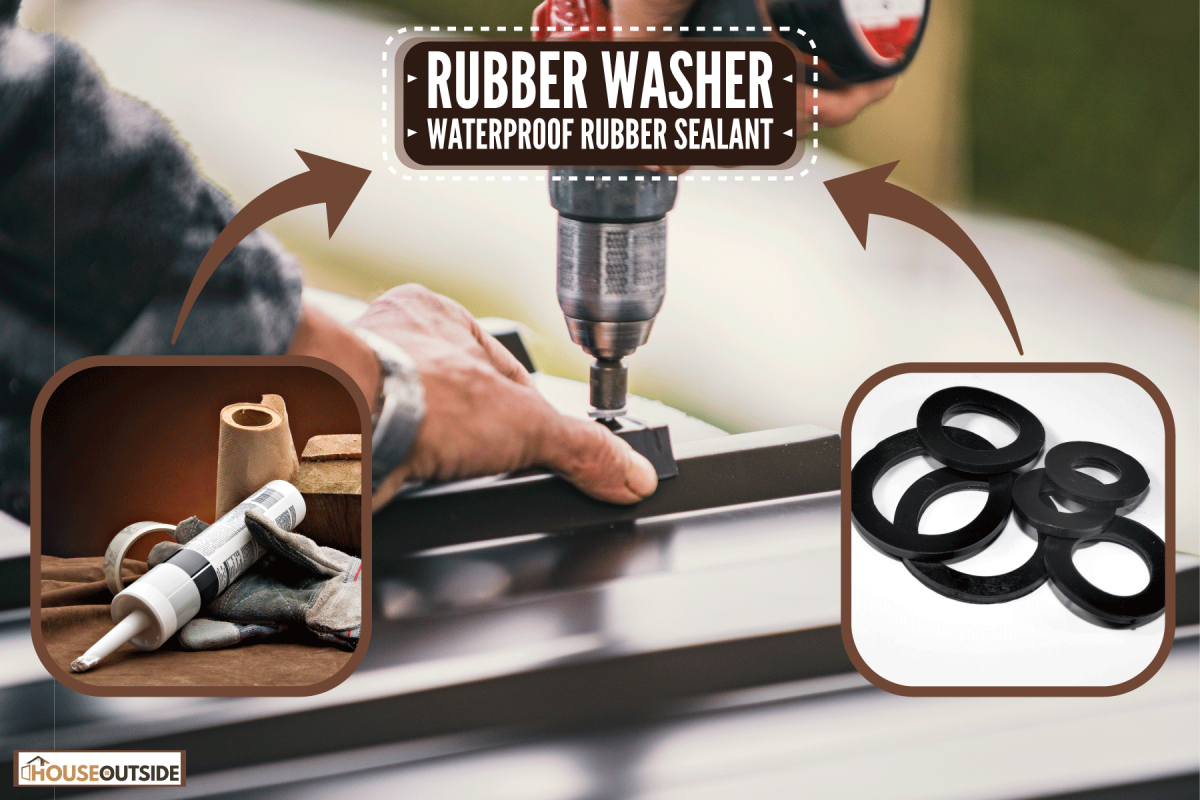
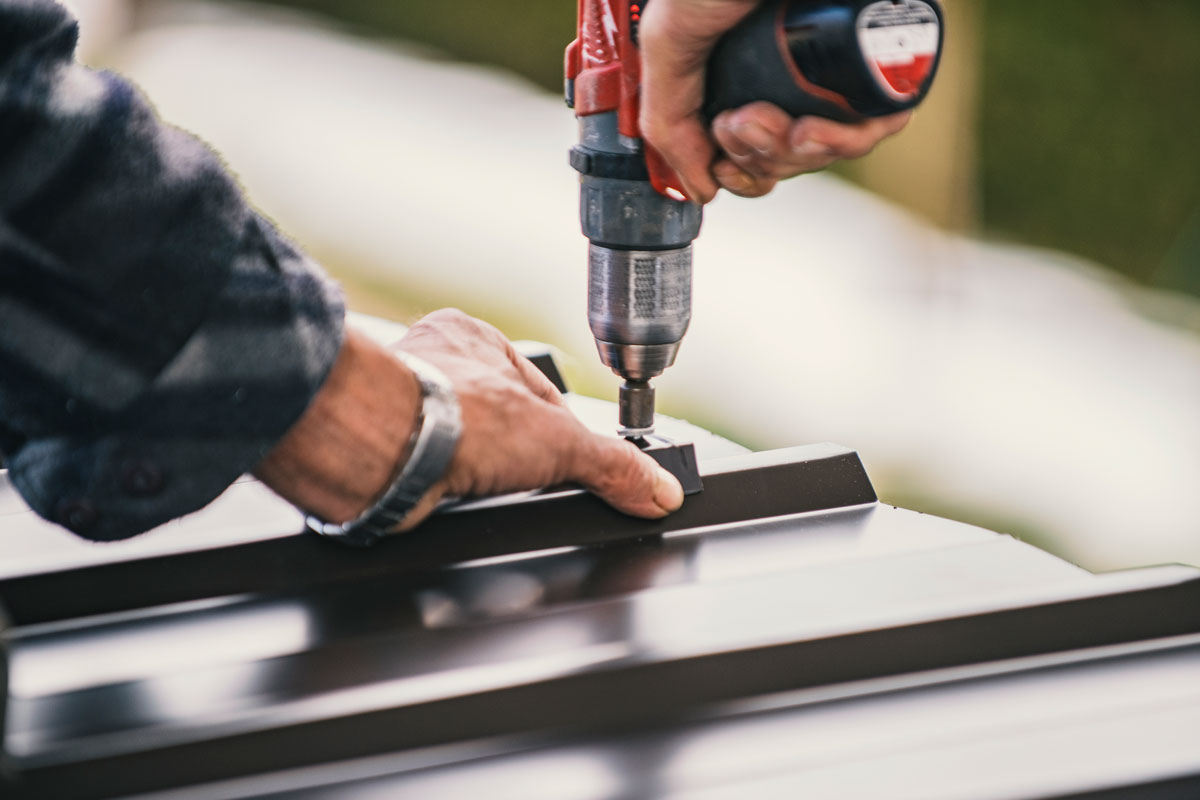
How to seal bolts in a new roof installation?
The best way to seal bolts on a new roof installation is with the use of an EPDM rubber washer. EPDM rubber can retain its water sealing properties between negative 58 degrees and 302 degrees. It is the same type of rubber that is used to water seal modern cars or to connect a turbocharger with the intake manifold of the engine.
Moreover, it does not pollute rainwater coming down the roof.
However, if, for some reason, roofing screws with EPDM rubber washers are not available in your area, there is another way of sealing bolts for new roof installations.
After you install the roofing screws or bolts, use liquid rubber to coat the roofing screw and the surrounding area to make it waterproof.
There are special tools available that can make this process easier.
You can decide to do it yourself. You’d have to buy a tool that you might use only once to speed up the process, or you can do it the conventional way, albeit slower.
Or, you can have a professional roofer do it for you.

![]()
Liquid Rubber Color Waterproof Sealant is available on Amazon through this link.
Cleaning The Installation Area
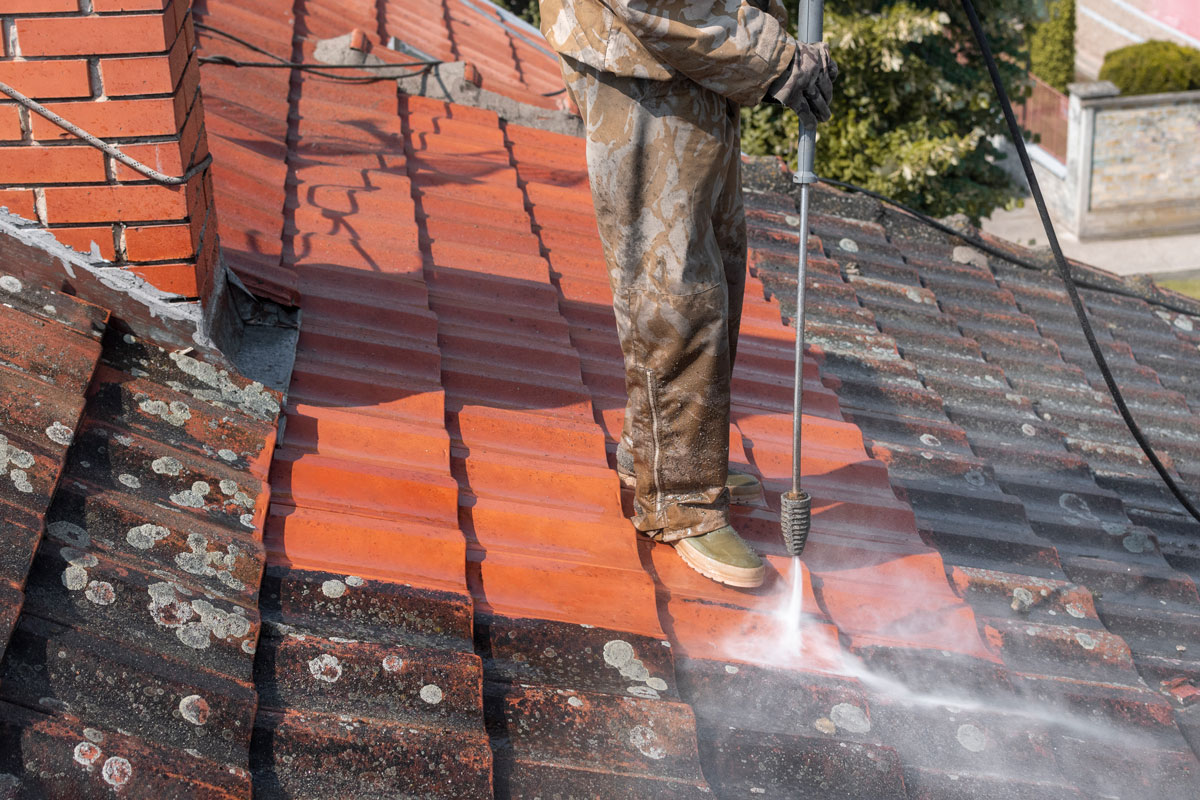
You need to thoroughly clean the installation area of swarfs right after you complete the installation of the roof. Swarfs are the metal shavings that come from the drilling of metal bolts or screws into the roof. Swarfs rust in a matter of hours and the rust can spread on the surface of your roof.
Similarly, remove any remaining swarf around the screw hole to prevent the area from rusting. Remove all swarf before you apply any liquid rubber coat.
Conclusion
Seal bolts the right way when you’re installing a new roof. This will help you avoid costly repairs in the future.