You can install a mailbox post in the ground, but if you do that during winter, the ground may be frozen. If you're wondering how to go about it, don't worry. Fortunately, we have done some research for you, and here is what we found.
The following is the step-by-step guide for installing a mailbox post in the frozen ground:
- Measure and mark your working area.
- Make a hole.
- Set the post in place.
- Fill the hole with concrete mix.
This is an easy-to-do task; all you have to do is follow the steps carefully. Keep reading to get detailed information on installing a mailbox post in the frozen ground.
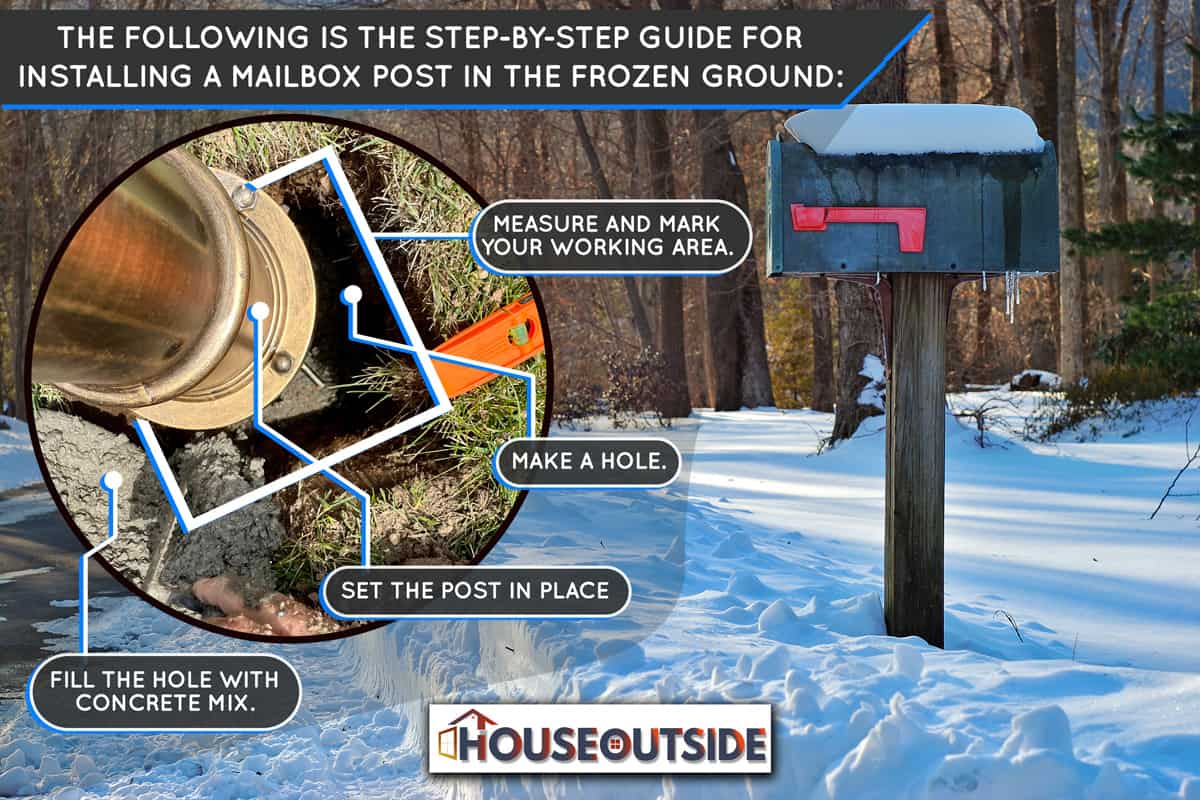
Installing Mailbox Post In Frozen Ground
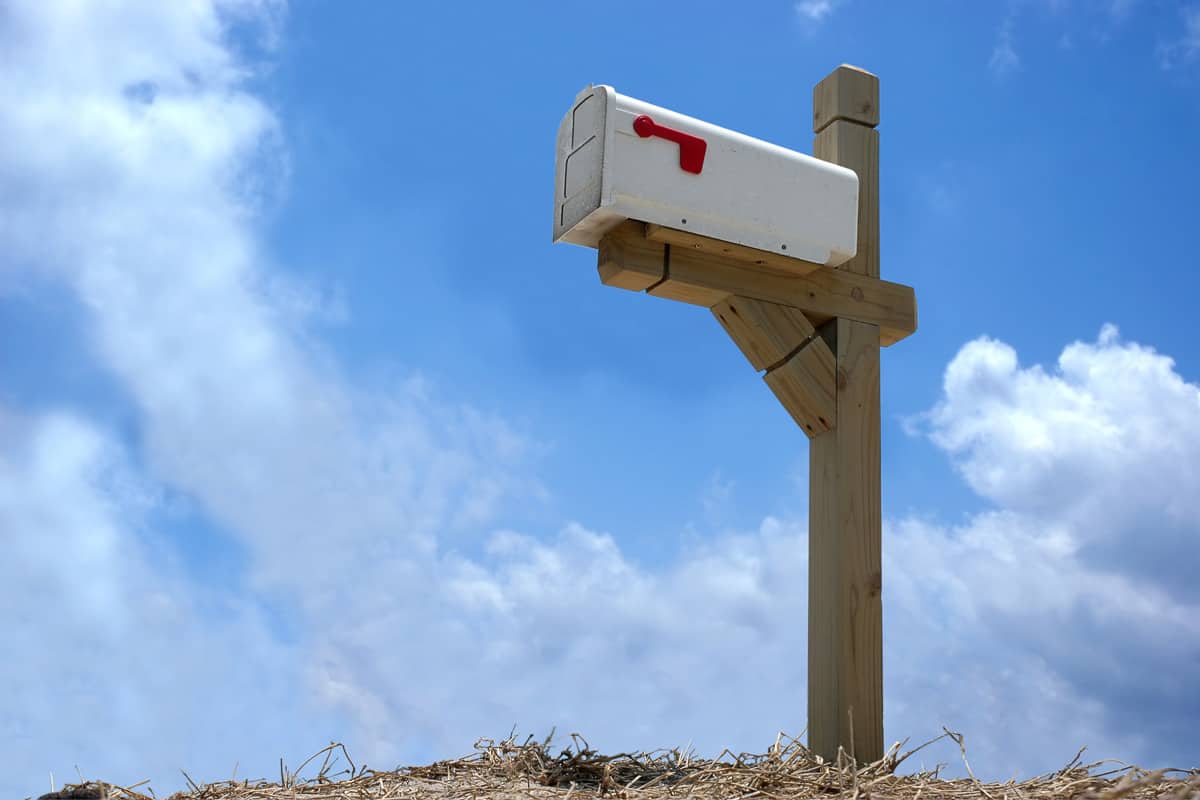
It is important to install your mailbox post well, especially during winter, so it can last longer. Here are the steps to follow if you want to a mailbox post when the ground is already frozen:
Step 1: Measure And Mark Your Working Area
Begin the installation by measuring the area you want to install the mailbox post. This will give you the idea of how big you need to make your hole so that the mailbox post can fit in.
If you are using an old mailbox, you can take its measurements rather than digging until the post fits. You can use a stake to mark where the hole will be in the frozen ground.
Step 2: Make A Hole
Start digging the hole with a shovel. You can start gradually by digging a small trench and then dig deeper to make it easier. If you are finding it difficult to dig because the ground is frozen, you can pour hot water into your working area.
You can use anything with mass to hold the post when digging. Ensure that the tools you use will not damage the post when placed in the hole.
Also, avoid marking and digging a hole at a place within 2 feet of any utilities like powerlines, gas lines, and water mains. This is because digging beside these utilities can lead to serious injury or death if it is not done properly. The depth of the hole needs to be 1/2 to 1/3 of the post's ground height.
Step 3: Set The Post In Place
Once the hole has been dug deep, tie the end of one rope around the post and carefully place it into the hole until it levels with the frozen ground. If you are not using a new post, simply set the old post in place.
Step 4: Fill The Hole With Concrete Mix
Once you're done setting the post, pour concrete mix into the hole and one gallon of water. Mix the ingredients with a shovel. Leave the concrete to set for about 24 hours.
How Many Bags Of Concrete Do I Need For Setting A Mailbox Post?
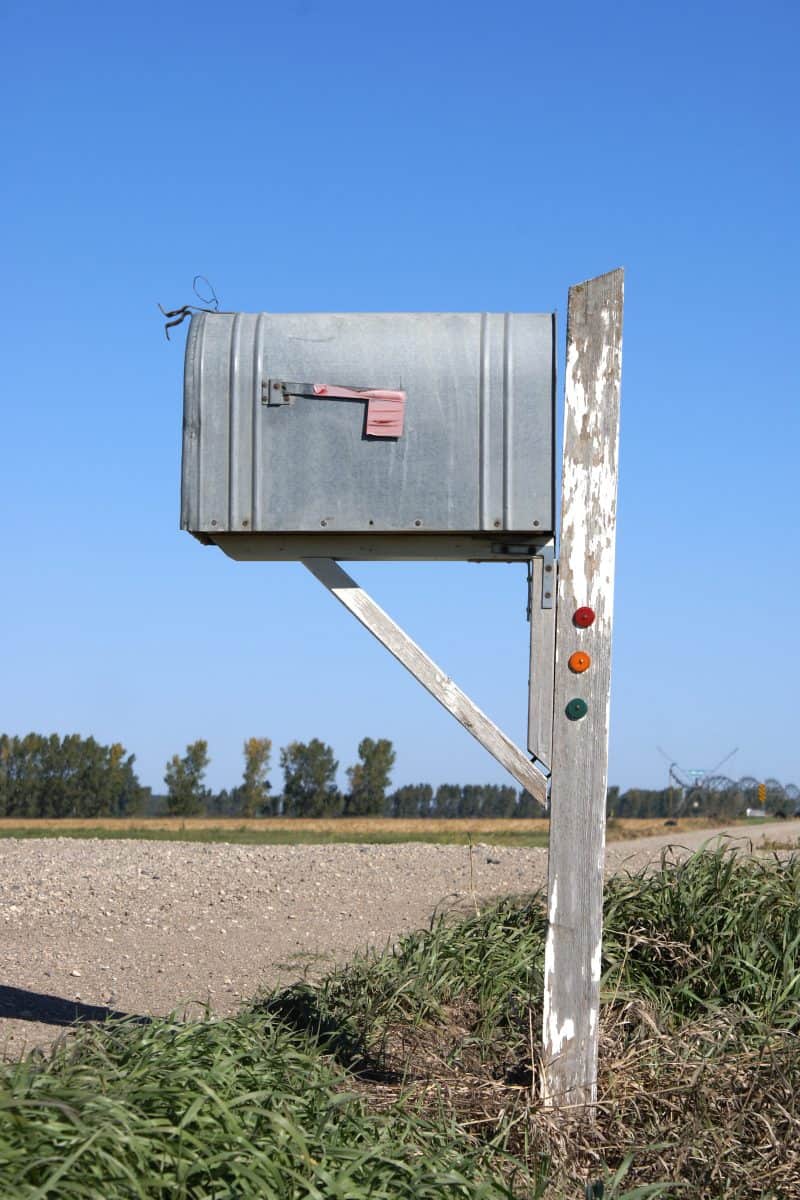
On average, two to four 50-pound bags of concrete is enough to set up a mailbox post. However, the type of soil, height of the post, design of the mailbox, size of the post, and weight of the concrete also determines the number of bags that will be needed.
How Much Does It Cost To Install A Mailbox Post?
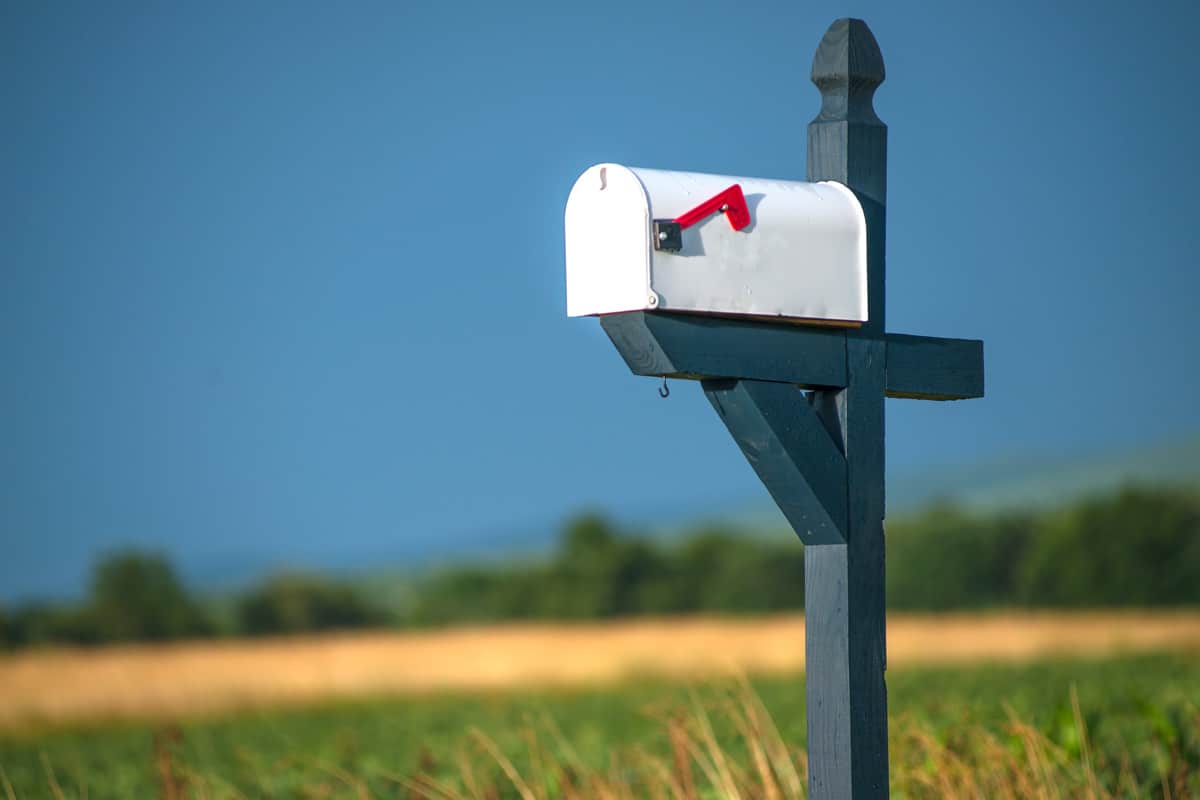
The cost of installing a mailbox post may vary based on location, the worker hired, and the task involved. Installing a residential mailbox and post will cost about $12-$900.
The post alone costs $11-$15 and the minimum fee charged by hour if you hire a handyman is $55-$125 if the installation is on soft soil.
This includes basic installation processes like digging the hole, setting the post, backfilling the hole with concrete, fixing the mailbox itself, and putting the house number on it.
But an additional amount is charged if the soil is hard or when it takes time to assemble. With this, the hourly cost is around $40-$75. However, some factors determine the cost of mailbox post installation and they include the following:
- Post type: Simple steel and pressure-treated posts are the cheapest posts that can be seen around. There are PVC and metal ones that are moderately priced.
- Supplies: You can save costs by buying the kits with a steel post installed into the ground. You do not need extra supplies if you have the kits; all you need is just a bag of concrete to install the post.
- Labor cost: If you are hiring a handyman to install your mailbox and post, then the cost will be based on the estimated time for the project. This is because the handyman will check how much assembly will be needed to complete the task.
What Is The Standard Height For A Mailbox Post?
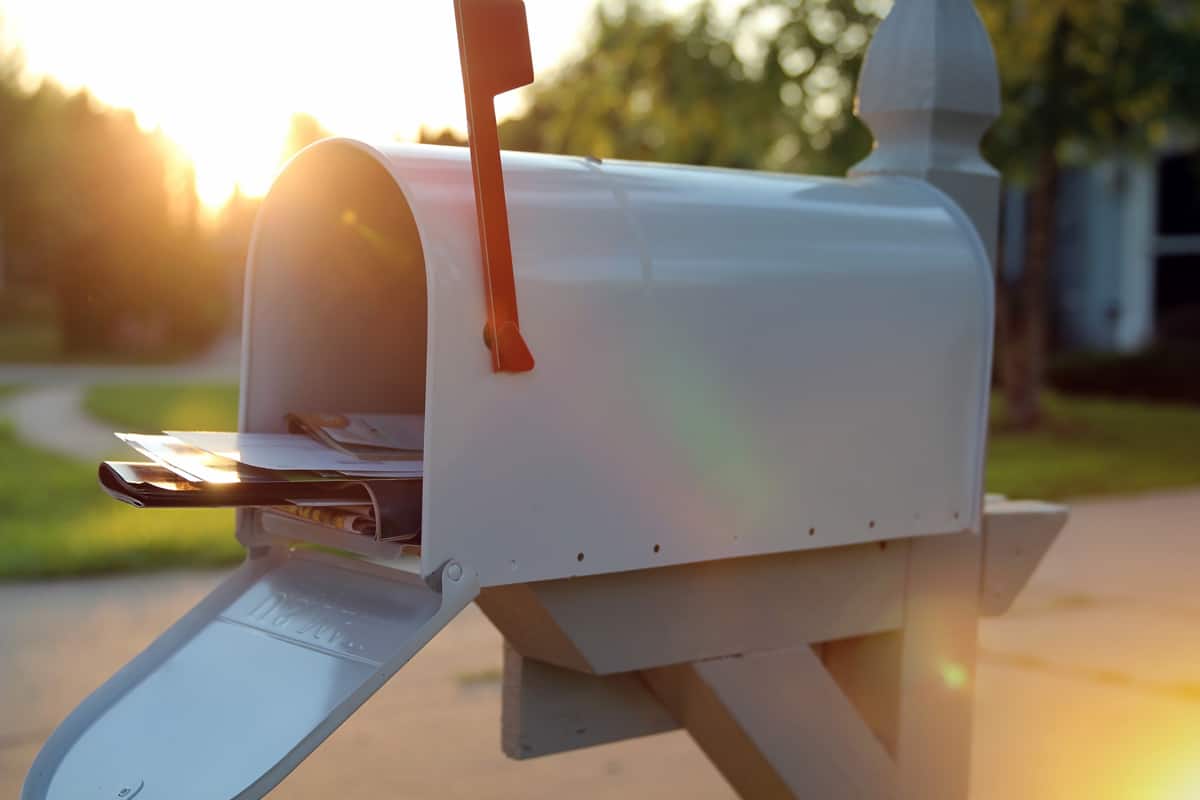
According to the standard set by USPS, a mailbox should be installed with its bottom located between the height of 41 and 45 inches above the highway shoulder.
It is recommended that you get the height closer to 45 inches to be on the safe side and avoid damage during winter storms. The post size and type should be solid enough to hold up the box in any weather conditions.
However, they might not be able to withstand the force of a car. If a mailbox post is hit by a car, it may break away easily. Here are the acceptable mailbox posts that you can make use of:
- A 4-by-4 wooden post. Larger posts can be used if the hole is drilled properly with the right spade to create a plane not higher than 6 inches above the ground surface.
- A 1 to 2-inch aluminum pipe or round steel laid 2 feet into the ground.
Can I Install Mailbox Post Without Concrete?
You can install a mailbox post without the stress of digging a hole and pouring in concrete. You will need some tools like a ground screw made up of galvanized steel which also accommodates a standard wood post of 4 by 4 inches.
This tool will help you install a regular mailbox post in a hole without needing the support of concrete. All that is required of you is to screw the tool into the ground by using a crossbar. Then, use the bolts with the anchor to secure the post.
With the ground screw, you can even install the post in frozen ground and it can also help out when digging holes become difficult.
Click here to see this ground screw on Amazon
Can I Put My Mailbox Post Anywhere?
You cannot install your mailbox post anywhere because moving it can be more complicated than you imagine.
To ensure your mail reaches you, the mailbox post should be 6-8 inches from the edge of the road and 41-45 inches above the surface. This is to allow carriers to drop off the mail without having to leave their vehicles.
If the installation is done properly, it will allow the snowplow to clear the road without affecting the mailbox.
To Wrap Up
Installing a mailbox post might seem easy but there are guidelines to follow, especially when installing it during the winter when the ground is frozen. To install a mailbox post in the frozen ground, measure and mark your working area, dig a hole, set the post in place, and fill the hole with concrete mix.
If you enjoyed reading this post, here are articles you may like:



![Roof Gutter Cleaning Tips. Clean Your Gutters. Gutter Cleaning., Do Gutters Smell? [And What To Do About It]](https://houseoutside.com/wp-content/uploads/2022/10/Roof-Gutter-Cleaning-Tips.-Clean-Your-Gutters.-Gutter-Cleaning.-600x400.jpg)