As a homeowner, you want to fix your leaking tile roof valley but are unsure of how to go about it. Fortunately, we have consulted experts in this field, and here is what they have to say.
The following are step-by-step procedures for fixing a leaking tile roof valley:
- Assess your roof.
- Remove damaged flashing and tiles.
- Install new layers of flashing.
- Install the new/unbroken tiles.
Fixing a leaking tile roof valley is an easy task. All you have to do is follow the steps carefully. Keep reading to get detailed information on how to repair a tile roof valley.

Fixing A Leaking Tile Roof Valley
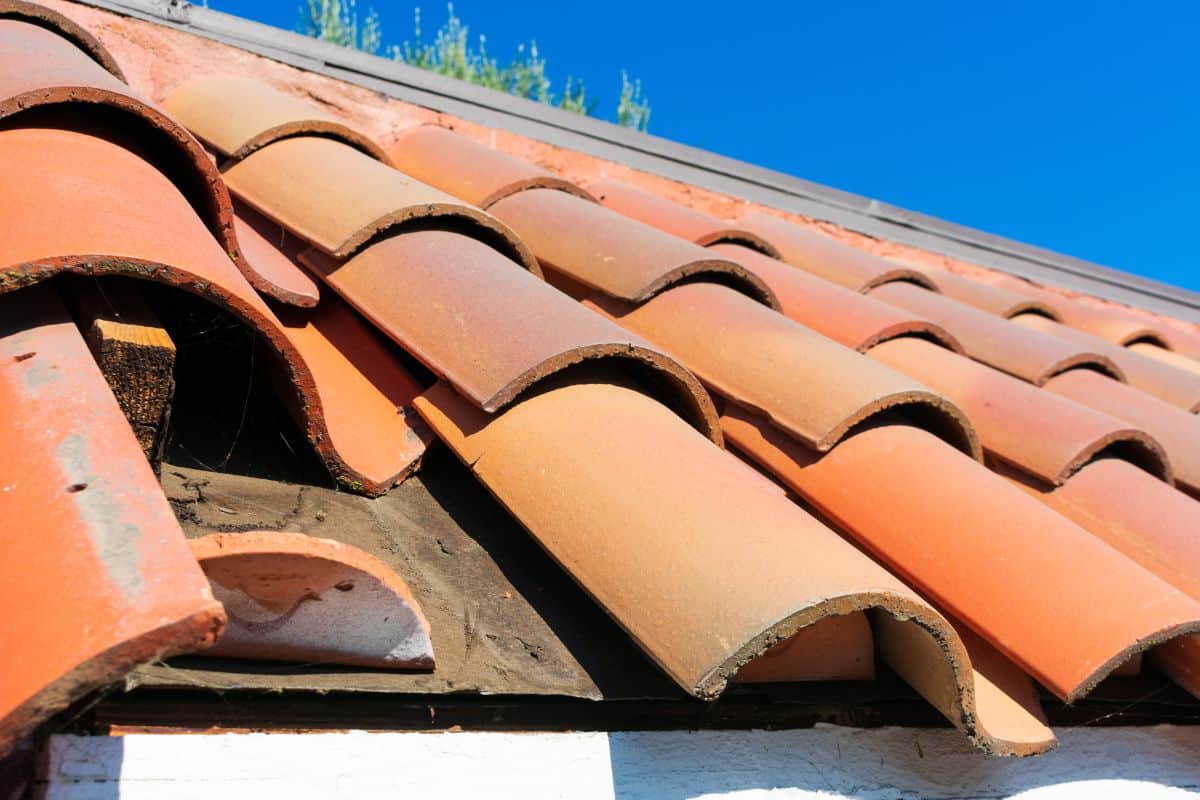
If you choose the correct materials, follow the manufacturer's installation instructions, and inspect your roof regularly, most roof problems can be avoided. If your roof valley leaks, there are steps you can take to repair them, and they are as follows:
Step 1: Assess Your Roof
Conduct a comprehensive assessment of your roof to identify the specific factor(s) responsible for the leak and to identify the area that needs to be repaired
Step 2: Remove The Damaged Flashing And Tiles
Try lifting up the tiles surrounding the damaged area so you can take out the bad flashing and replace them.
Step 3: Install New Layers Of Flashing

At this point, the new layer of flashing can be installed using either a wet-fixing or a dry-fixing method, depending on the project's requirements and the selected product.
If the valley flashing on your roof is made of lead, it should not be removed or changed by anyone other than a professional. This is due to the hazardous nature of lead and the significant amount of experience required to install lead flashing correctly.
Step 4: Reinstall New/Unbroken Tiles
Once your new flashing has been installed and any wet fixings have been given sufficient time to dry, carefully reinstall the tiles you removed before, making sure to replace any cracked or damaged tiles.
Alternative Method For Fixing Leaking Tile Roof Valley

If you don't want to use the first approach, here is an alternative procedure for you:
- Find the source of your leak and apply a sealant. This is just a temporary fix. However, it will give you some time to save for a full repair or replacement, receive contractor quotes, or figure out the best course of action.
- Remove the surrounding roof tiles and replace the leaking flashing or roofing underlayment.
Why Do Tile Roof Valleys Leak?
Here are some common reasons why a tile roof valley may leak:
Bad Flashing
Flashing is a crucial component of your system because it directs water flow onto the tiles instead of the roof deck, where it can properly drain.
It is essential that it be lapped with the tile itself and underlayment when it is installed. It is essential to remove some of the tiles, replace the flashing, and then reinstall the tiles when leaks result from improperly installed flashing.
Bad Roofing Membrane
Your underlayment's waterproofing membrane may become less effective over time. It can be easily replaced by a professional.
Accumulation Of Debris
Roofs frequently leak in the valley areas as a result of improper flashing and debris buildup. Water may back up under the tiles because of the debris. Remove the tiles from the valley area, clean them out, and then reinstall them after clearing away as much debris as you can.
Detached Cap Tiles
The cap tiles, which were fastened to the wall with mortar cement and nails or screws, can come loose. The cap tiles will entirely detach from the roof if they aren't taken care of, which could damage the rest of the roofing system.
Damaged Tiles
You will need to replace any tiles that are broken or have large cracks. Damage can occur when someone steps on the roof or during powerful storms. To identify cracked tiles and stop leaks, it is a good idea to have roofing professionals check your roof on a regular basis.
Can You Repair A Leaking Tile Roof Valley From The Inside?

Your house as a whole requires a high level of upkeep, but the roof needs closer attention. When the roof has already begun to leak, the problem can be addressed from either the inside or the exterior of the structure.
You can put a nail in the hole in the roof where water is leaking through so that it can be stopped. The nail will create a channel through which the water can flow.
Make sure to put a bucket under the nail so that you can collect the water as it drips down the nail. Repair the hole from the interior as soon as the affected area has reached the appropriate dryness level for the application of caulk or a roof patch.
Where Do Most Roof Leaks Occur?
The following are the most common areas leaks on the roof occur:
Close To The Chimney
Chimney leaks are common. This is usually a result of damaged flashing and thin metal strips fitted around the roof seal intersections. Chimney flashing is bent at a 90-degree angle and attached to the chimney.
Flashing is sealed with caulk, which fails over time. Water can enter your apartment if the flashing isn't sealed or fastened. After lengthy exposure to poor weather, even the flashing can wear down, so have your chimney inspected annually.
Near Windows And Skylights
Skylights can add beauty to your house, whether you wish to see the stars from your bedroom or illuminate your living room.
Poorly fitting skylights can leak down the sides and rubber seal, destroying the water barrier. Flashing faults or poor installation cause most skylight leaks, not the glazing.
Around Vent Pipes
Roofs often leak close to vent pipes. This pipe protrudes from the roof to vent the home's air. Flashing and a rubber boot seal a vent pipe's top. Weather-worn flashing might cause a roof leak. Maintenance can prevent roof leaks before the rubber boot fails after seven years.
Missing shingles can also indicate a leaking roof. As the roof's outermost layer, they should be visible. Storms and strong winds can pull off roofs, causing leaks. Storms can damage your roof with hail or falling debris. After the storm, check your roof for missing shingles.
How Do You Find A Leak In A Tile Roof Valley?
Take a stroll around the outside of your home and perform a visual inspection of the roof. Begin your inspection with the sections that are higher than the spots on the interior.
If you are able to identify any damaged areas on your roof, whether the shingles, tiles, corrugated iron sheets, or other roofing materials, you may have found the source of the leak.
How Much Does It Cost To Repair A Leaking Tile Roof Valley?
Between $900 and $2,300 is the average price for fixing a tile roof. For a 1,500-square-foot roof, the average cost to replace a 10-foot by 10-foot area of cracked steel tiles is $1,800.
The cost of replacing damaged or absent metal flashing is about $500. The amount for replacing the roof after repairing deteriorated underlayment can cost up to $8,000.
How Long Do Tile Roof Valleys Last?
Long valleys can last for up to 20 years. However, some valleys do not last for long, and this is because leaves fall on them, producing a corrosive environment.
The valleys on your roof will wear down quickly if they are beneath trees, especially gum trees. This necessitates regular roof repairs.
How Do You Tarp A Leaking Roof Valley?
Minor roof leaks or cracks can lead to more damage and higher repair costs. A cheap tarp can keep your equipment dry. High-quality tarps protect against rain for 90 days if well-installed. Here are step-by-step procedures for tarping a leaking roof valley:
Remove Debris
The first thing to do if you want to tarp a leaking roof valley is to clean your roof first. This makes identifying the leak easier. Check for damaged or missing shingles.
Measure Your Working Area

Damage severity determines tarp size. 12x16 silver tarps and 20x30 long-lasting tarps are available. Unroll the tarp to hide the damage. Allow 4 feet of peak and eave overhang.
Make An Anchor Board
Connect the tarp's edge to a 2 x 4 with cap nails. Place the 2 x 4 against the roof to prevent water and dirt buildup. The board must be 2 feet longer than the tarp. Cover with a silver or blue tarp. Screw the roof to anchor. Put a second 2 x 4 on your anchor board to prevent tearing.
Attach two 4x4 boards perpendicular to the tarp's anchor board on the summit. Stabilize the tarp on the roof ridge.
Extend The Tarp's Edge
Trim the other side's surplus tarp to leave a 4-foot overhang. Nail the tarp to a 2 x 4 on the other side. Minimum 10-inch spacing between boards. Wrap the rope around the board and tarp the roof. Screw it under the eave.
Secure The Edges
Secure the boards to the tarp's bottom. This will keep the tarp dry.
To Wrap Up
It is recommended to check your roof on a regular basis to see if they are in good condition. Whenever you notice a leak, make sure to fix it as soon as possible. If you are not familiar with fixing tile roof valleys, you can get in touch with a professional.
If you enjoyed this post, here are similar articles you may like:


