You're looking at your dormer's window and thinking that it's missing something. Then, it hits you—the opening needs cladding. So what can you do to complete this task? We researched this concern for your convenience and here's what we found.
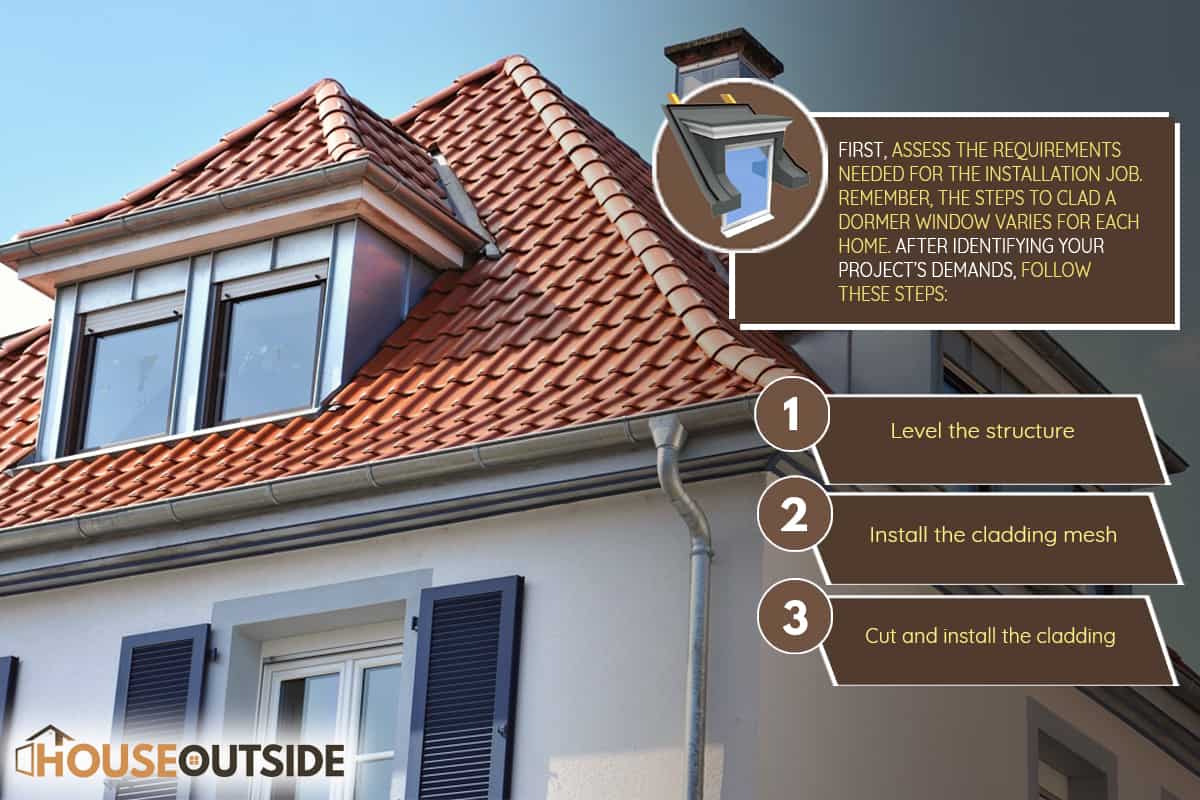
First, assess the requirements needed for the installation job. Remember, the steps to clad a dormer window varies for each home. After identifying your project’s demands, follow these steps:
- Level the structure
- Install the cladding mesh
- Cut and install the cladding
It might look like a reasonably straightforward operation. But it can be dangerous to miss certain details. So continue reading as we talk about the way to clad a dormer window in greater detail.
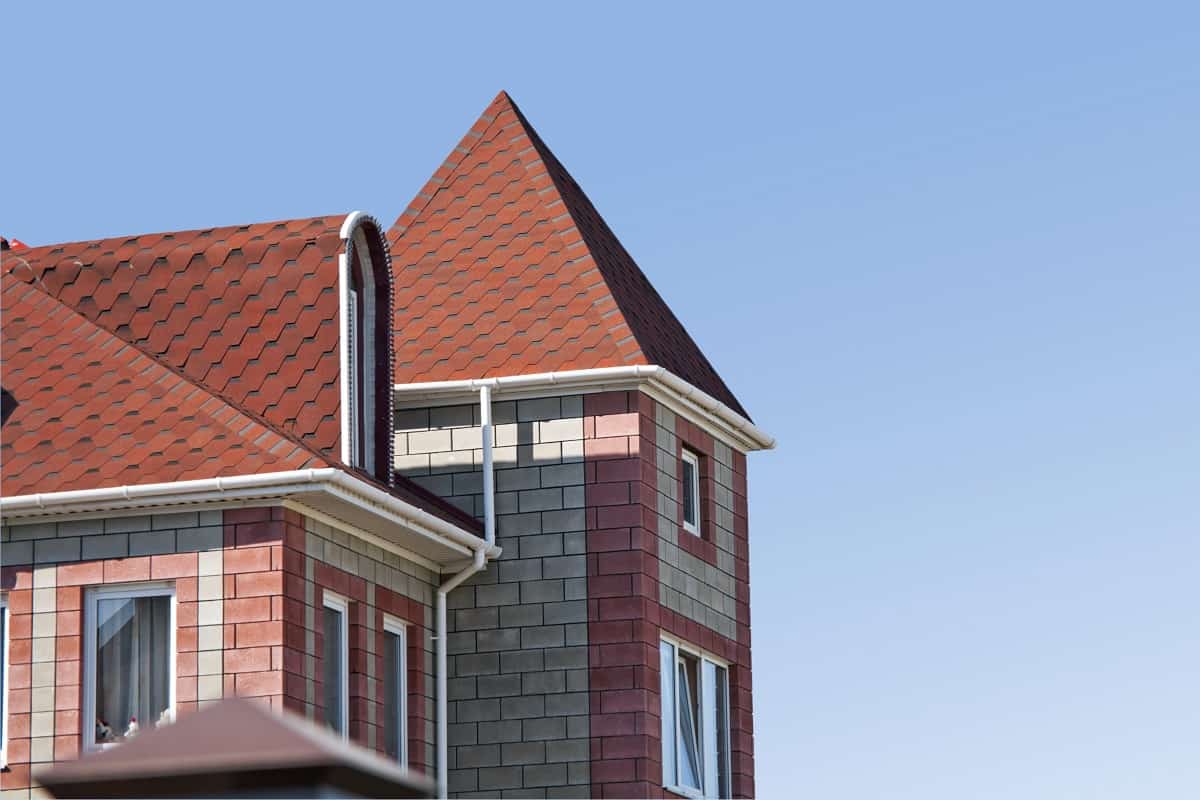
Why Is It Called Dormer Windows?
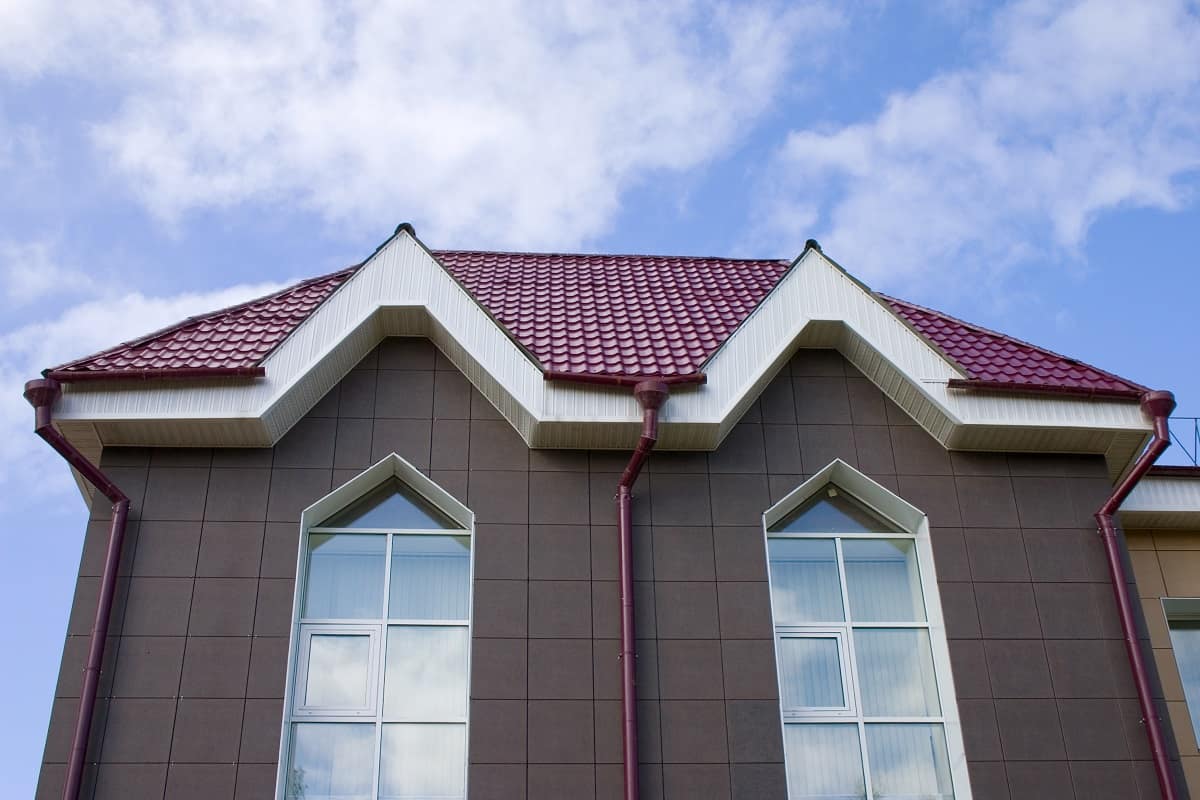
Also called dormers, dormer windows are openings affixed on sloping roofs. These fixtures come in different dimensions and styles to fit the designs of themes of various homes.
The term comes from the word “dormitorium,” which means sleeping room. Property owners may choose from different types of dormer windows for their houses. Some examples are:
- Gable dormers
- Shed roof dormers
- Flat roof dormers
- Arched eyebrow dormers
- Mansard roof dormers
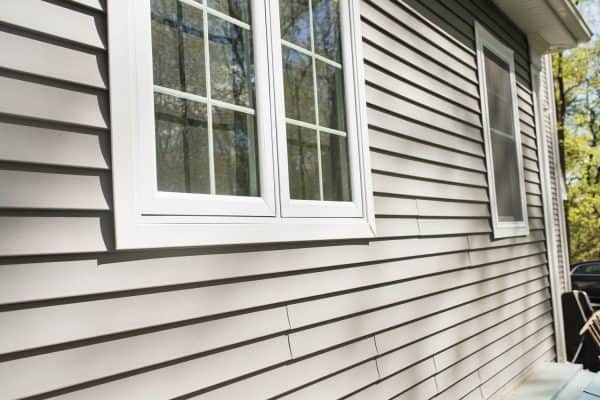
Dormer windows also typically have designs that jut out of roofs. The exterior siding adjacent to these fixtures often needs cladding to help protect them. The cladding can also help secure the home from certain concerns, such as pests and weather problems.

![]()
Check out this dormer window kit on Amazon.
How Do You Clad A Dormer Window?

Take note that you might be able to finish this job faster than expected if the fixture is still out of its frame. Otherwise, it's a good idea to remove the dormer window first before proceeding with this task.
Also, ensure you practice proper safety procedures to prevent accidents and injuries. Some of the safety protocols to follow are:
- Wear safety glasses or a similar piece of equipment to protect debris from irritating and/or hurting the eyes.
- Wear a respirator or face mask to prevent breathing harmful particulates.
- Keep the work area as clean and tidy as possible.
- Ensure that ladders, scaffolding, and other similar pieces of equipment are in good working condition at all times.
- Close the doors, windows, and other fixtures that may grant access to dirt and debris in the house.
Enlisting the help of another individual to help you in completing this task can also reduce safety hazards within the job site. After taking note of those particulars, continue this procedure by following these steps:
What You’ll Need
- Levels
- Sliding bevel
- Cladding mesh
- Circular saw
- Tape measure
- Hammer or nail gun
- Hand drill
- Nails or screws
- Preferred cladding material
- Dormer window installation kit
Step-by-Step Guide
Step #1: Level The Structure
The entire dormer window structure should be level to avoid running into issues down the line. Start this part of the procedure by placing a long level to the side of the dormer window. Next, lay a sliding bevel on top of the long level.
Then, place a small level on top of the sliding bevel to check if the fixture is flush. Fix any issue with the window’s level before proceeding to the next step.
Step #2: Install The Cladding Mesh
With the dormer window level, slide the cladding mesh at the bottom area of the fixture’s sides. Secure the installation by screwing it into the joists. This product should help prevent pests from entering your home through the dormer window.
Step #3: Cut And Install The Cladding
Measure the dormer window area to the amount and size of the cladding material to use. Next, use a circular saw to cut the cladding while paying attention to its dimensions.
Attach the cladding to the dormer window afterward. You can either use nails or screws for this part. If you choose the former, a nail gun can help speed up the process. Otherwise, using a sturdy hammer should suffice.
Also, make sure to choose fasteners made with weather-resistant materials. Heavy rain and inclement weather conditions may harm low-quality nails and screws, which may lead to ruining the cladding over time.
Take note that it may take about 2 days to complete the cladding installation. Once finished, the next step is to install the dormer window.
You can also watch this video for a visual guide for the steps mentioned above:
Don’t forget to watch the following clip if you need help with the dormer window installation:
What Is The Best Cladding For A Dormer?

Bear in mind that there isn’t a single cladding material that can provide every benefit to all dormer windows. However, certain claddings can supply more advantages than others. But you need to take the time in thinking about your choices to ensure you’re getting the most value out of your chosen material.
Some questions you need to ask yourself during the selection process are:
- What color is ideal?
- Will the material resist different hazards?
- Is the cladding material recyclable or eco-friendly?
Also, you can choose among different cladding materials that may provide unique advantages. Some of your choices are:
- Vinyl: A reasonably affordable and easy-to-maintain cladding material.
- Fiberglass: Often used to help prevent seal failure and its related problems.
- Aluminum: Typically has high resistance against dents and scratches.
- Wood: Usually has high thermal performance but can be quite expensive to install and maintain.
- Steel: Durable and can be an excellent choice for a commercial establishment.
What Are The Advantages Of Cladding Windows?
Installing window cladding, particularly to dormer windows, can provide different benefits like:
Improve Insulation
The right cladding material enhances the structure’s thermal-resistant properties. If you follow the correct installation technique, window cladding might help the house stay comfortable in different seasons, especially in winter.
Energy Savings
With the enhanced insulation, household members and guests may not use electronic devices that generate cold and heat frequently. That way, window cladding might also assist in reducing electricity usage, decreasing monthly utility costs.
Low Maintenance
Certain window cladding materials, such as aluminum, usually don’t need extensive care to maintain their beauty and structural integrity. Finishing the material might not even be a requirement to improve the material’s visual and functional appeal.
Does A Dormer Window Add Value?
A dormer window may add about 20% to the property’s curb value. The reason for this increase is because of the potential benefits that these windows can provide for the home and its residents.
How Much Does It Cost To Add A Dormer Window?
Property owners should expect to pay about $2,500 to $30,000 to install dormer windows. The final overhead often depends on different elements, including the window’s type. Some examples include:
- Flat: $80 to $125
- Gable: $110 to $150
- Arched: $100 to $150
- Eyebrow: $105 to $160
The window frame and professional services used for the installation can also affect the project's required expenses. Plus, prepare to spend about $1,160 to acquire the necessary permits for this job.
Final Words
Cladding a dormer window typically requires you to take note of the project's demands before starting it. Think about the cladding's material, the position of the window, and other factors. Also, don't forget about following safety guidelines to prevent on-site accidents and injuries.
If you liked this post, check out these other great reads for answers to other window concerns: