Are you doing a reroofing project in your house, and do you want to know if you can use roofing nails for cedar shakes? You’ve come to the right place, for we have researched this question and have the answer for you.
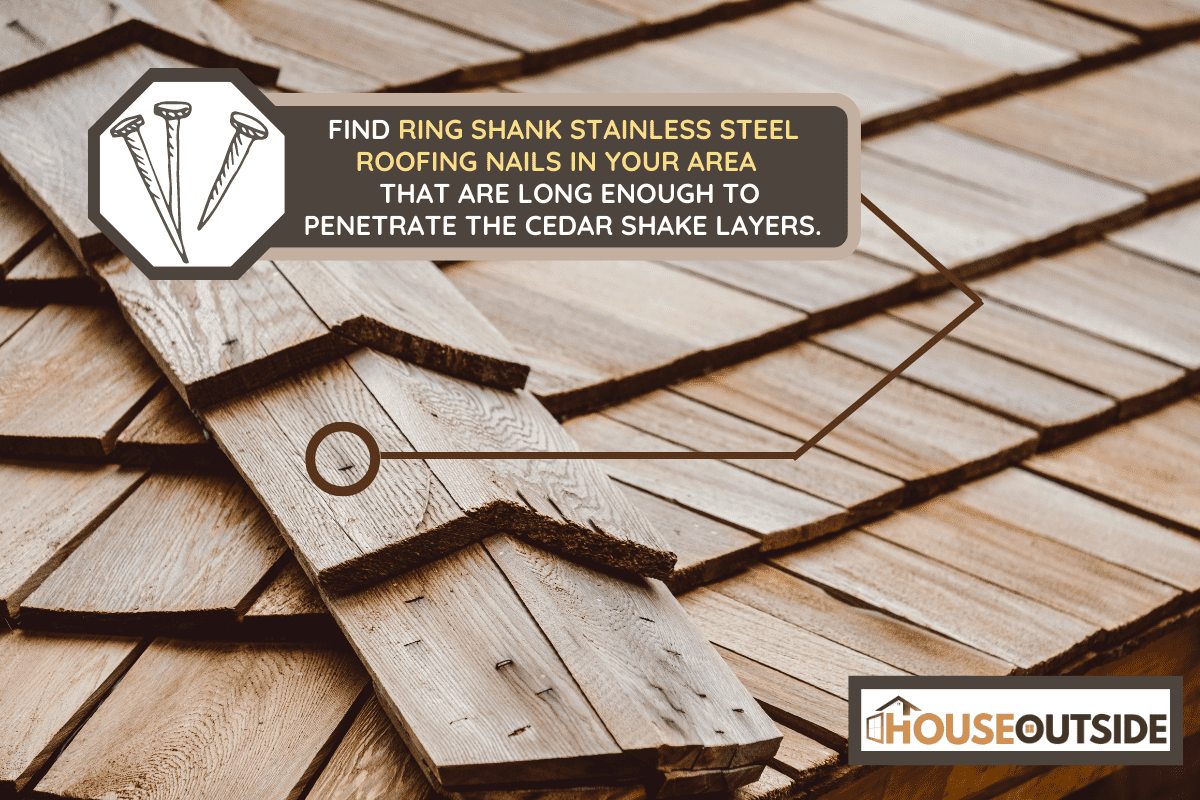
If you can find ring shank stainless steel roofing nails in your area that are long enough to penetrate the cedar shake layers and have at least three-quarters of an inch left to penetrate the roof deck, then you can use them for cedar shakes.
Learn more about cedar shakes, the nails that you should use, and how to install them in the succeeding sections.
Read on!
What are cedar shakes?
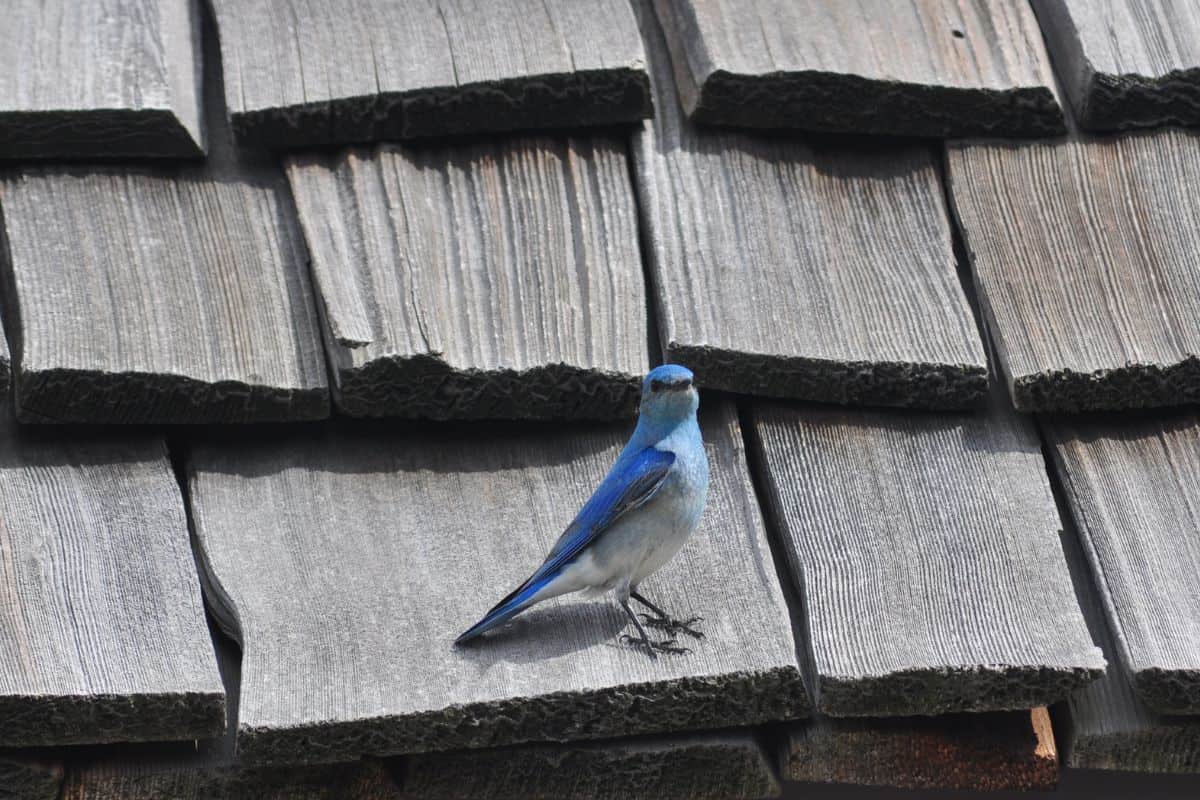
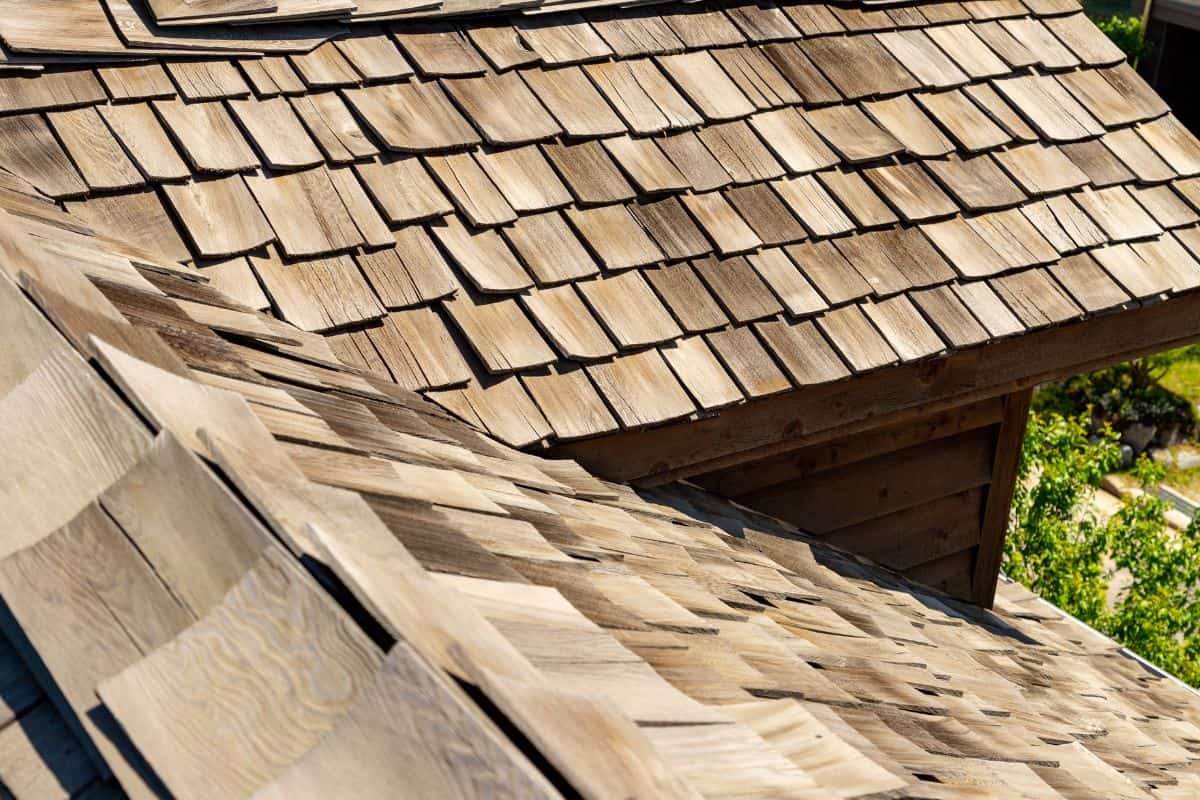
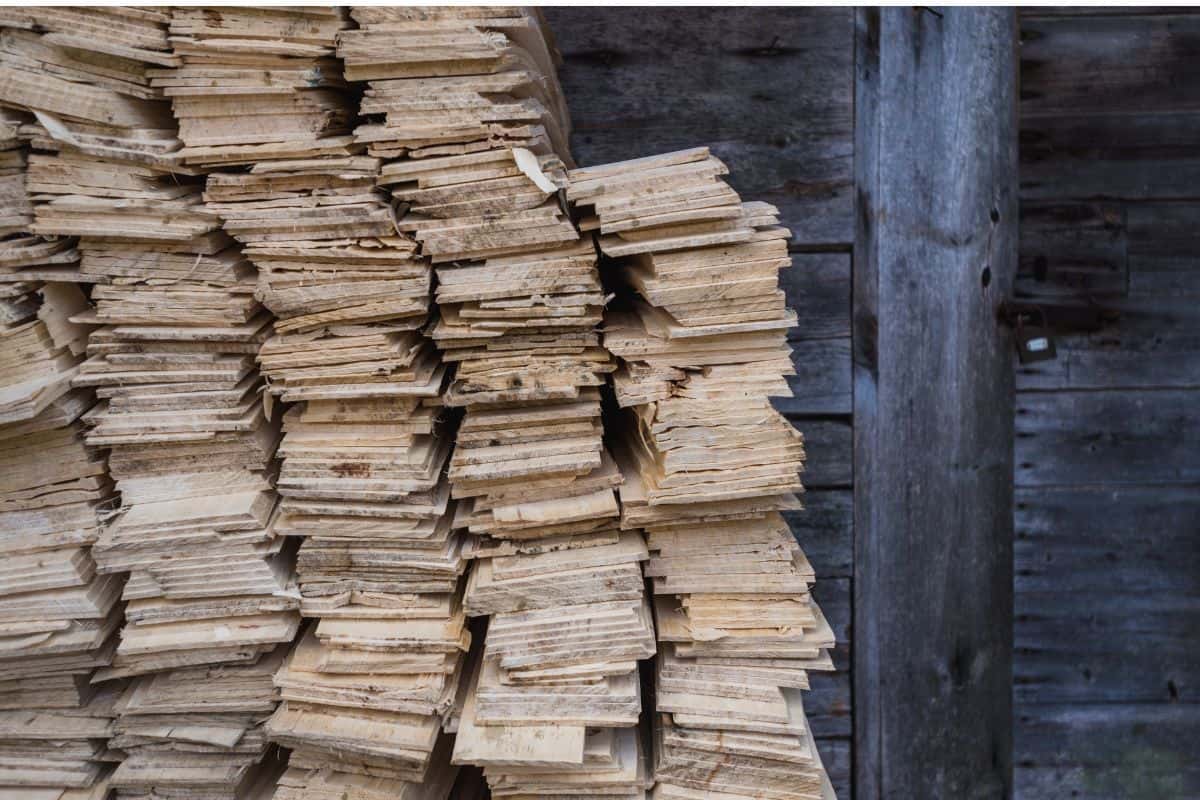
Cedar shakes are pieces of wood that you can use like shingles for roofing. They are often split lengthwise along the grain to recreate the look of splitting wood with an ax. This gives them a rough look and variable dimensions.
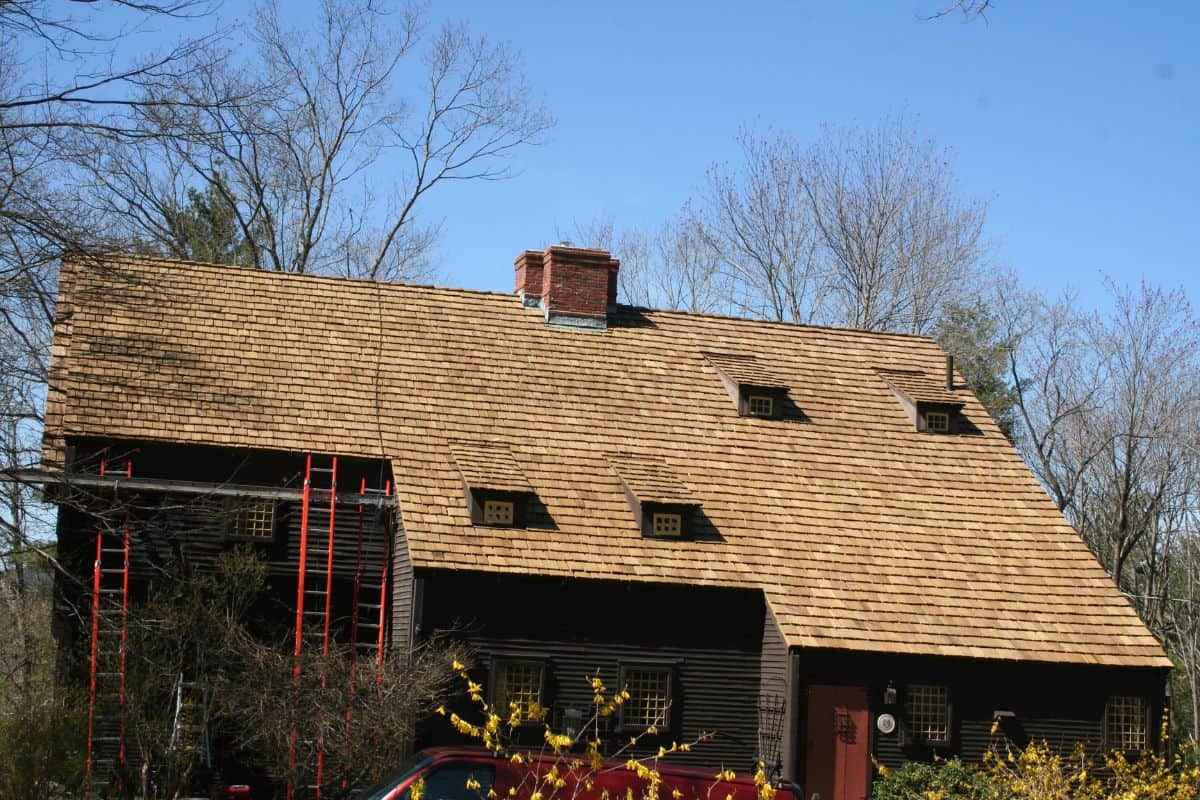
Cedar shake roofing gives your house a country vibe. They look fantastic on any kind of house. They come in edge shapes that can give your roof a unique character.
You can use cedar shakes for roofing or for siding.
Choosing The Right Nail For Cedar Shakes
Their thickness can range from half an inch thick to three-quarter inches for medium cedar shakes. It can range from three-quarter inches to five-quarter inches for heavy cedar shakes. Thus, after you consider the thickness, you should use a nail that can penetrate three layers of that cedar shake thickness, the breather layer, and get at least three-quarters of an inch of the nail into the roof deck.
Use that as a guide to computing the length of nails that you should use. Another thing to consider is the thickness of the cedar breather and the waterproofing layer that you will place between each row of cedar shakes.
How to install cedar shakes?
Now that you know how to pick the right nail to use, it is time to know how to properly install a cedar shake. Most DIYers make the mistake of assuming that they can install cedar shakes just like a normal shingle and end up having water leaks or rotten shakes.
The steps below will show you how to easily avoid those mistakes.
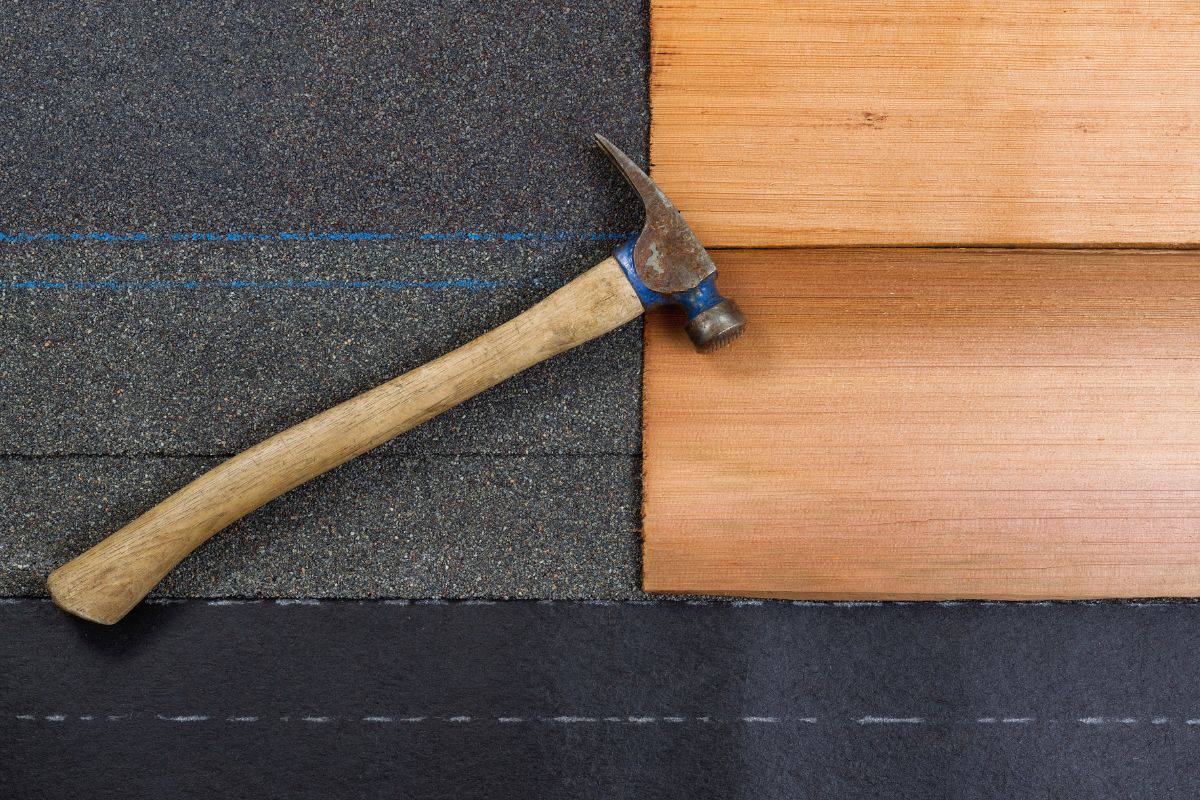
The instructions below assume that your roof system can handle the weight of the cedar shakes after installation. It also assumes that you have your roof deck installed with a self-healing membrane to prevent water from getting through the roof deck, even with nails penetrating the deck. The copper drip edge should already be in place before you start with the next section.
Preparing For The Installation
The first thing that you need to prepare is the materials that you will need and then calibrate the tools that you will use.
Check the pressure of your nail gun. Too much pressure and the nails will crack the cedar shakes.
Get a piece of cedar shake and test your nail gun. Adjust the pressure accordingly.
Next, you need to set up scaffolding on the edge of the roof if your roof has a steep pitch. You can work with ladders and a safety harness if the pitch is not that steep. Although the scaffolding gives you the advantage of having a level area to place the shakes that you are about to install.
Installing The Breather
- The first thing you need to install is the cedar mesh. The mesh is made of nylon material. It will allow the cedar shakes to breathe. When they get wet, the mesh will allow the wet underside of the shakes to dry by allowing air to circulate through the mesh. Place the mesh on top of the self-healing membrane.
- Staple the mesh on the self-healing membrane at corners every two to three feet.
- Keep repeating Steps 1 & 2 until you cover the entire roof surface with the mesh.
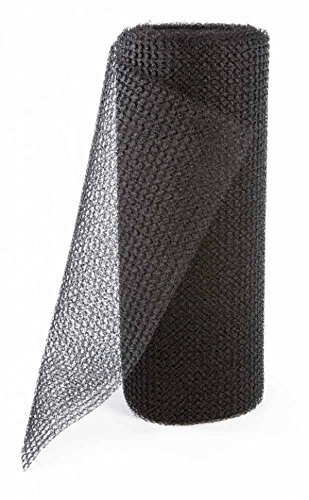

Roofing underlayment or cedar breather by Benjamin Obdyke is available on Amazon through this link.
Installing The First Row Of Shakes
- Get one of the shakes and position it along the outer edge of the roof. Line it up on the corner.
- Measure an overhang of three-quarters of an inch from the side of the roof.
- Measure an overhang of an inch and a half to an inch and three quarters from the face of the fascia board of the front leading edge of the roof.
- Install two nails at six inches from the edge facing the ground. If you install the nails too high, it will be easier for strong winds to pry your shakes off the roof.
- Place another shake on top of the first one that is narrower. Line it up so that the outer edges of the two shakes are even.
- Install two nails at six inches from the edge facing the ground to fasten the second shake.
- Move to the opposite edge of the roof. Install two shakes on that corner the same way you installed the first two shakes. Take note that the measurements of the overhang should be the same as the first two shakes.
- Use a small nail to fasten a string at the side edge of the shake. Run that string to the first two shakes and fasten it there on the side. This string will mark the distance from the fascia. This will make it easier for you to install the succeeding shakes on the first row. You don’t have to keep measuring from the edge of the fascia as you install the succeeding shakes. Simply line them up on the string.
- Install the first layer of shakes of the first row. Follow the string so that the shakes will align with the first two shakes. There should be at least an eighth of an inch distance between the shakes when you install them. This distance will give the shakes room to expand when they get wet. Without that space, the shakes will push against each other when they expand, and they will end up pushing upward, popping out the nail that is holding them down or cracking. You don’t want either of these scenarios to happen.
- After you finish installing the bottom layer. Install the top layer of shakes for the first row. Always install two to three layers of shakes on the first row. When installing the second and third layers, always pick a shake that will cover the gap between the two shakes under it. Make sure that none of the gaps between the shakes of each layer or row will line up.
- Remove the string and the nails that fasten it.
Installing The Second Row Of Shakes
- Measure five inches from the edge of the first layer that is facing the ground. Place a layer of waterproof roofing underlayment from the edge of the five-inch line up to the upper edge of the shakes. The width of the underlayment should be enough to cover the row of shakes up to the 5-inch line.
- Fasten the underlayment with staple wires every 24 to 36 inches.
- Install the first shake of the second row. Line up the first shake of the row on the overhang of the first row. Use two nails to fasten the shake six inches from the edge facing the ground.
- Go to the opposite end of the second row and install the second shake there, following the same 5-inch distance and fastening it six inches from the edge.
- Install the string the same way as the first row to make it easier to line up the shakes of the second row. Remember that the shakes should cover the gaps between shakes under the second row. Never let two gaps line up.


ArmorLay 25 Synthetic Roof Underlayment is available on Amazon through this link.
Installing The Third Row Of Shakes And Onward
- Measure the distance from the edge of the second row of shakes that faces the ground to the tip of the roof pitch.
- Convert the measurement to inches.
- Divide the measurement by five inches.
- Round the result up to the nearest whole number.
- The result is the distance of the reveal when you install the third row and onward. This will allow your shakes to be evenly spaced until you reach the top of the roof.
- Follow the same steps for installing the second row, swapping the five-inch reveal with the whole number that you got from the equation above. Don’t forget to install the waterproof underlayment before each row of shakes.
- After you finish installing all the shakes, install the cap at the top of the roof. Use two nails per side of the cap to fasten it.
Conclusion
You can use roofing nails for cedar shakes. Just make sure that the nails are long enough to fasten the layers of shakes to the roof deck.
If you enjoyed reading this article, you might find the articles below equally enjoyable to read: